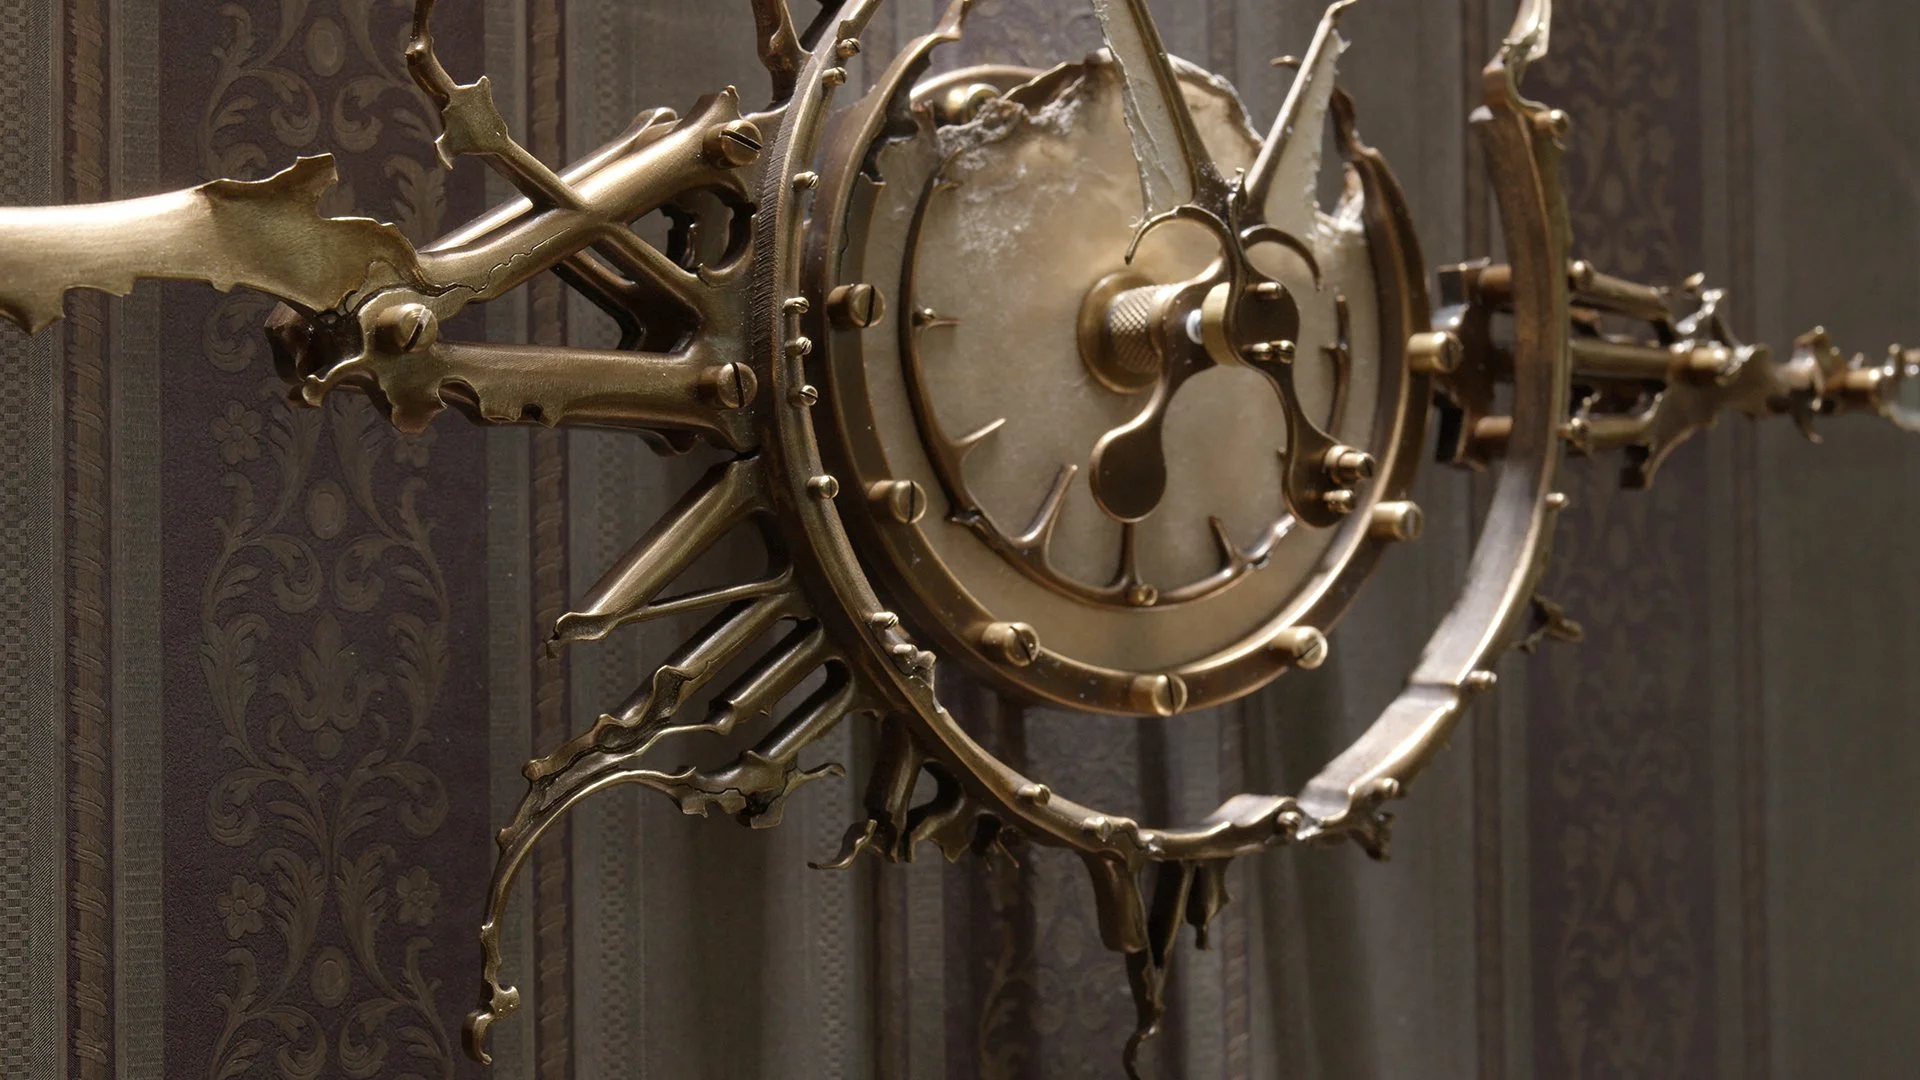
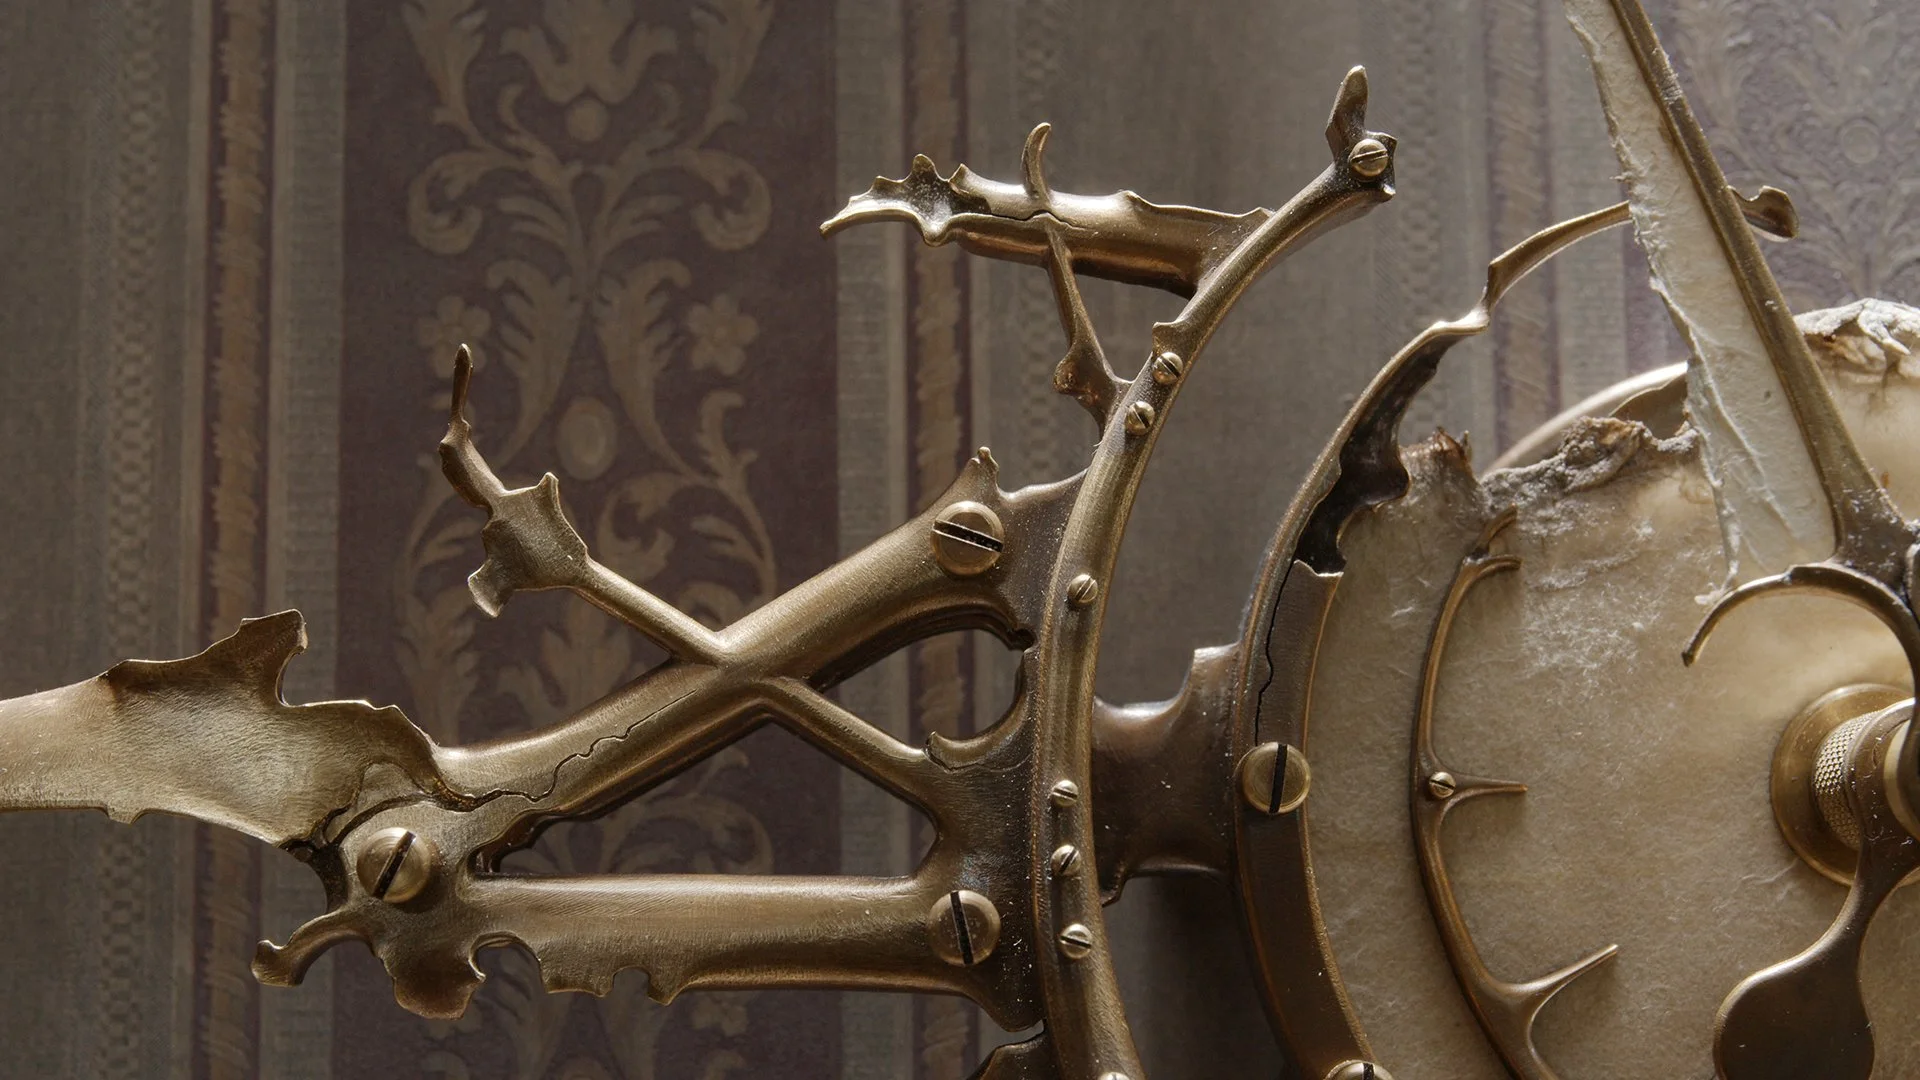
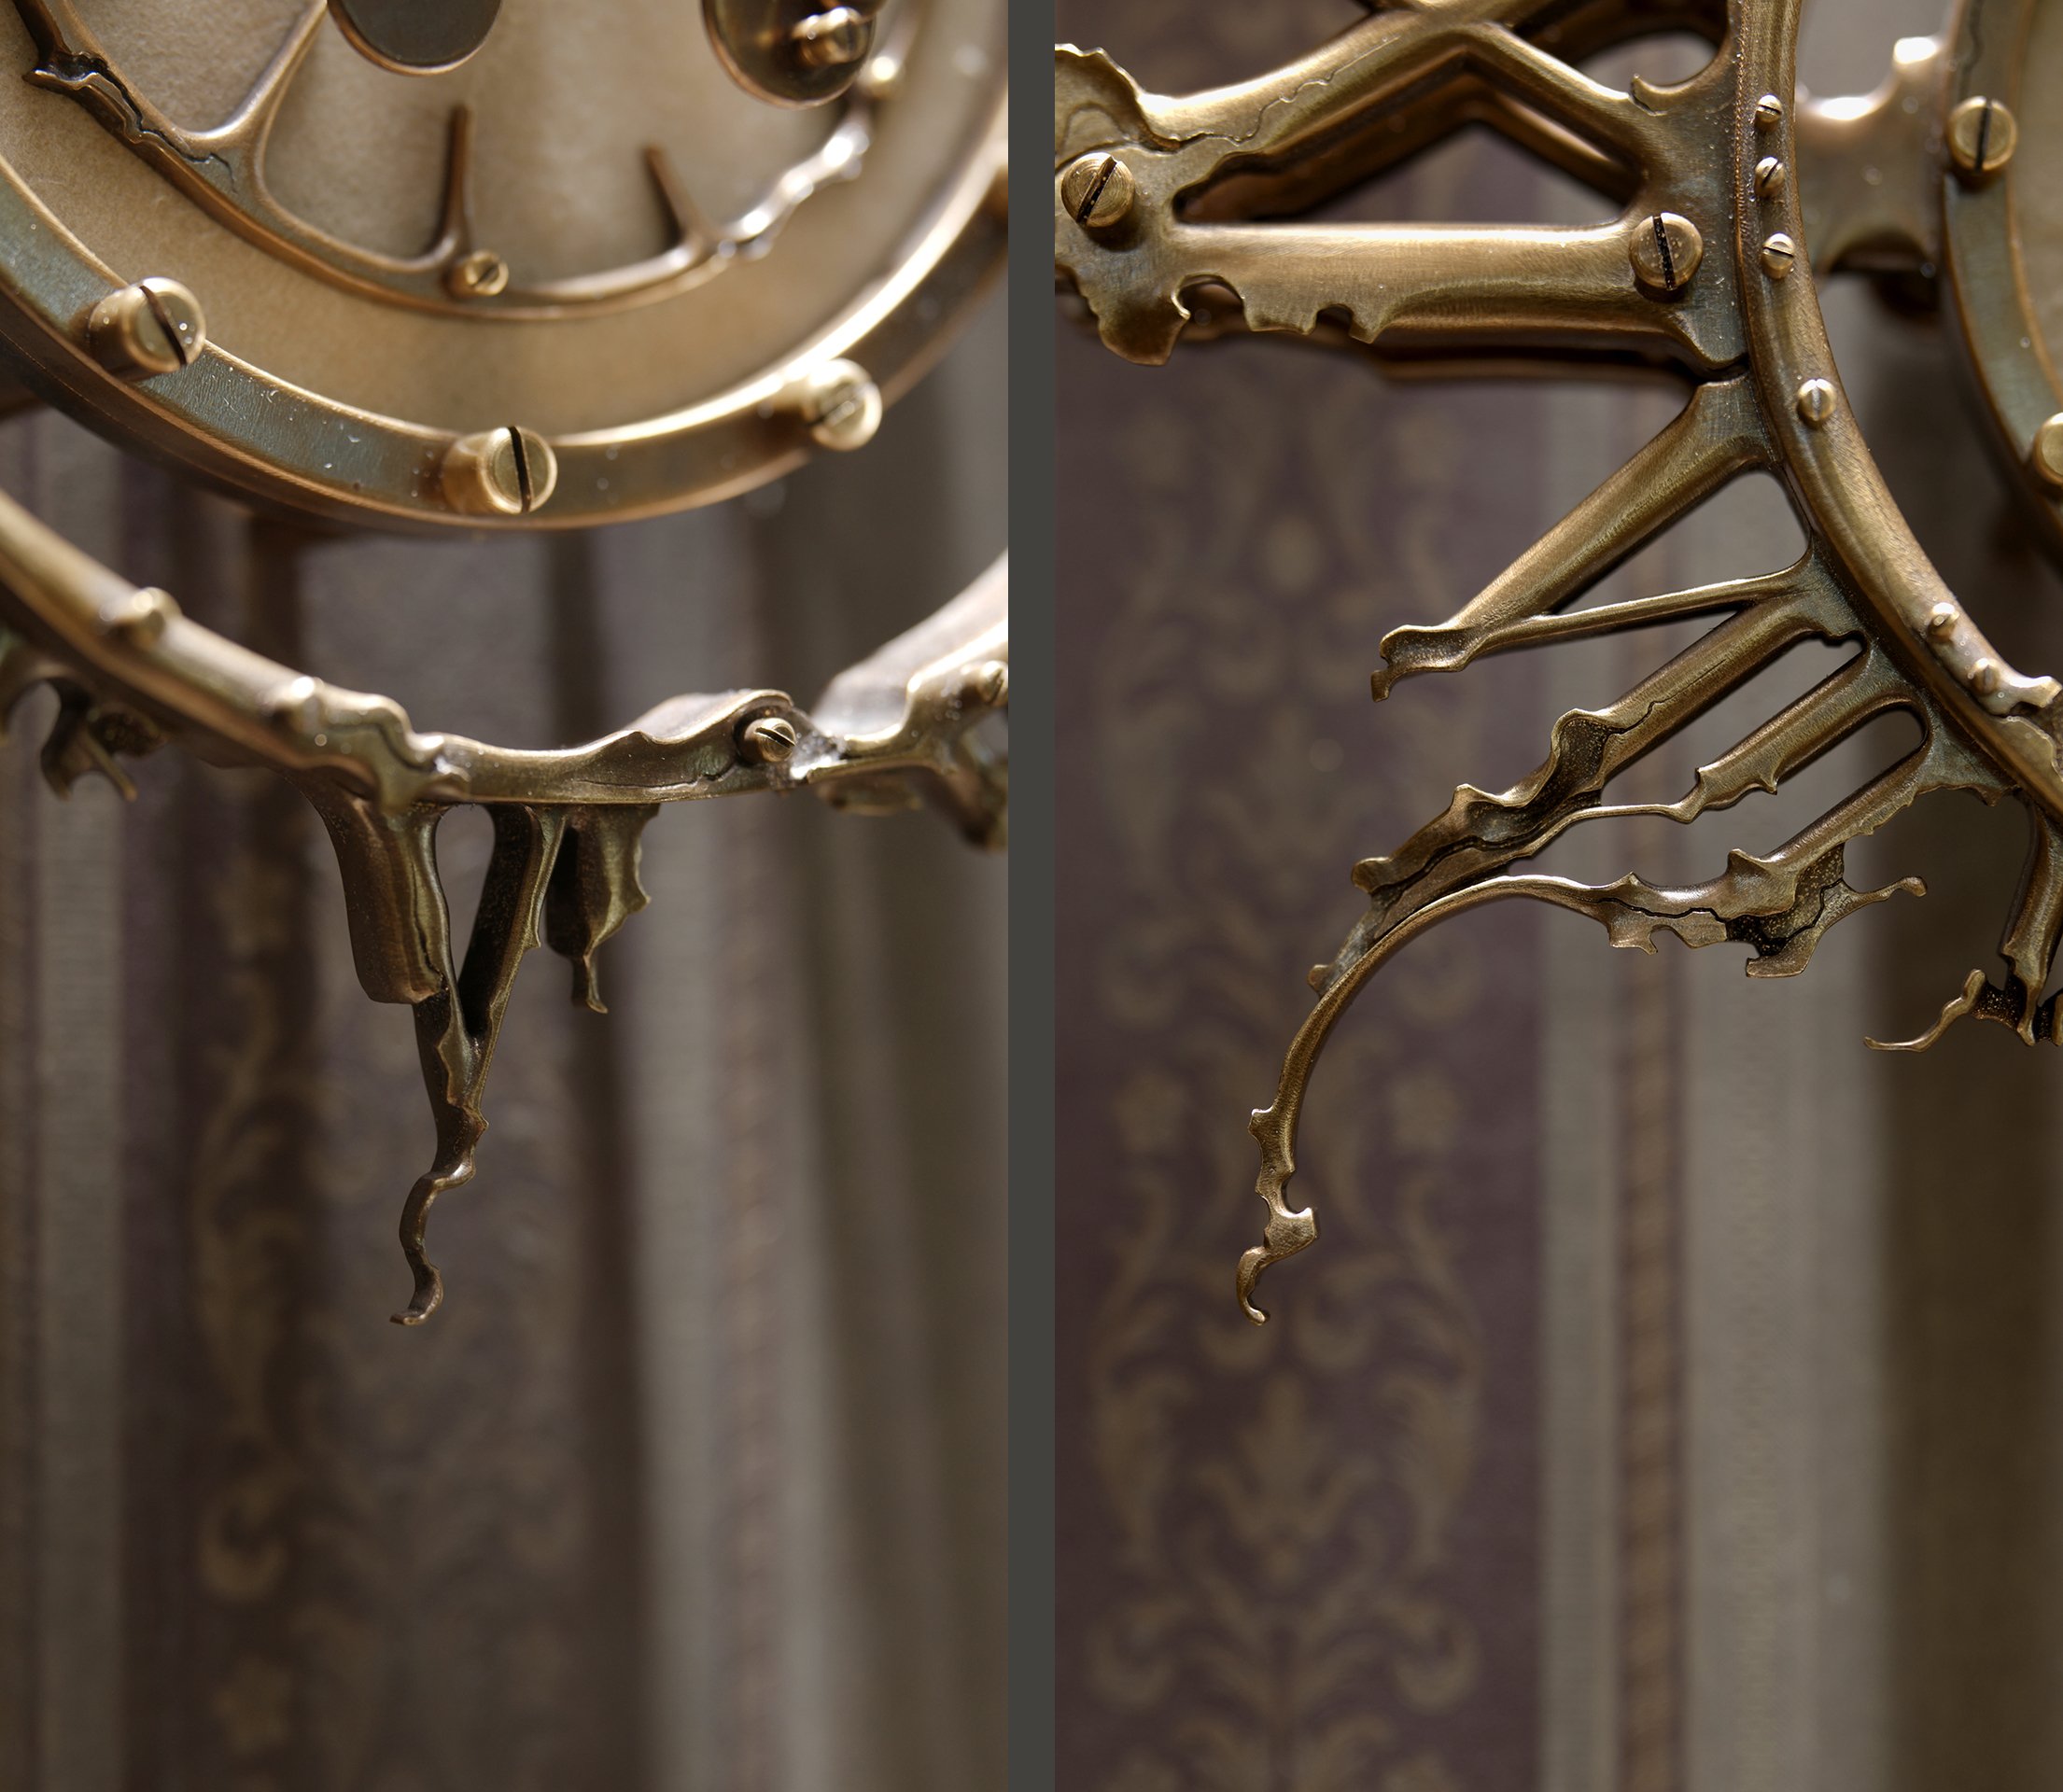
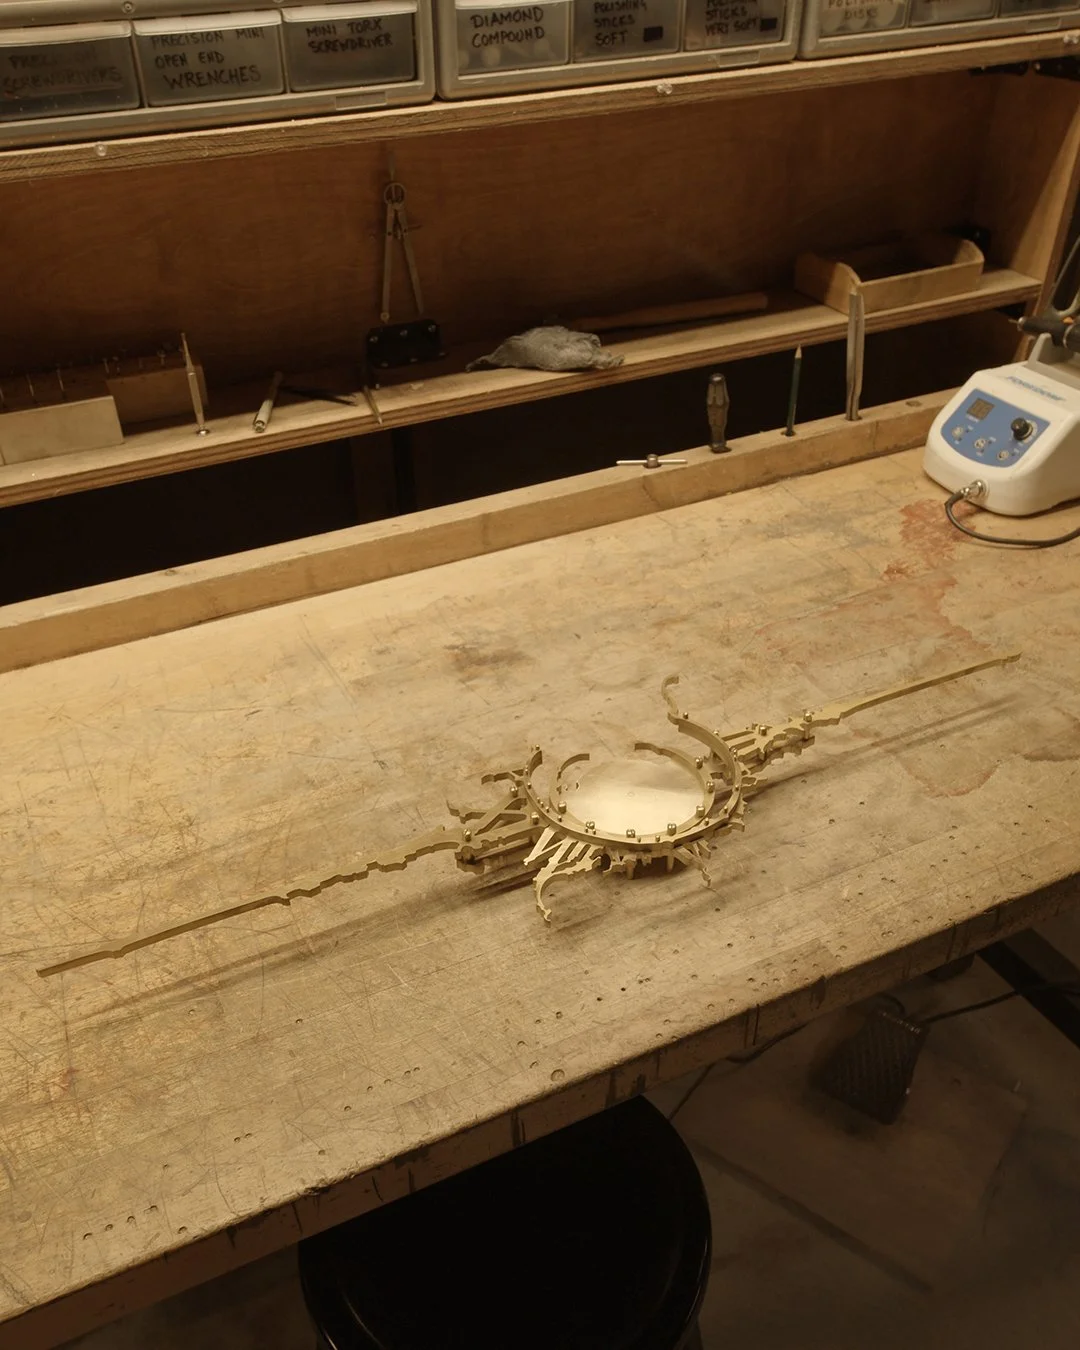
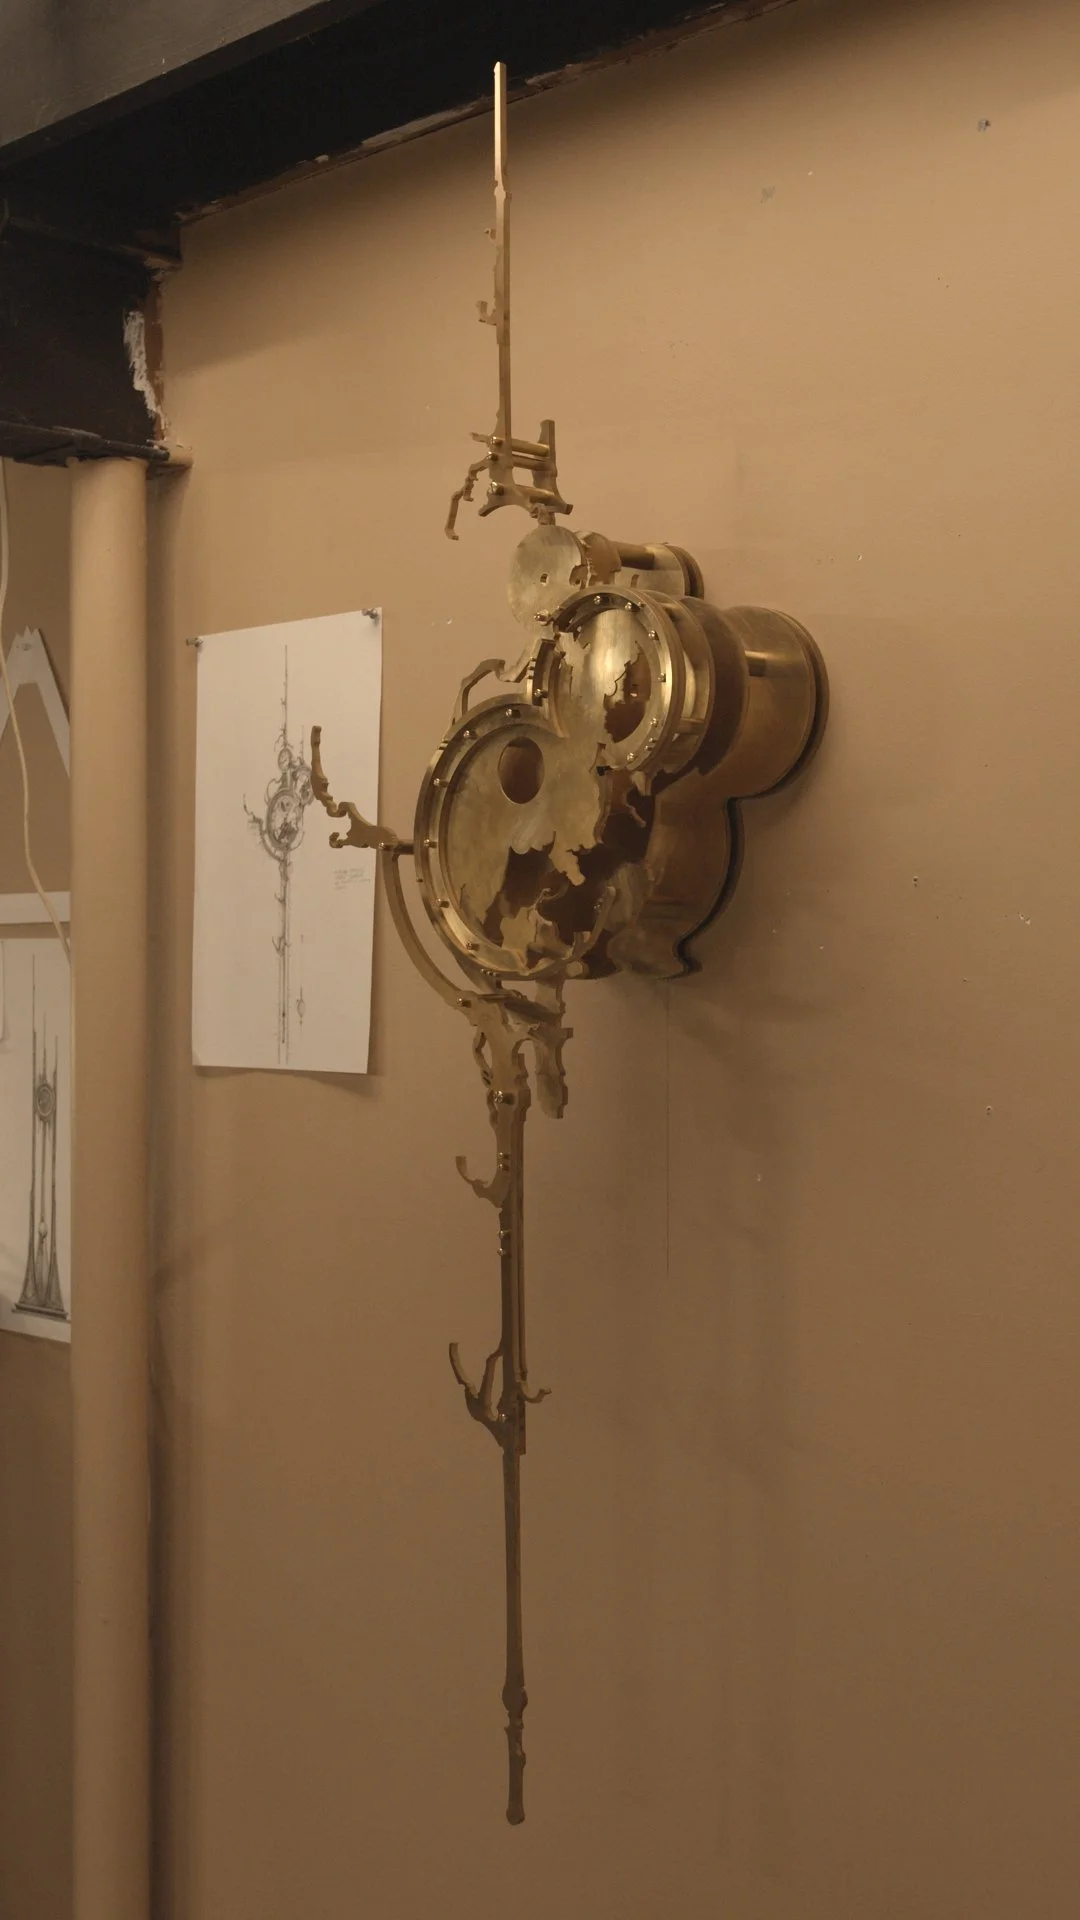
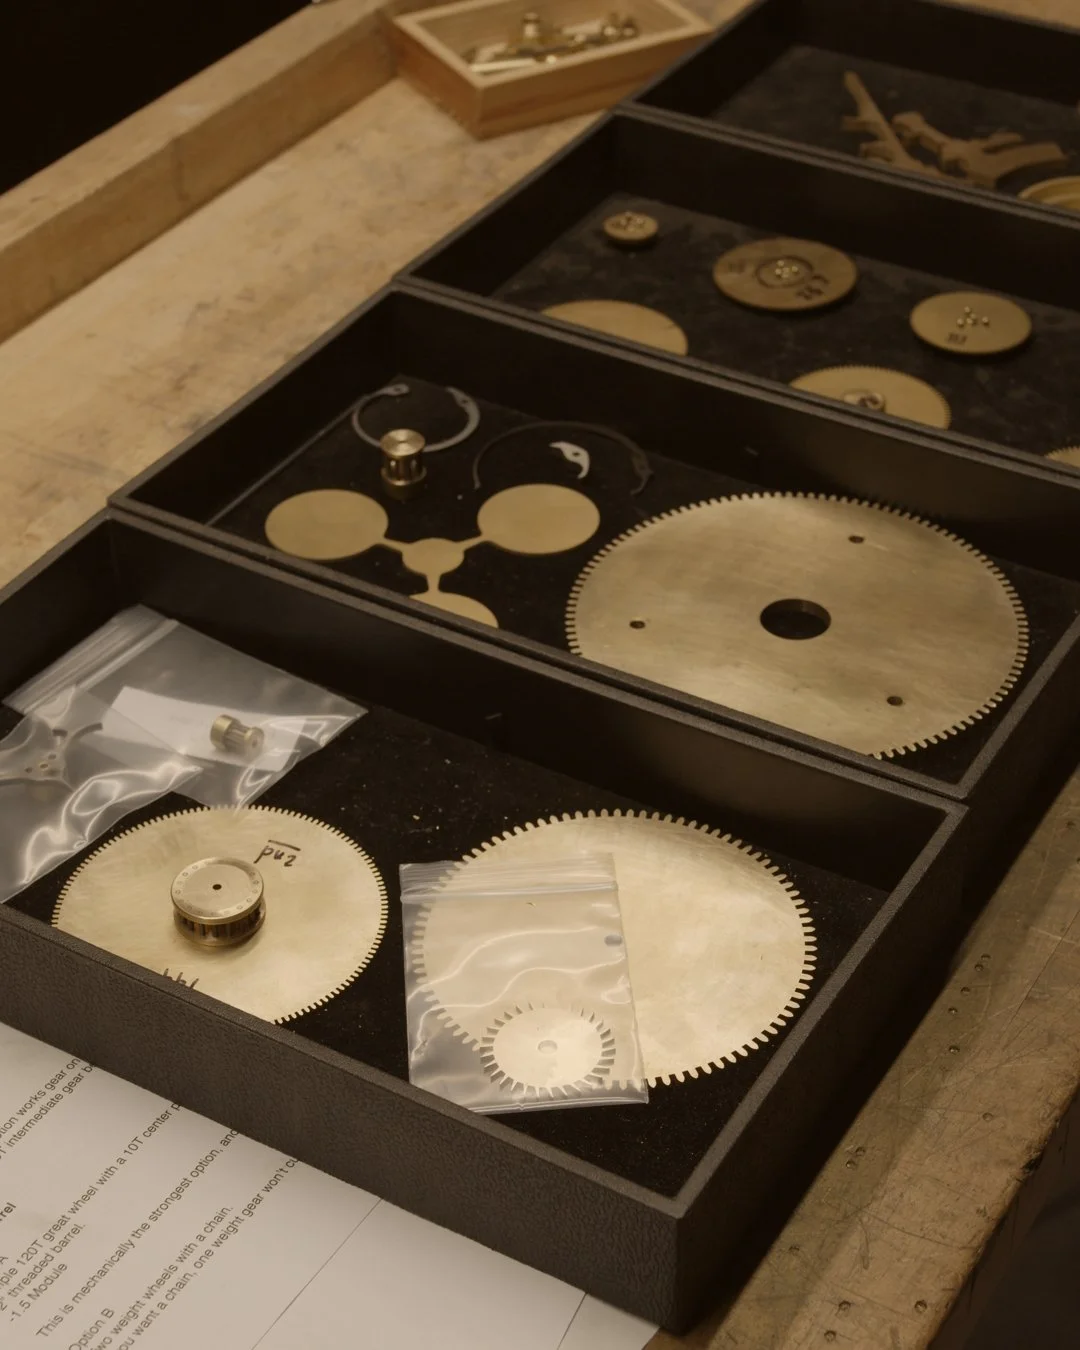
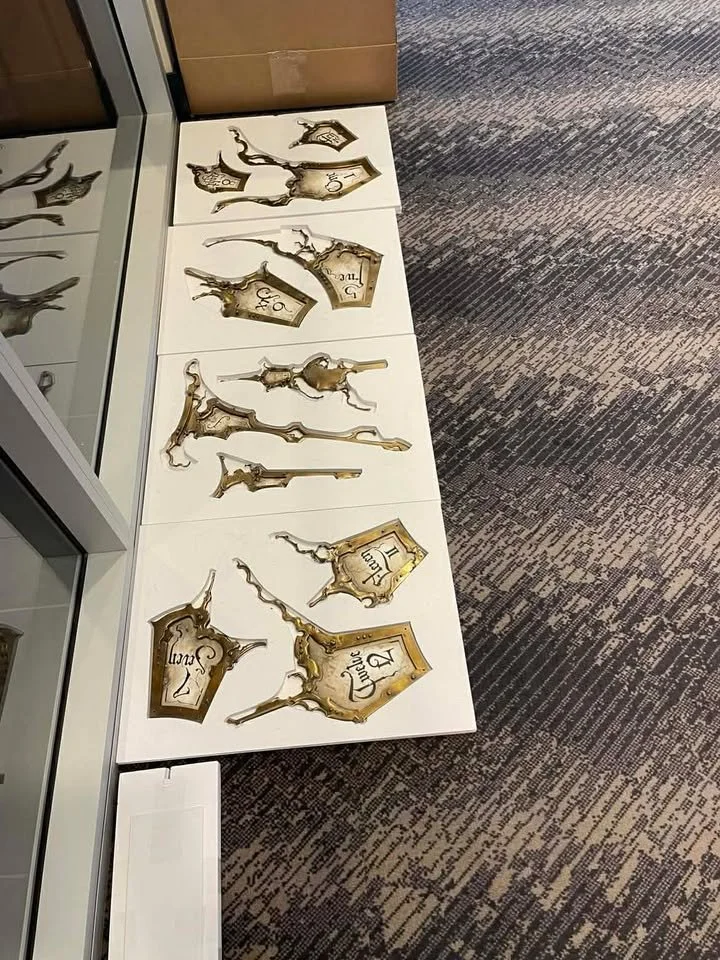
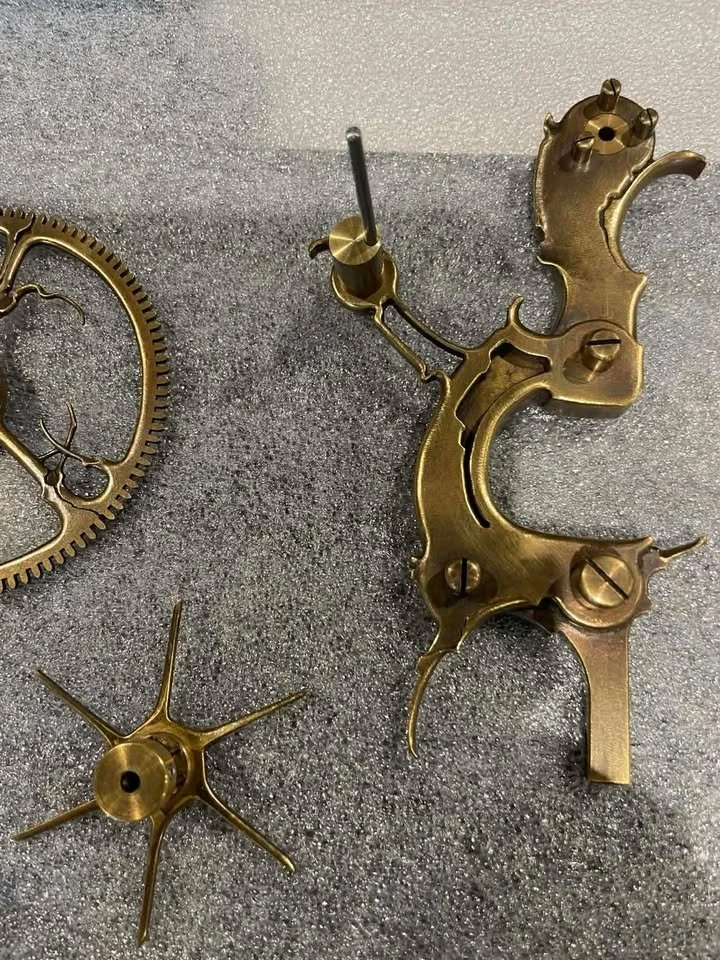
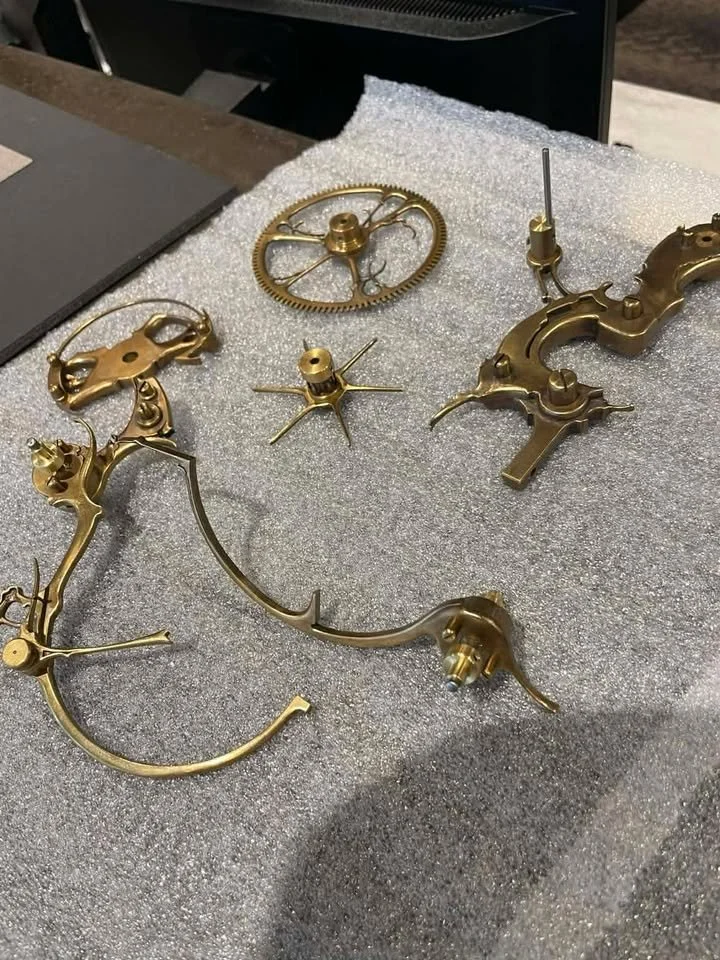
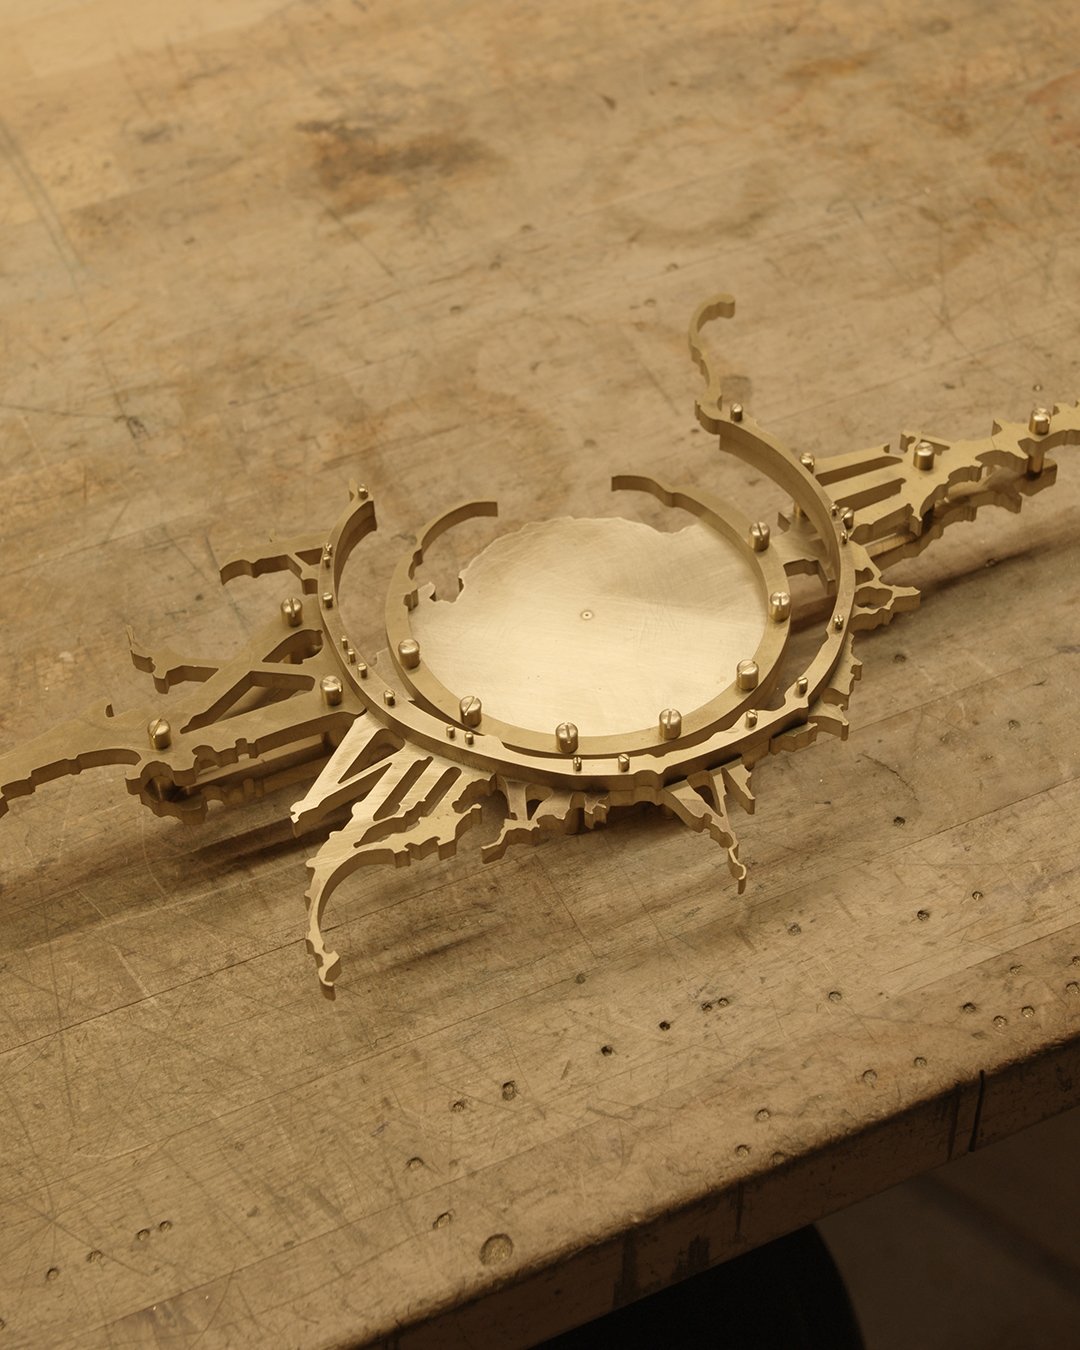
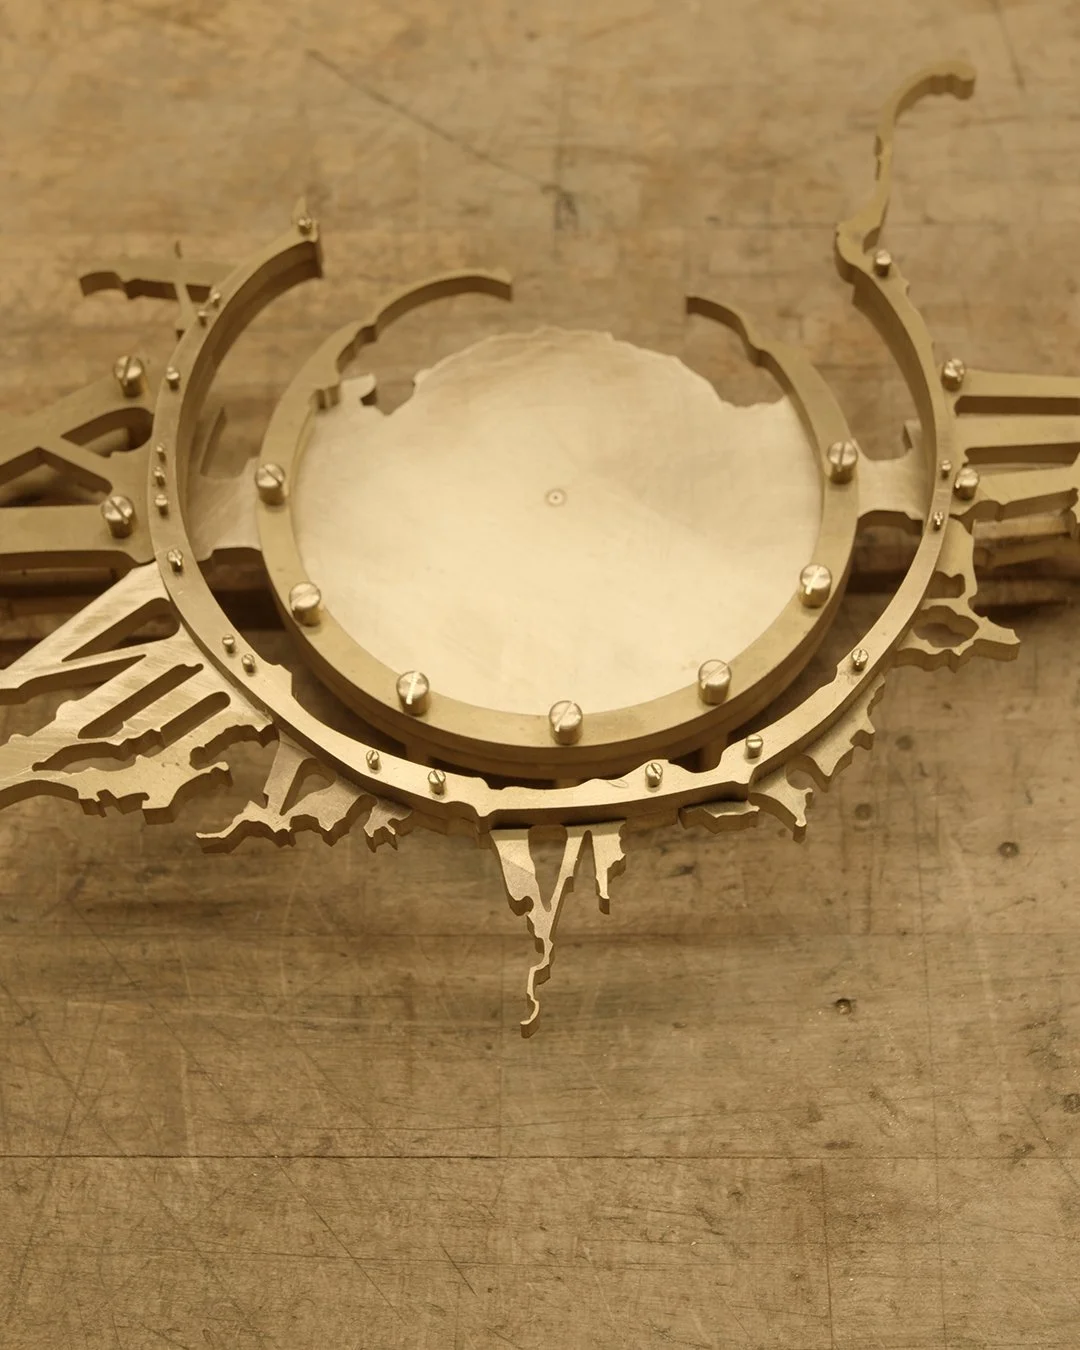
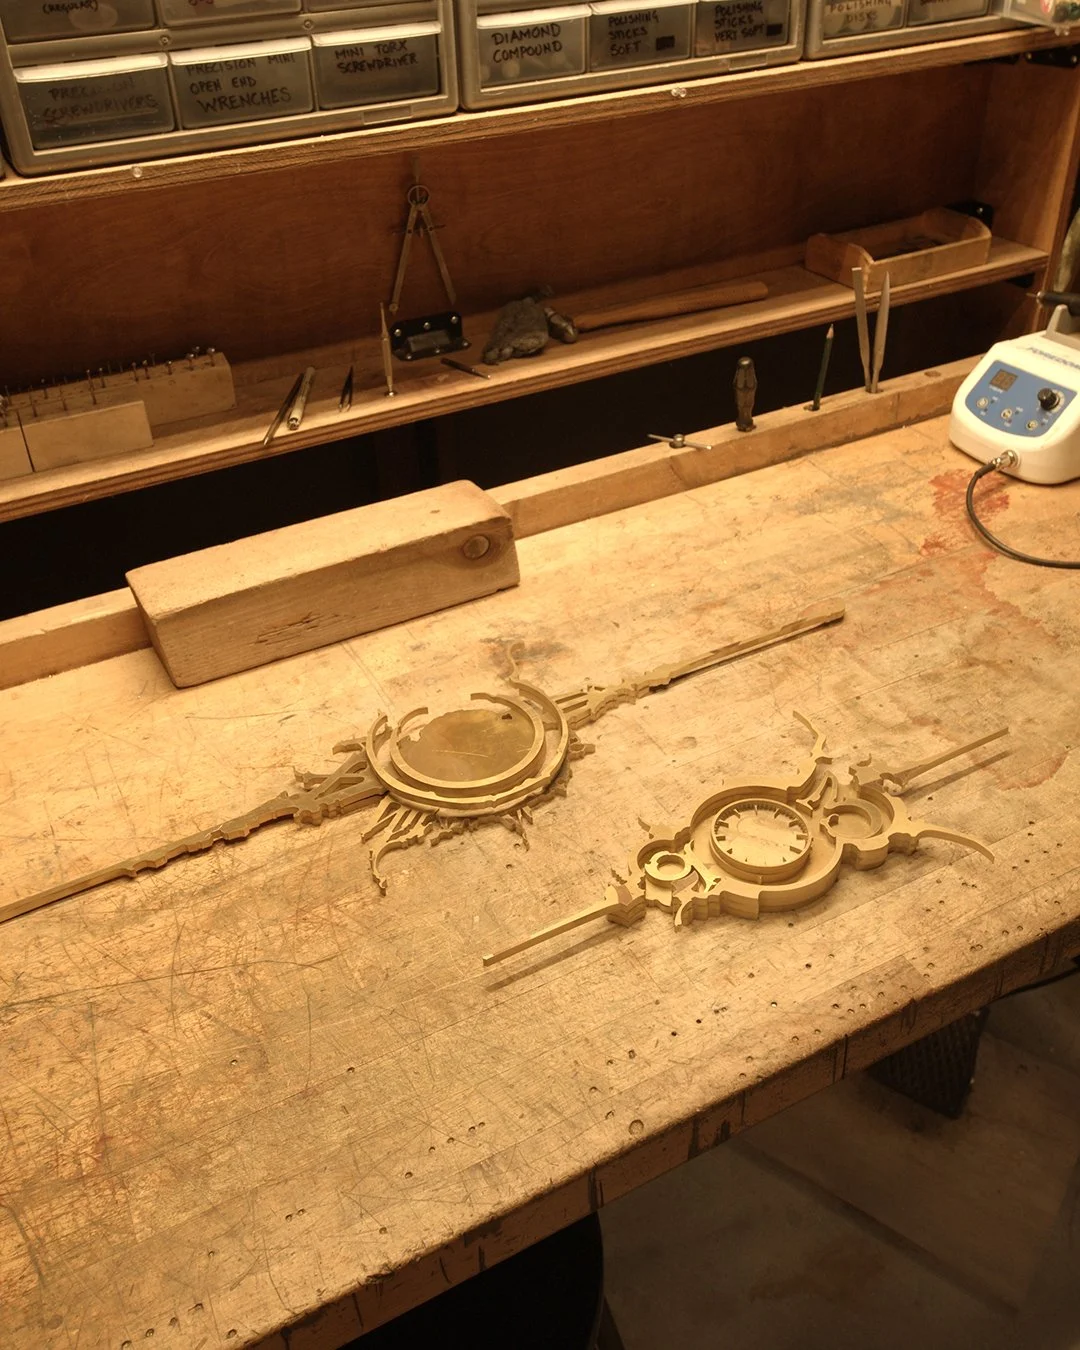
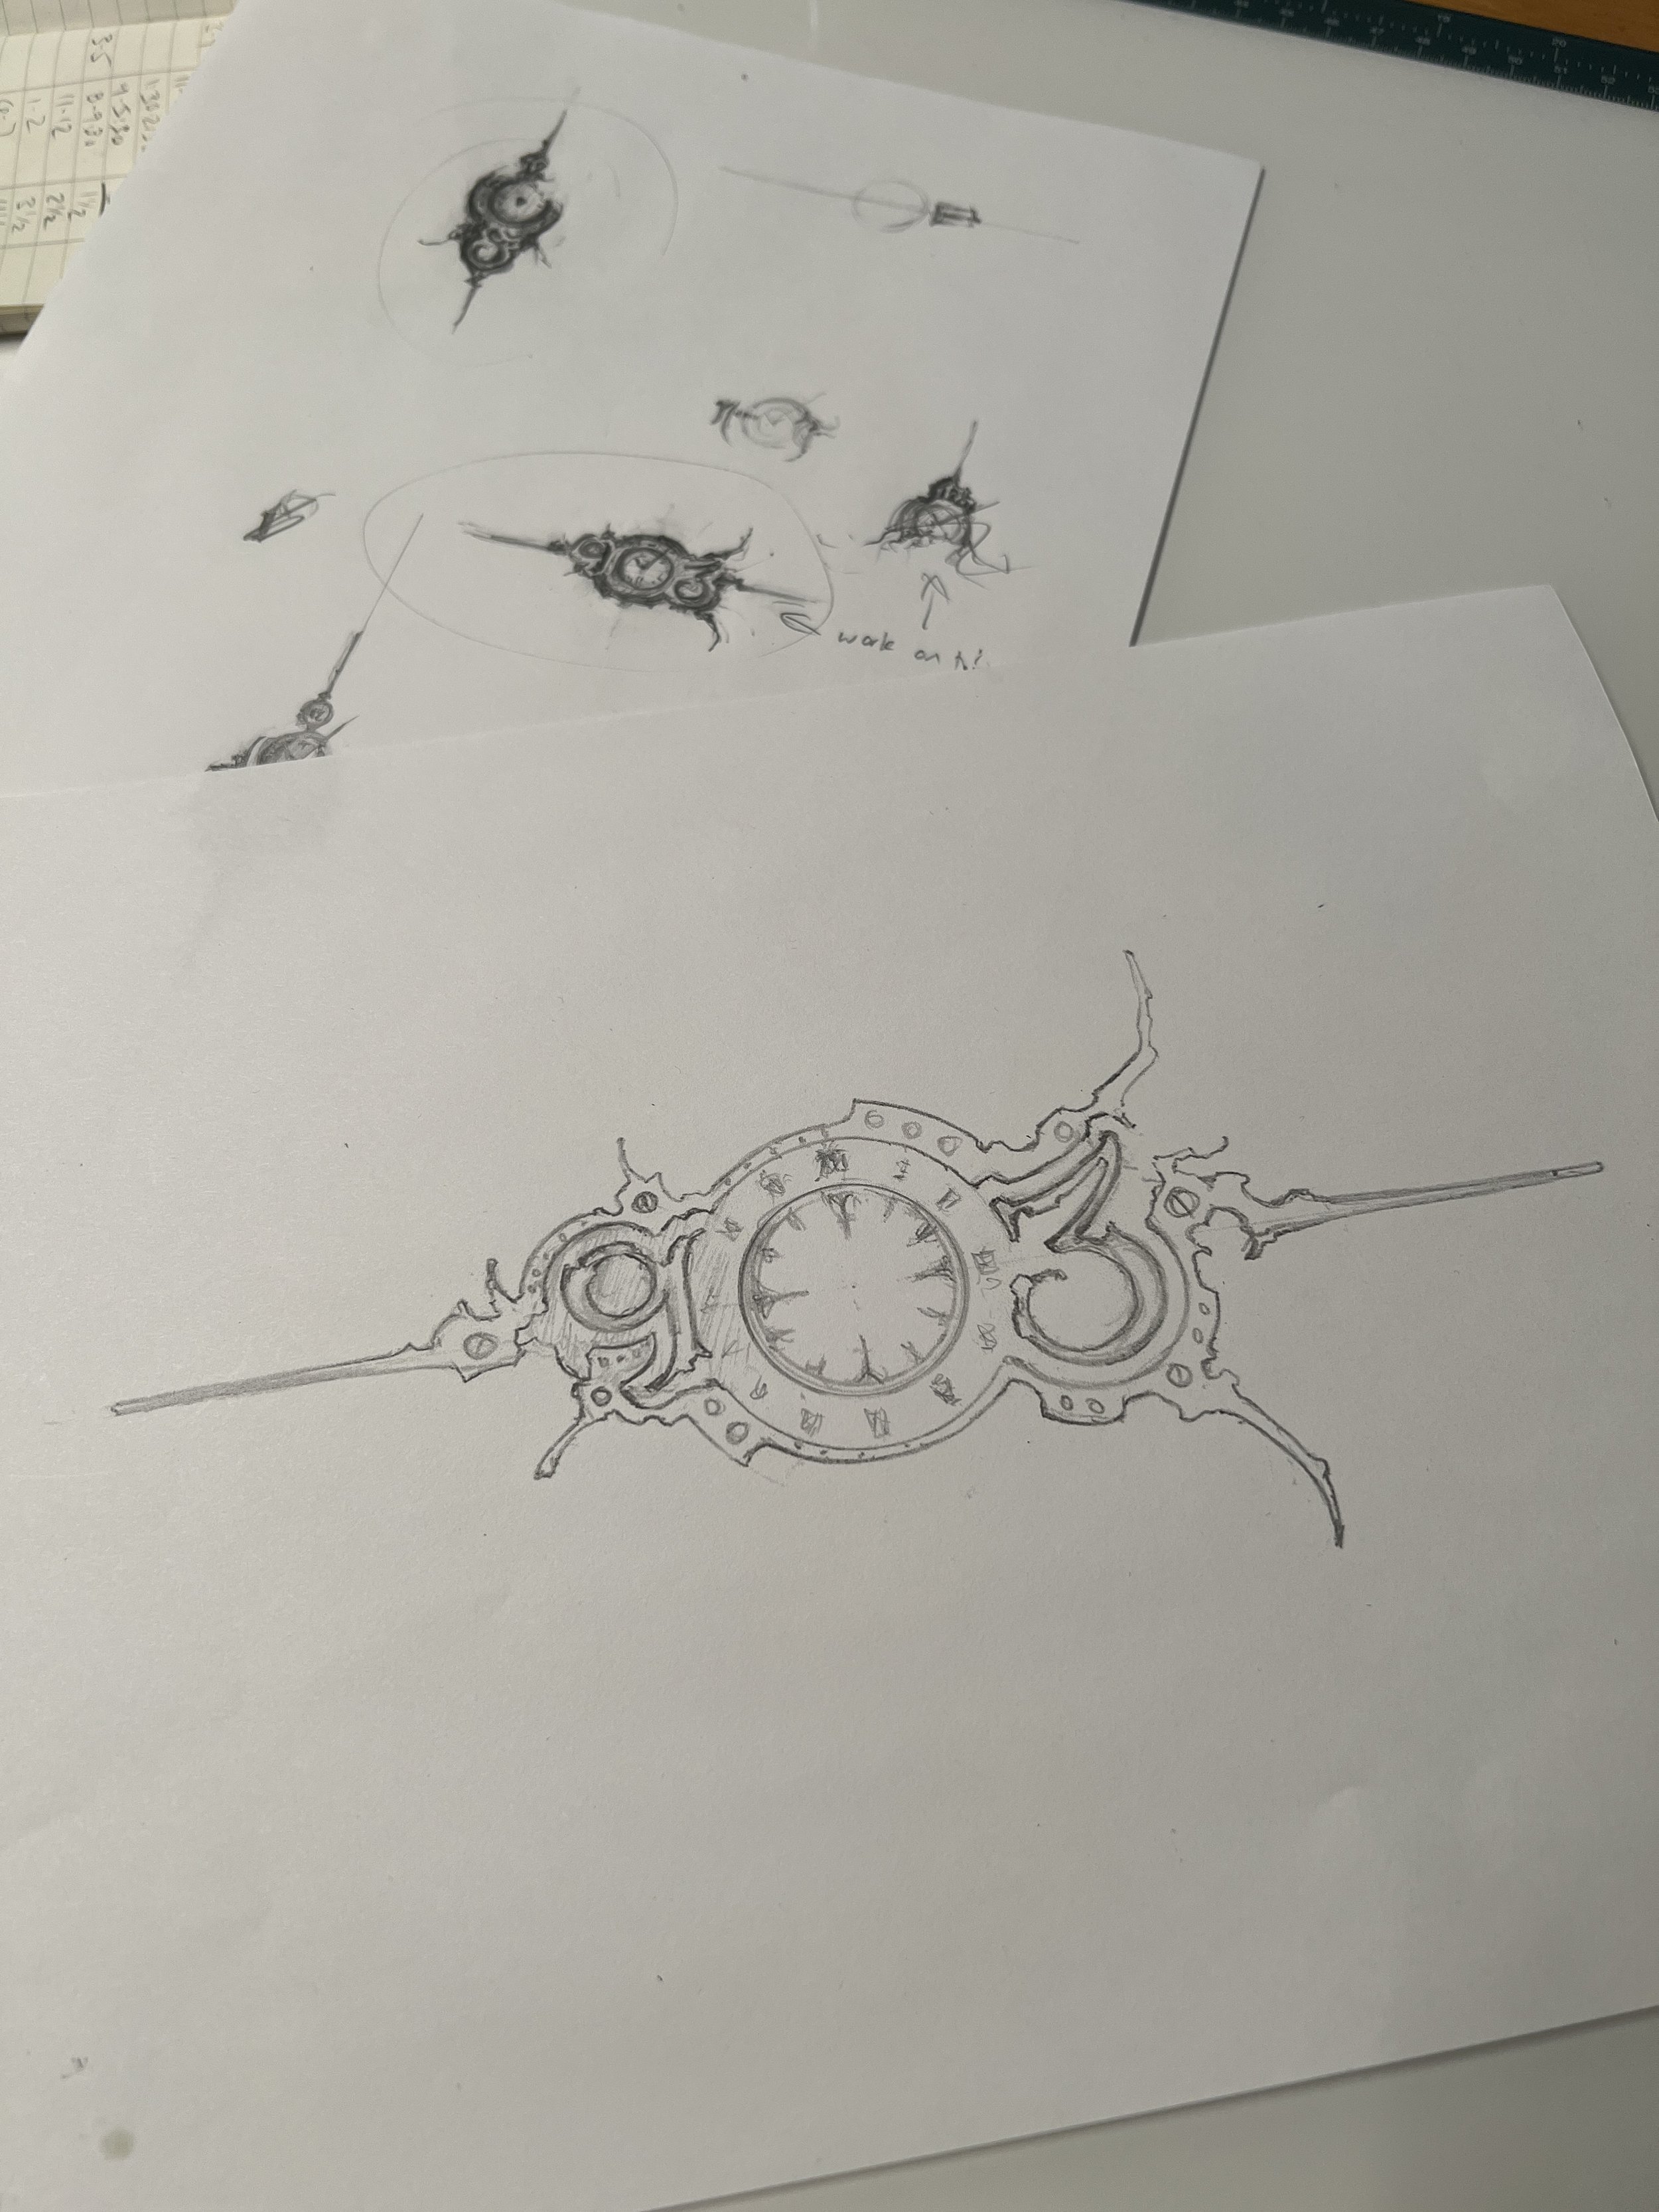
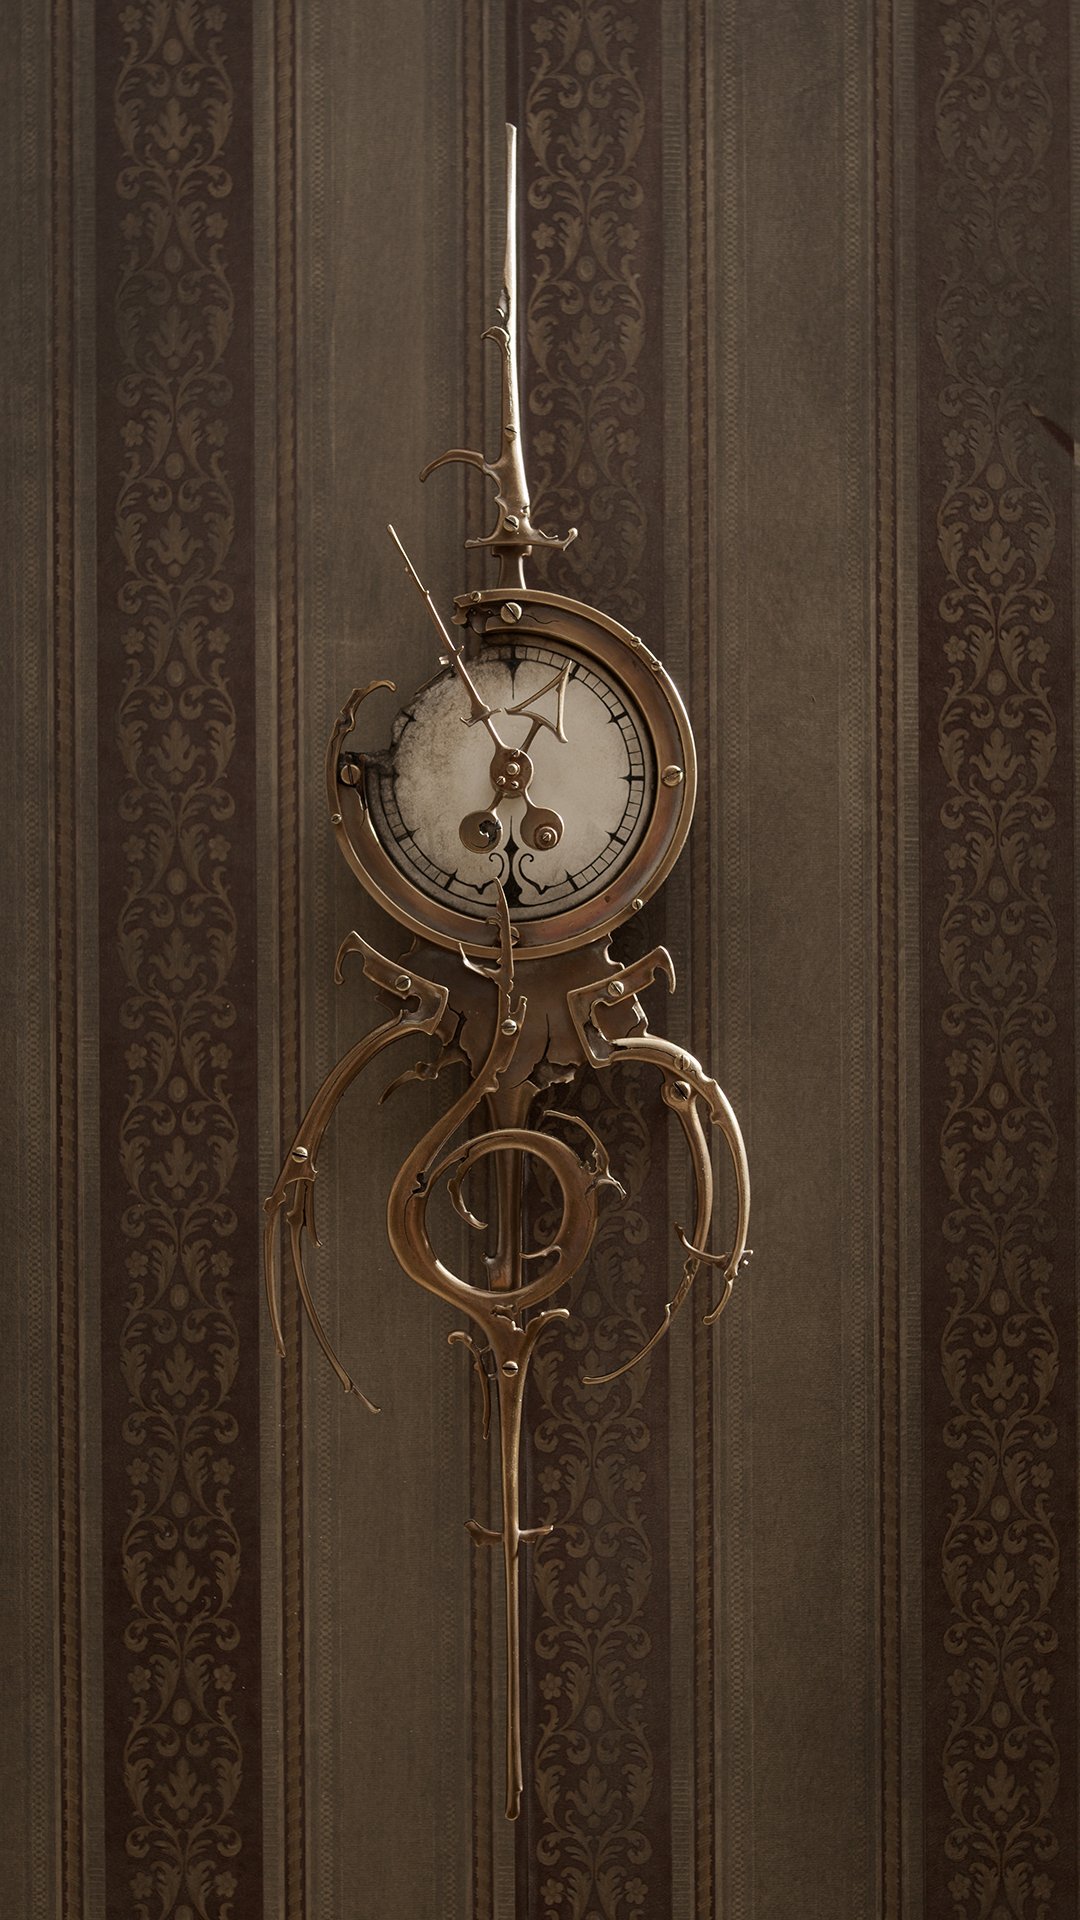
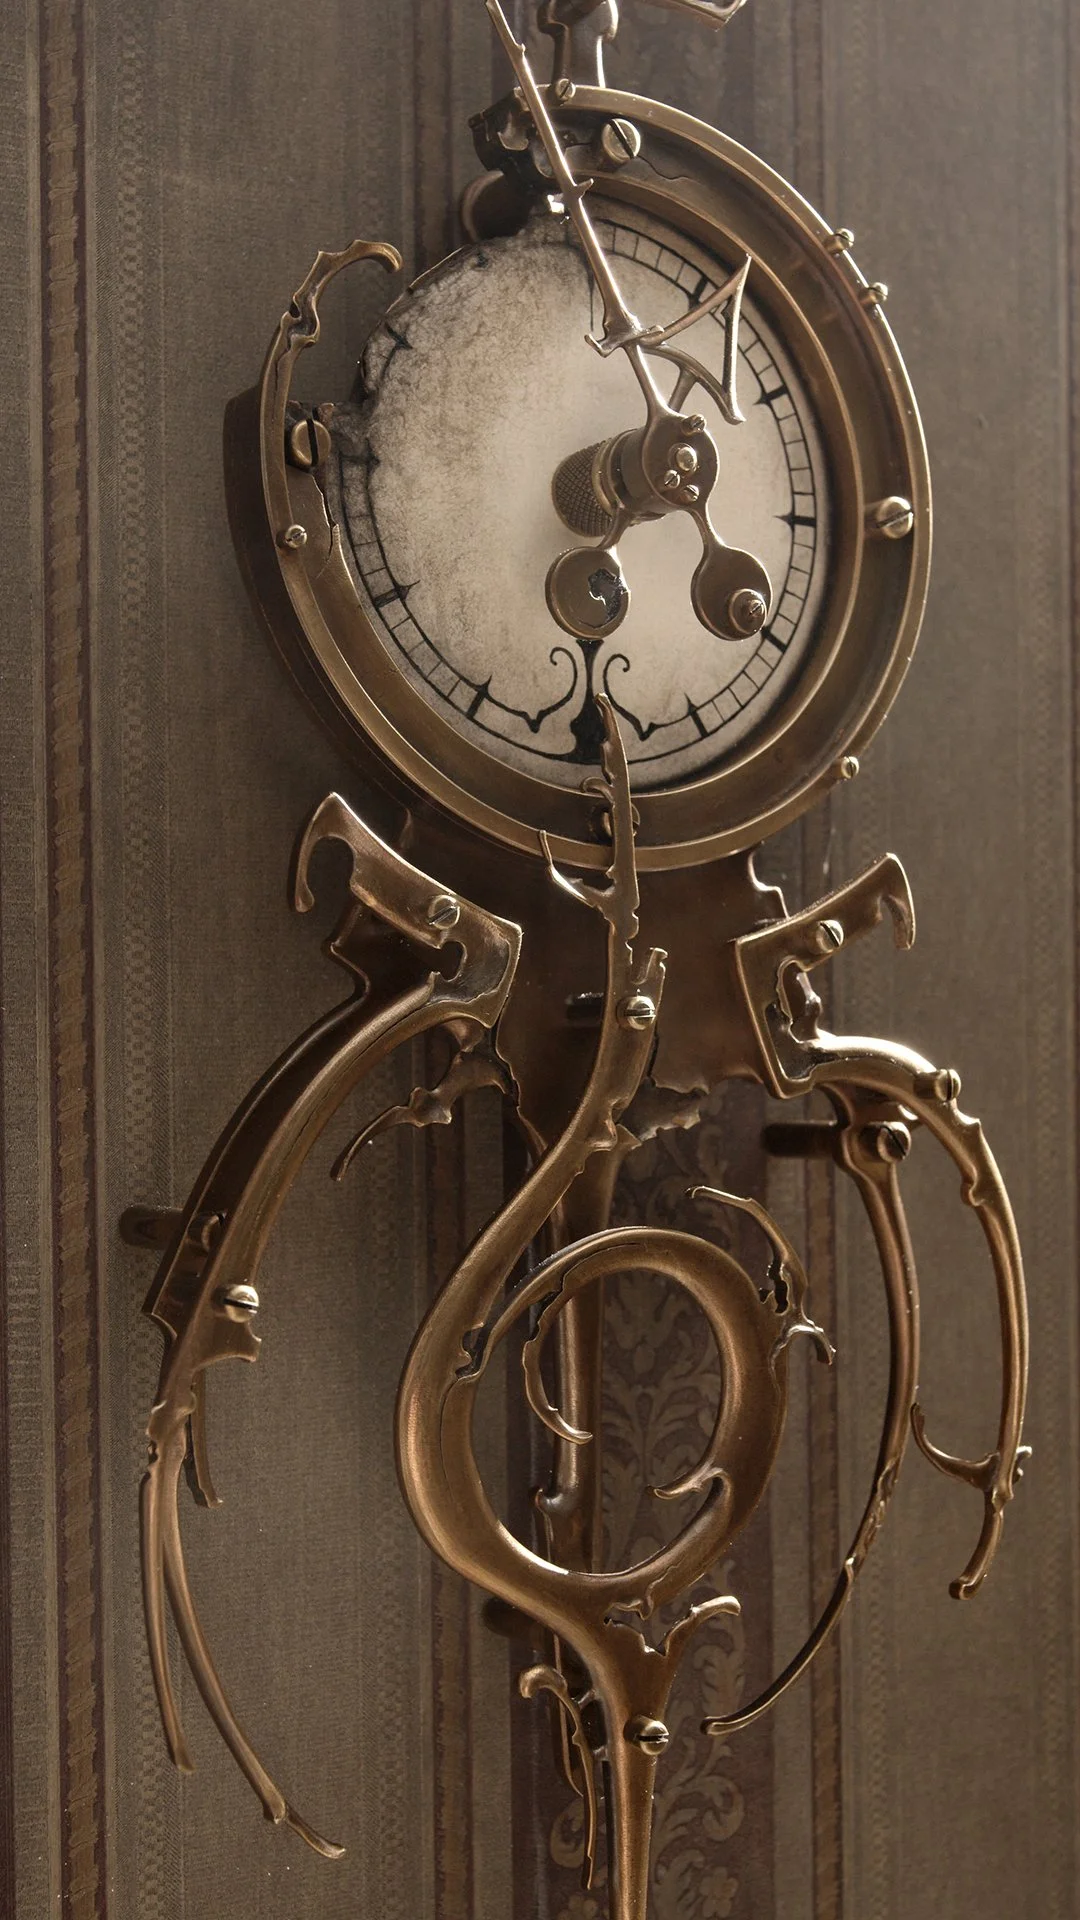
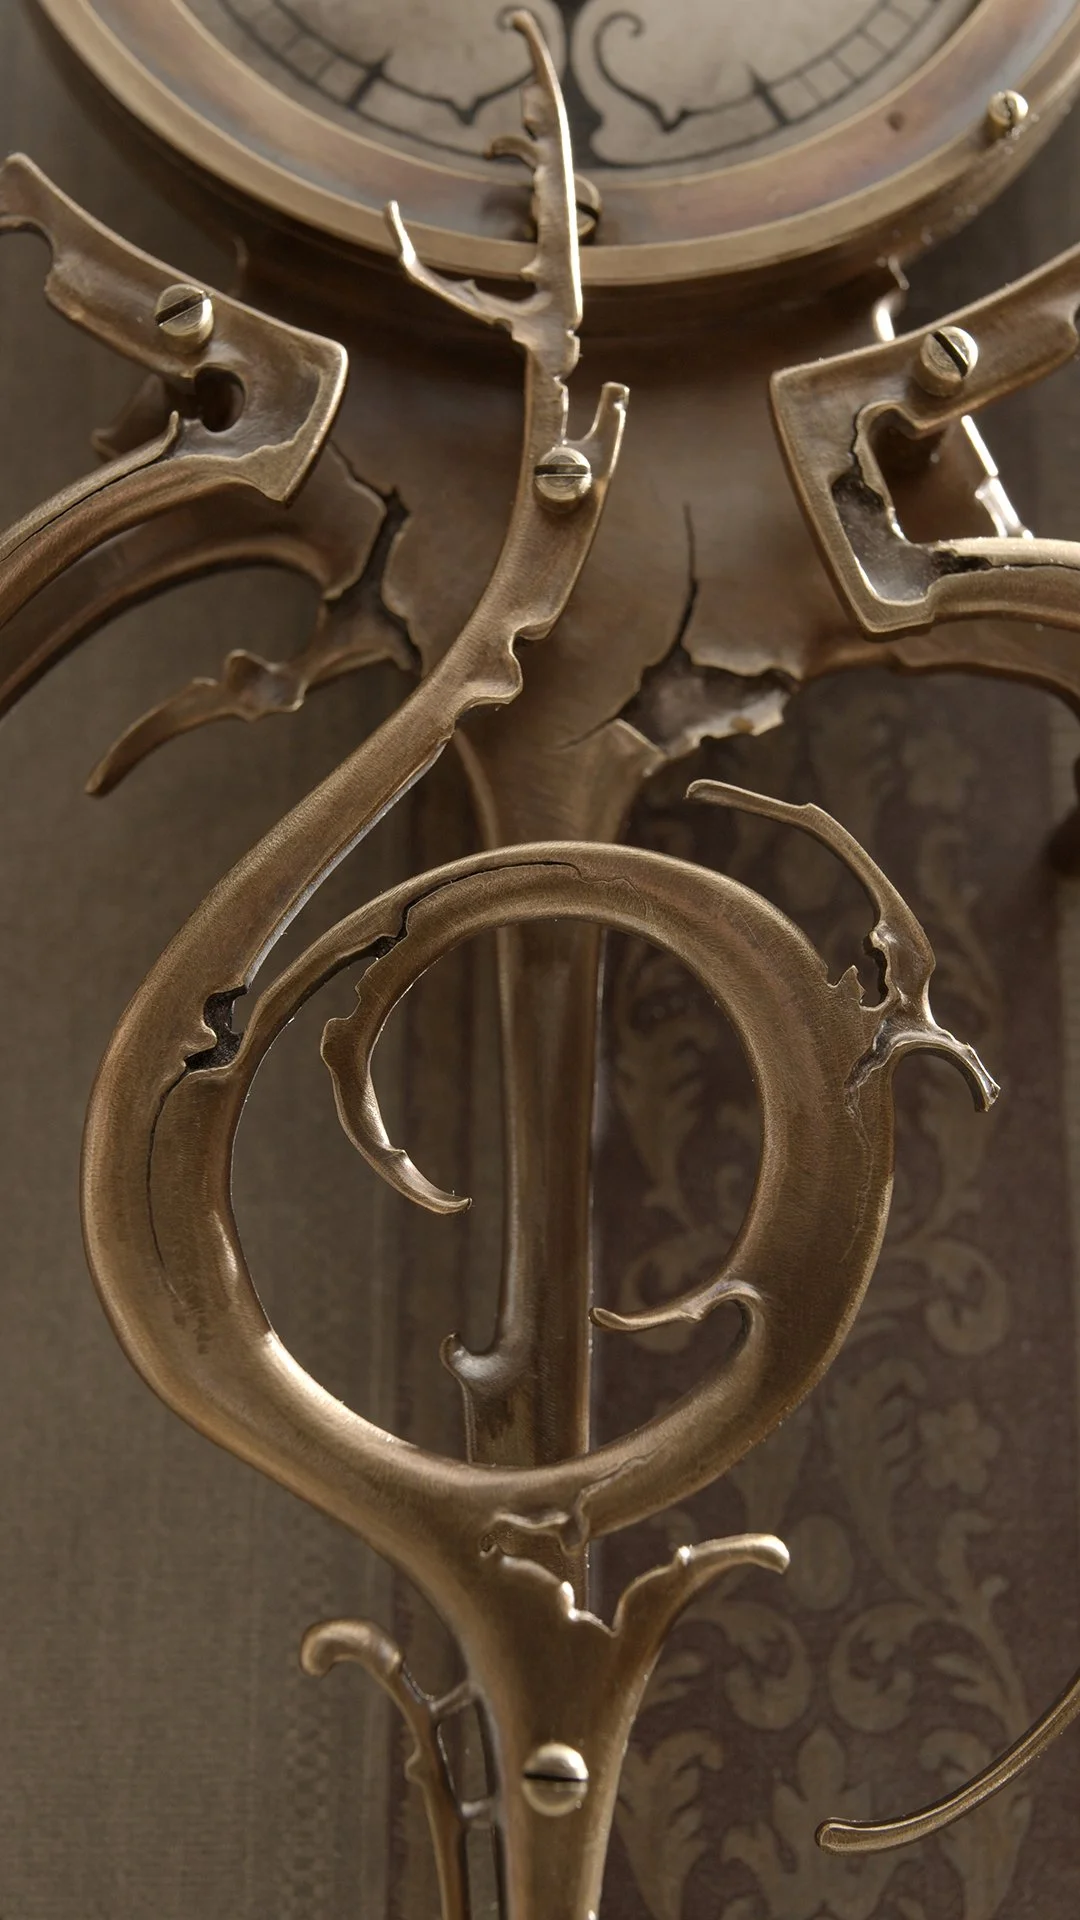
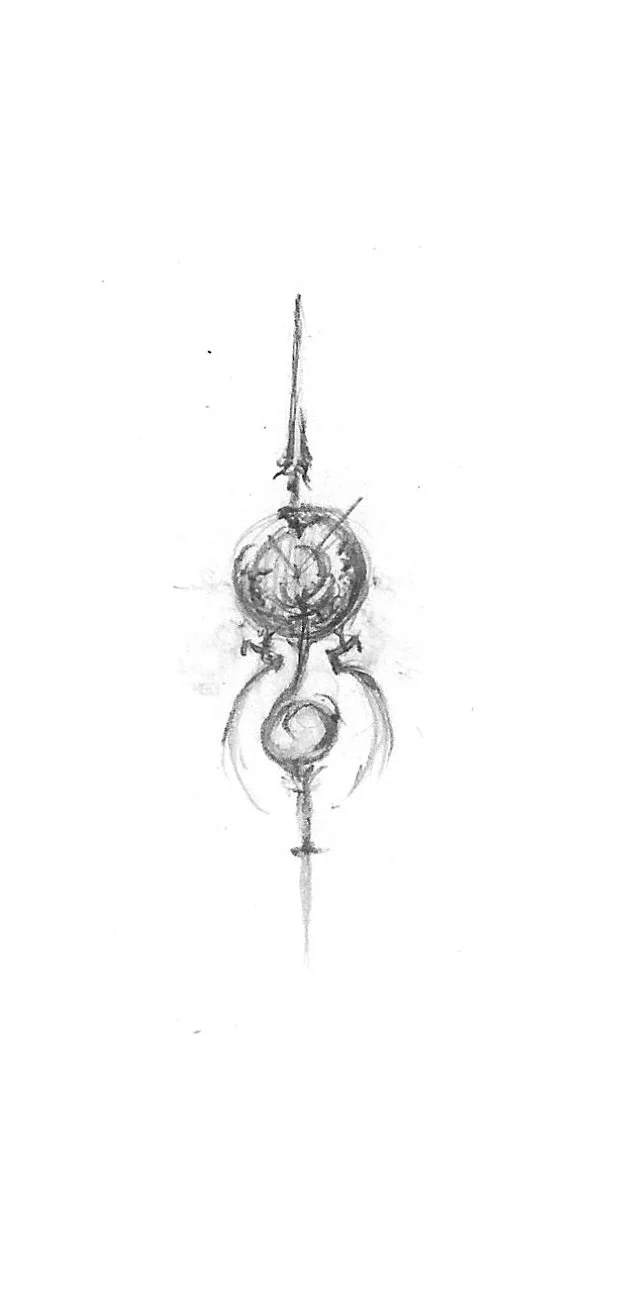
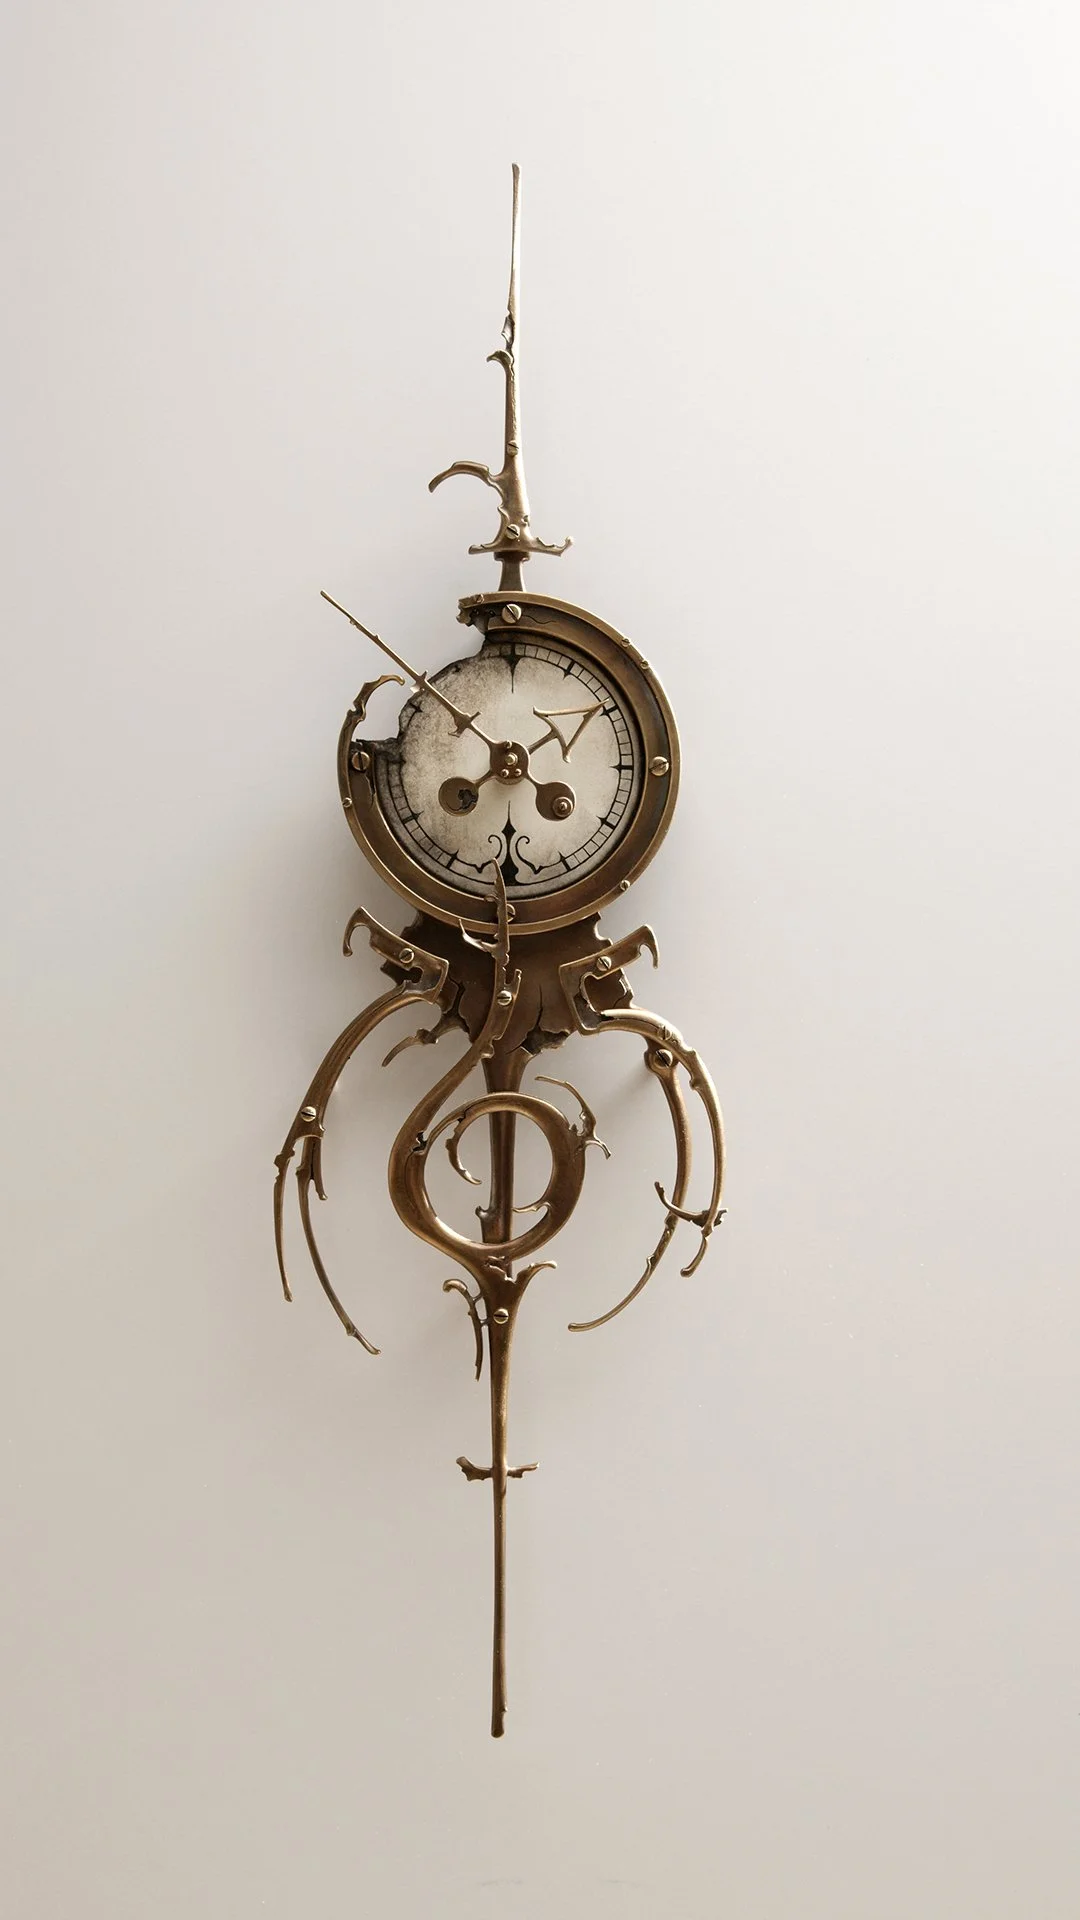
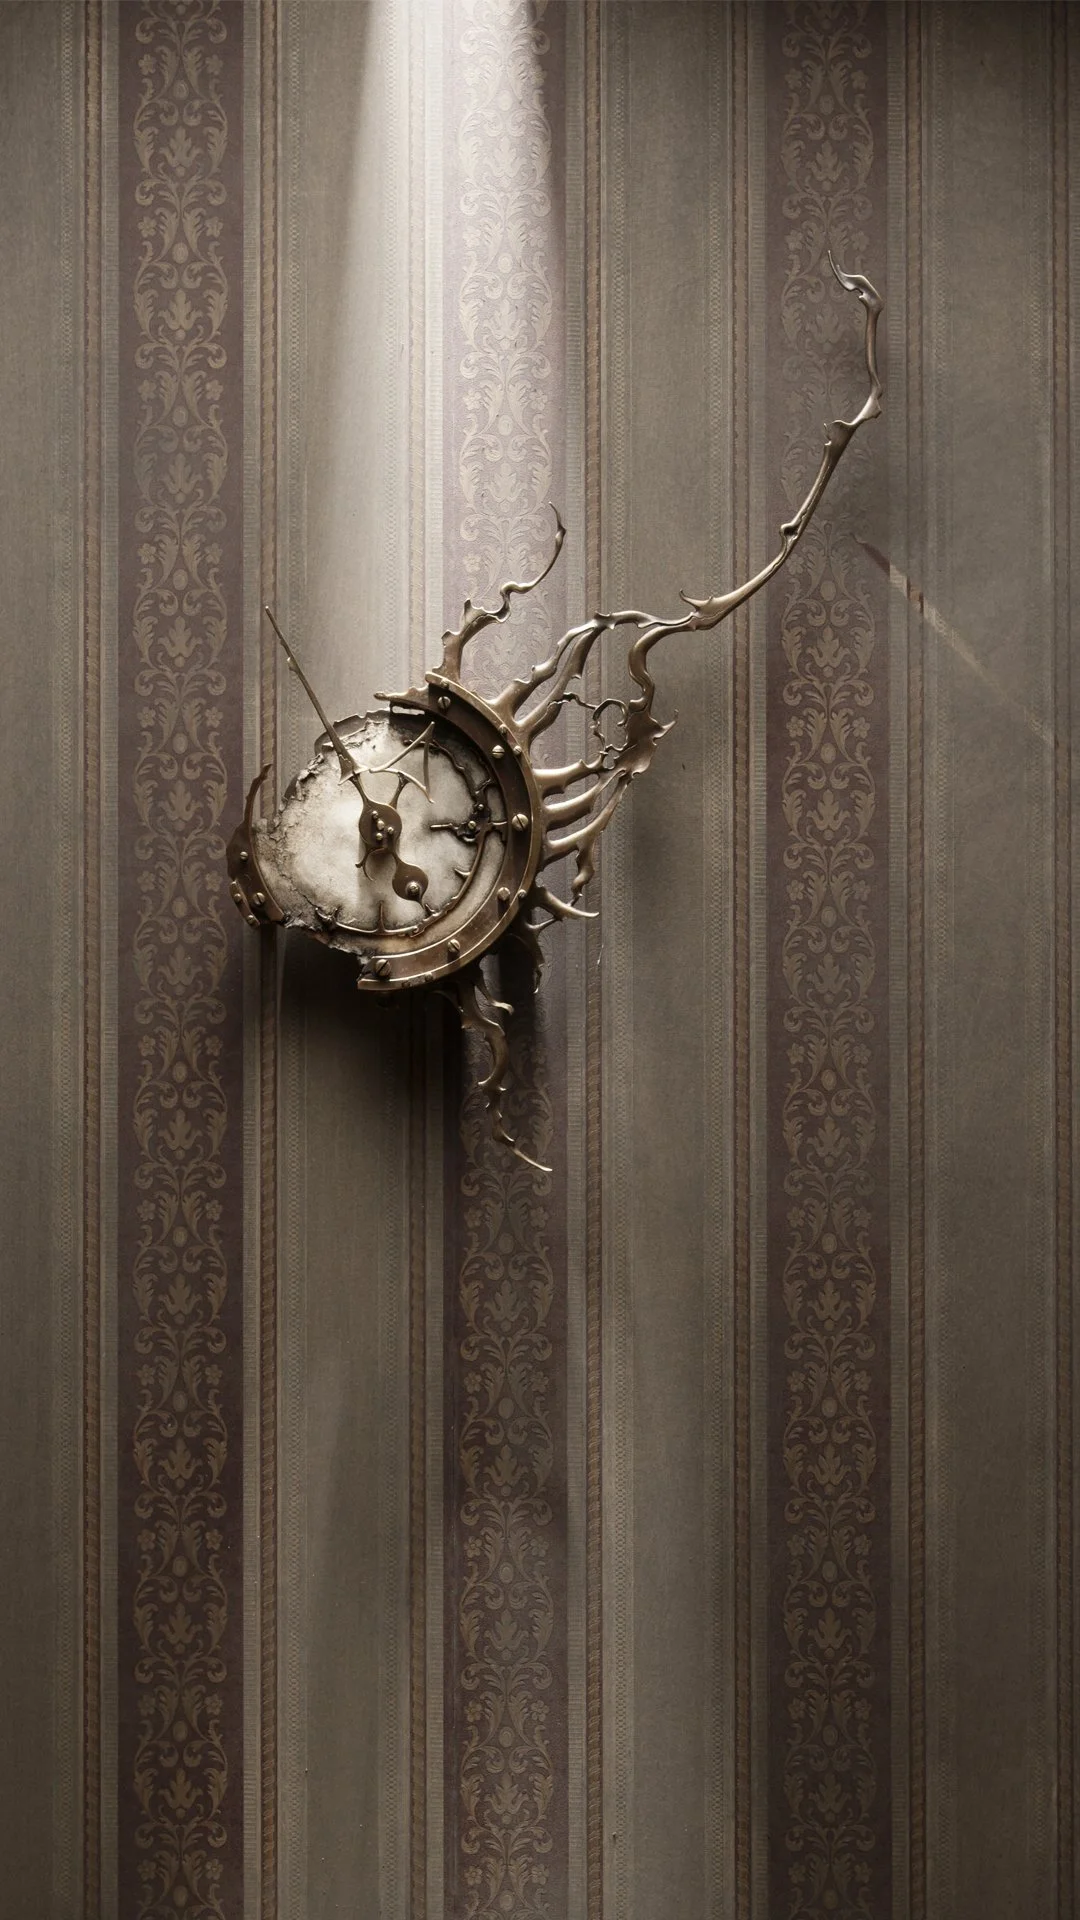
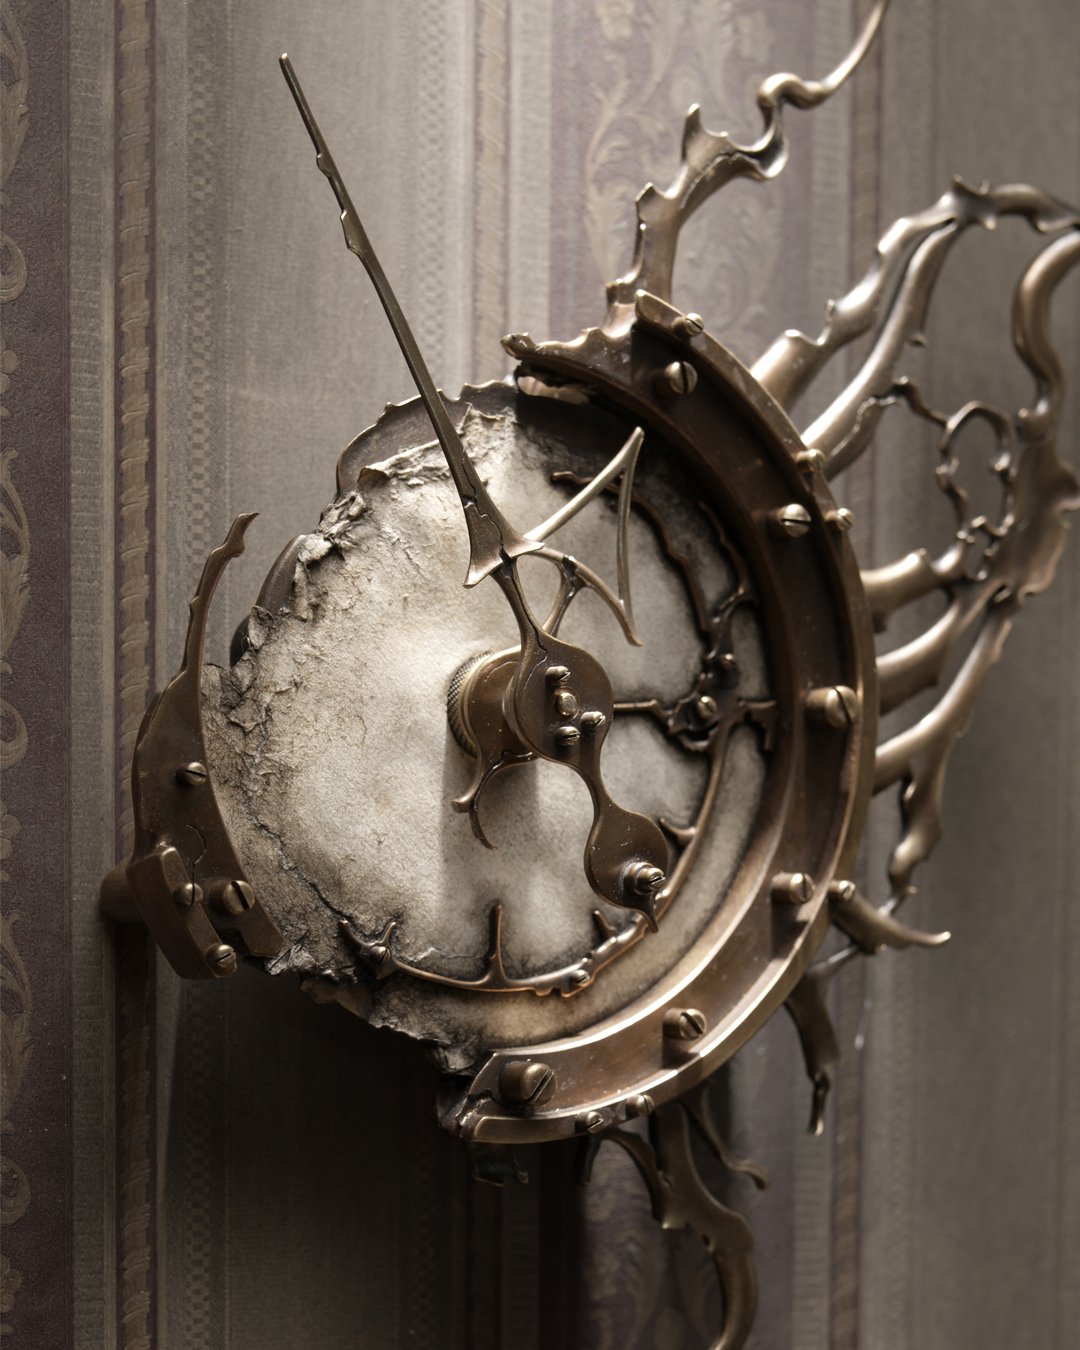
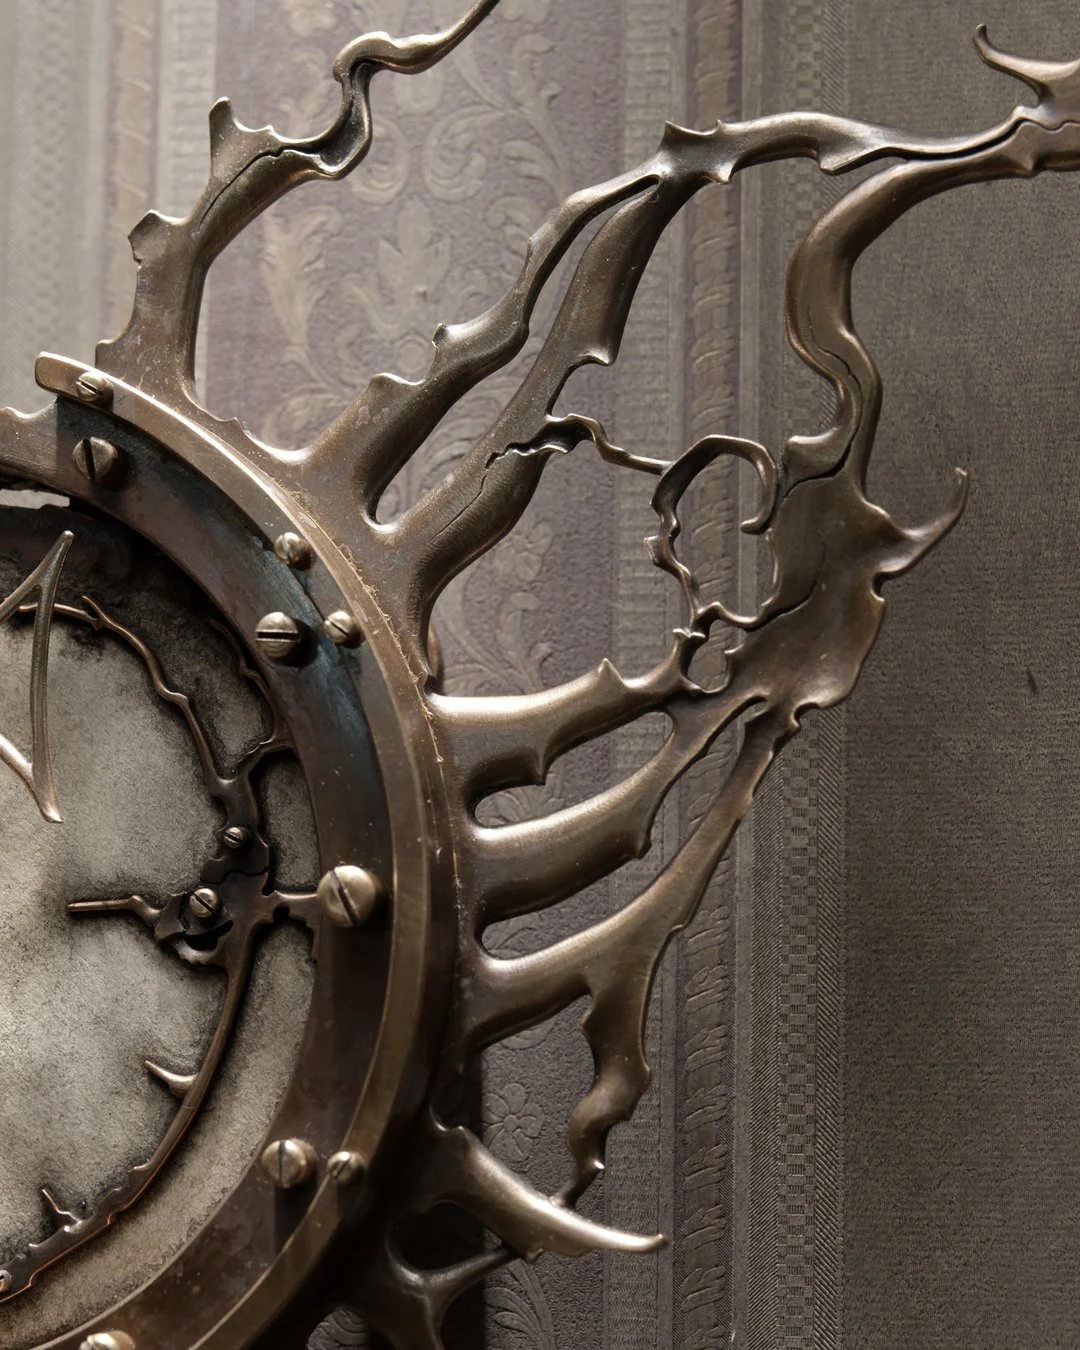
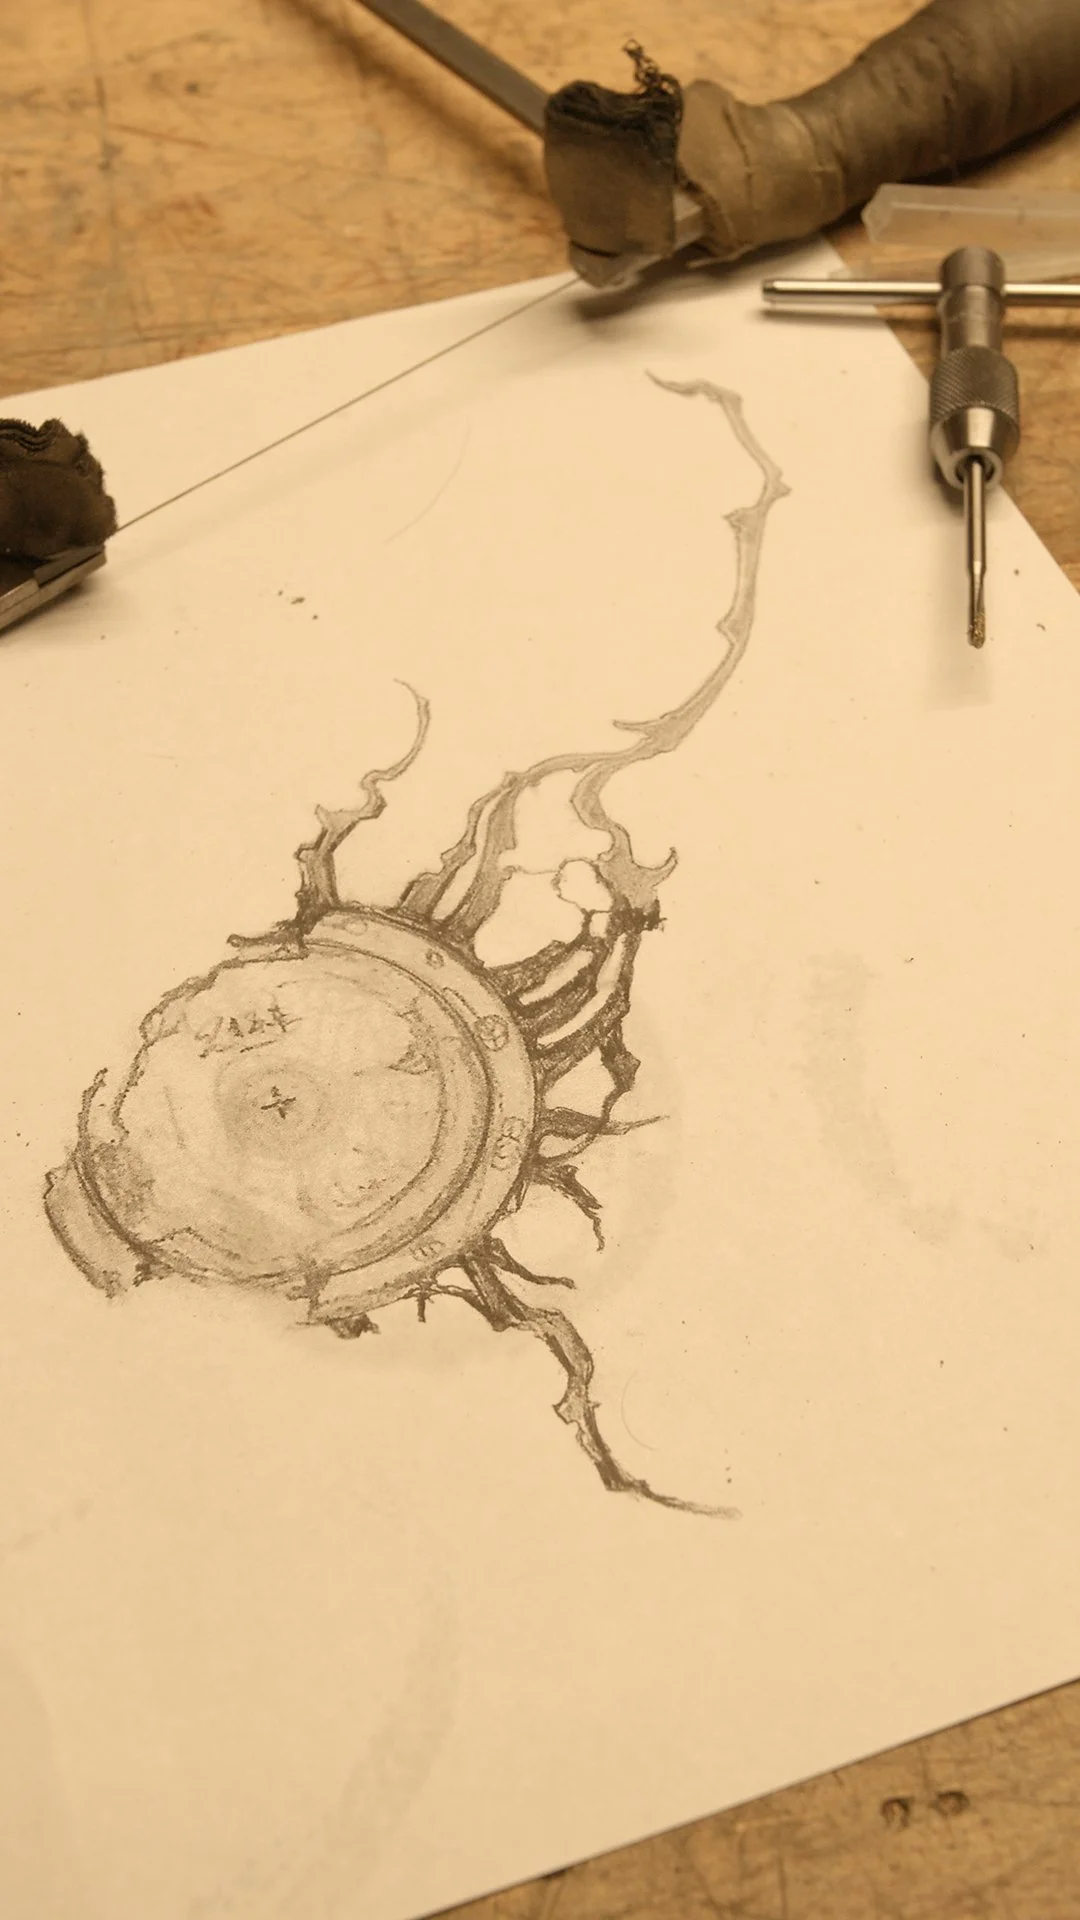
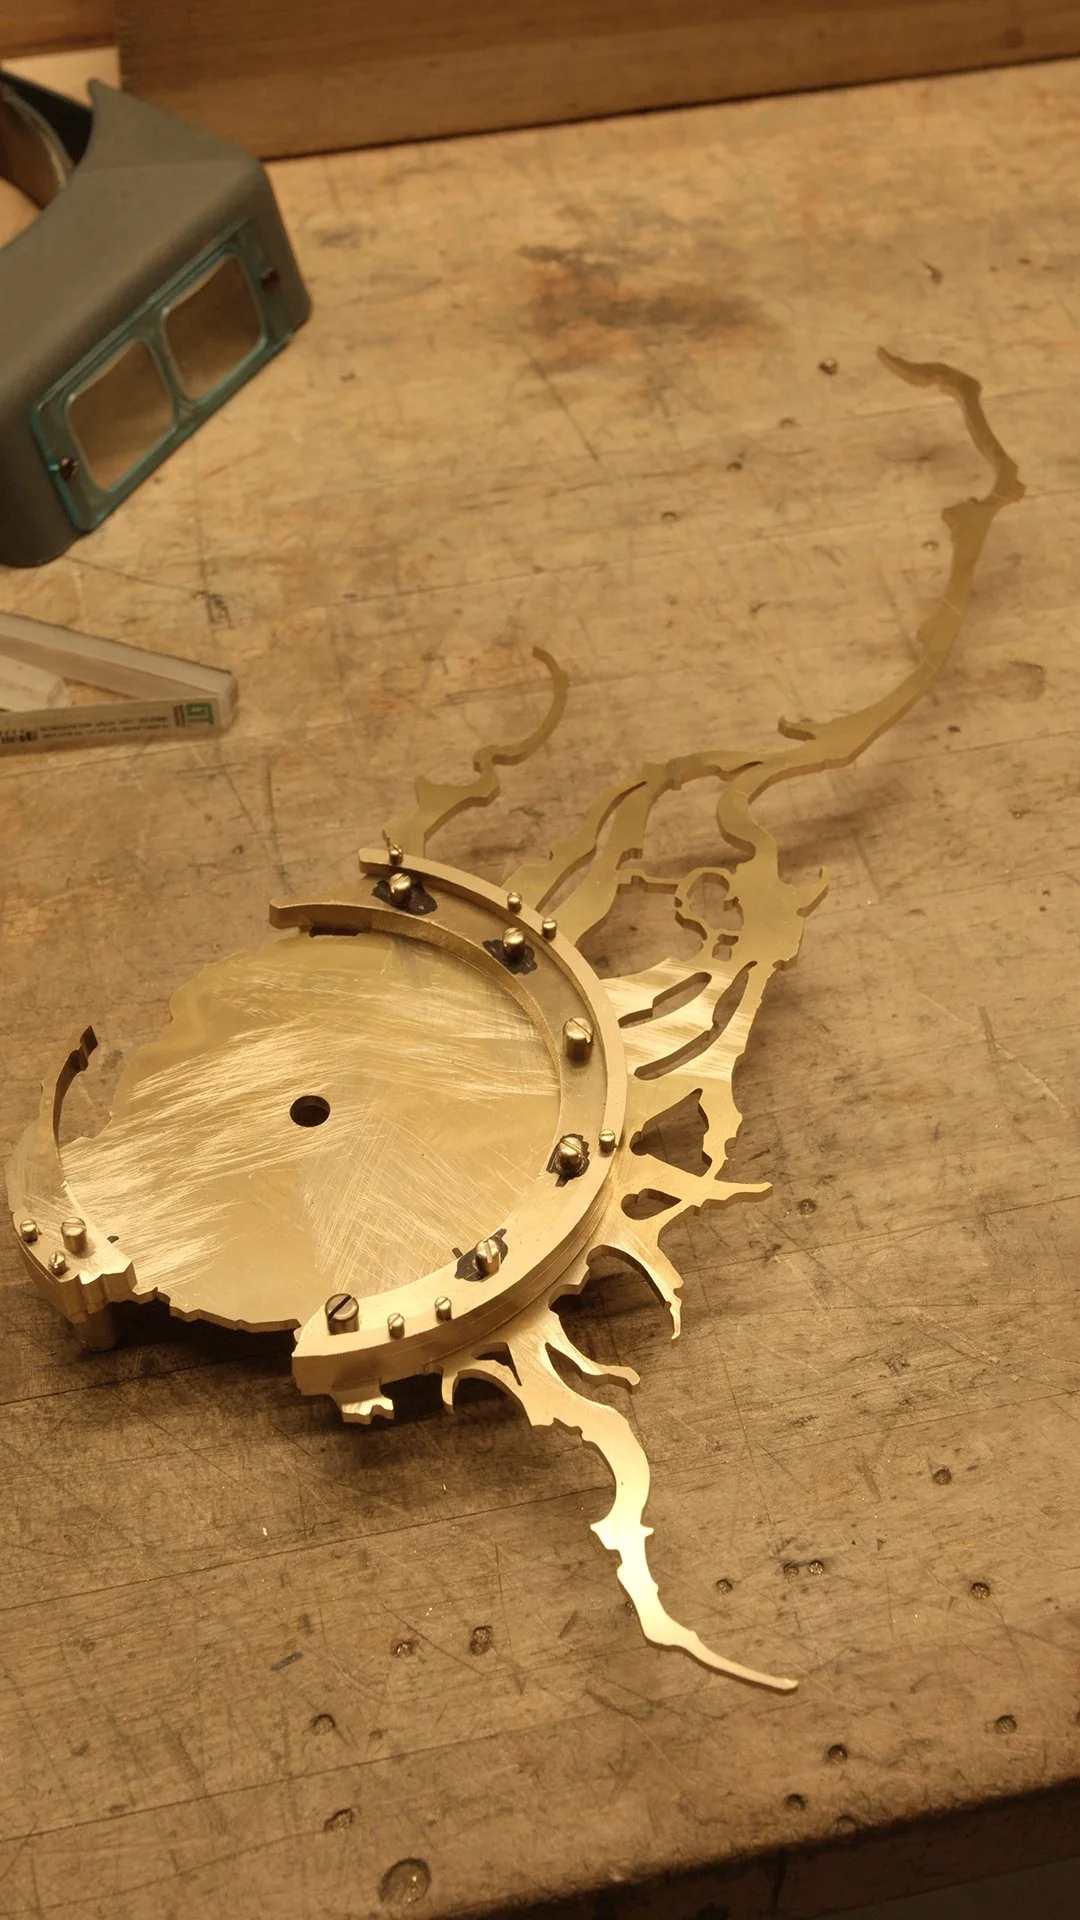
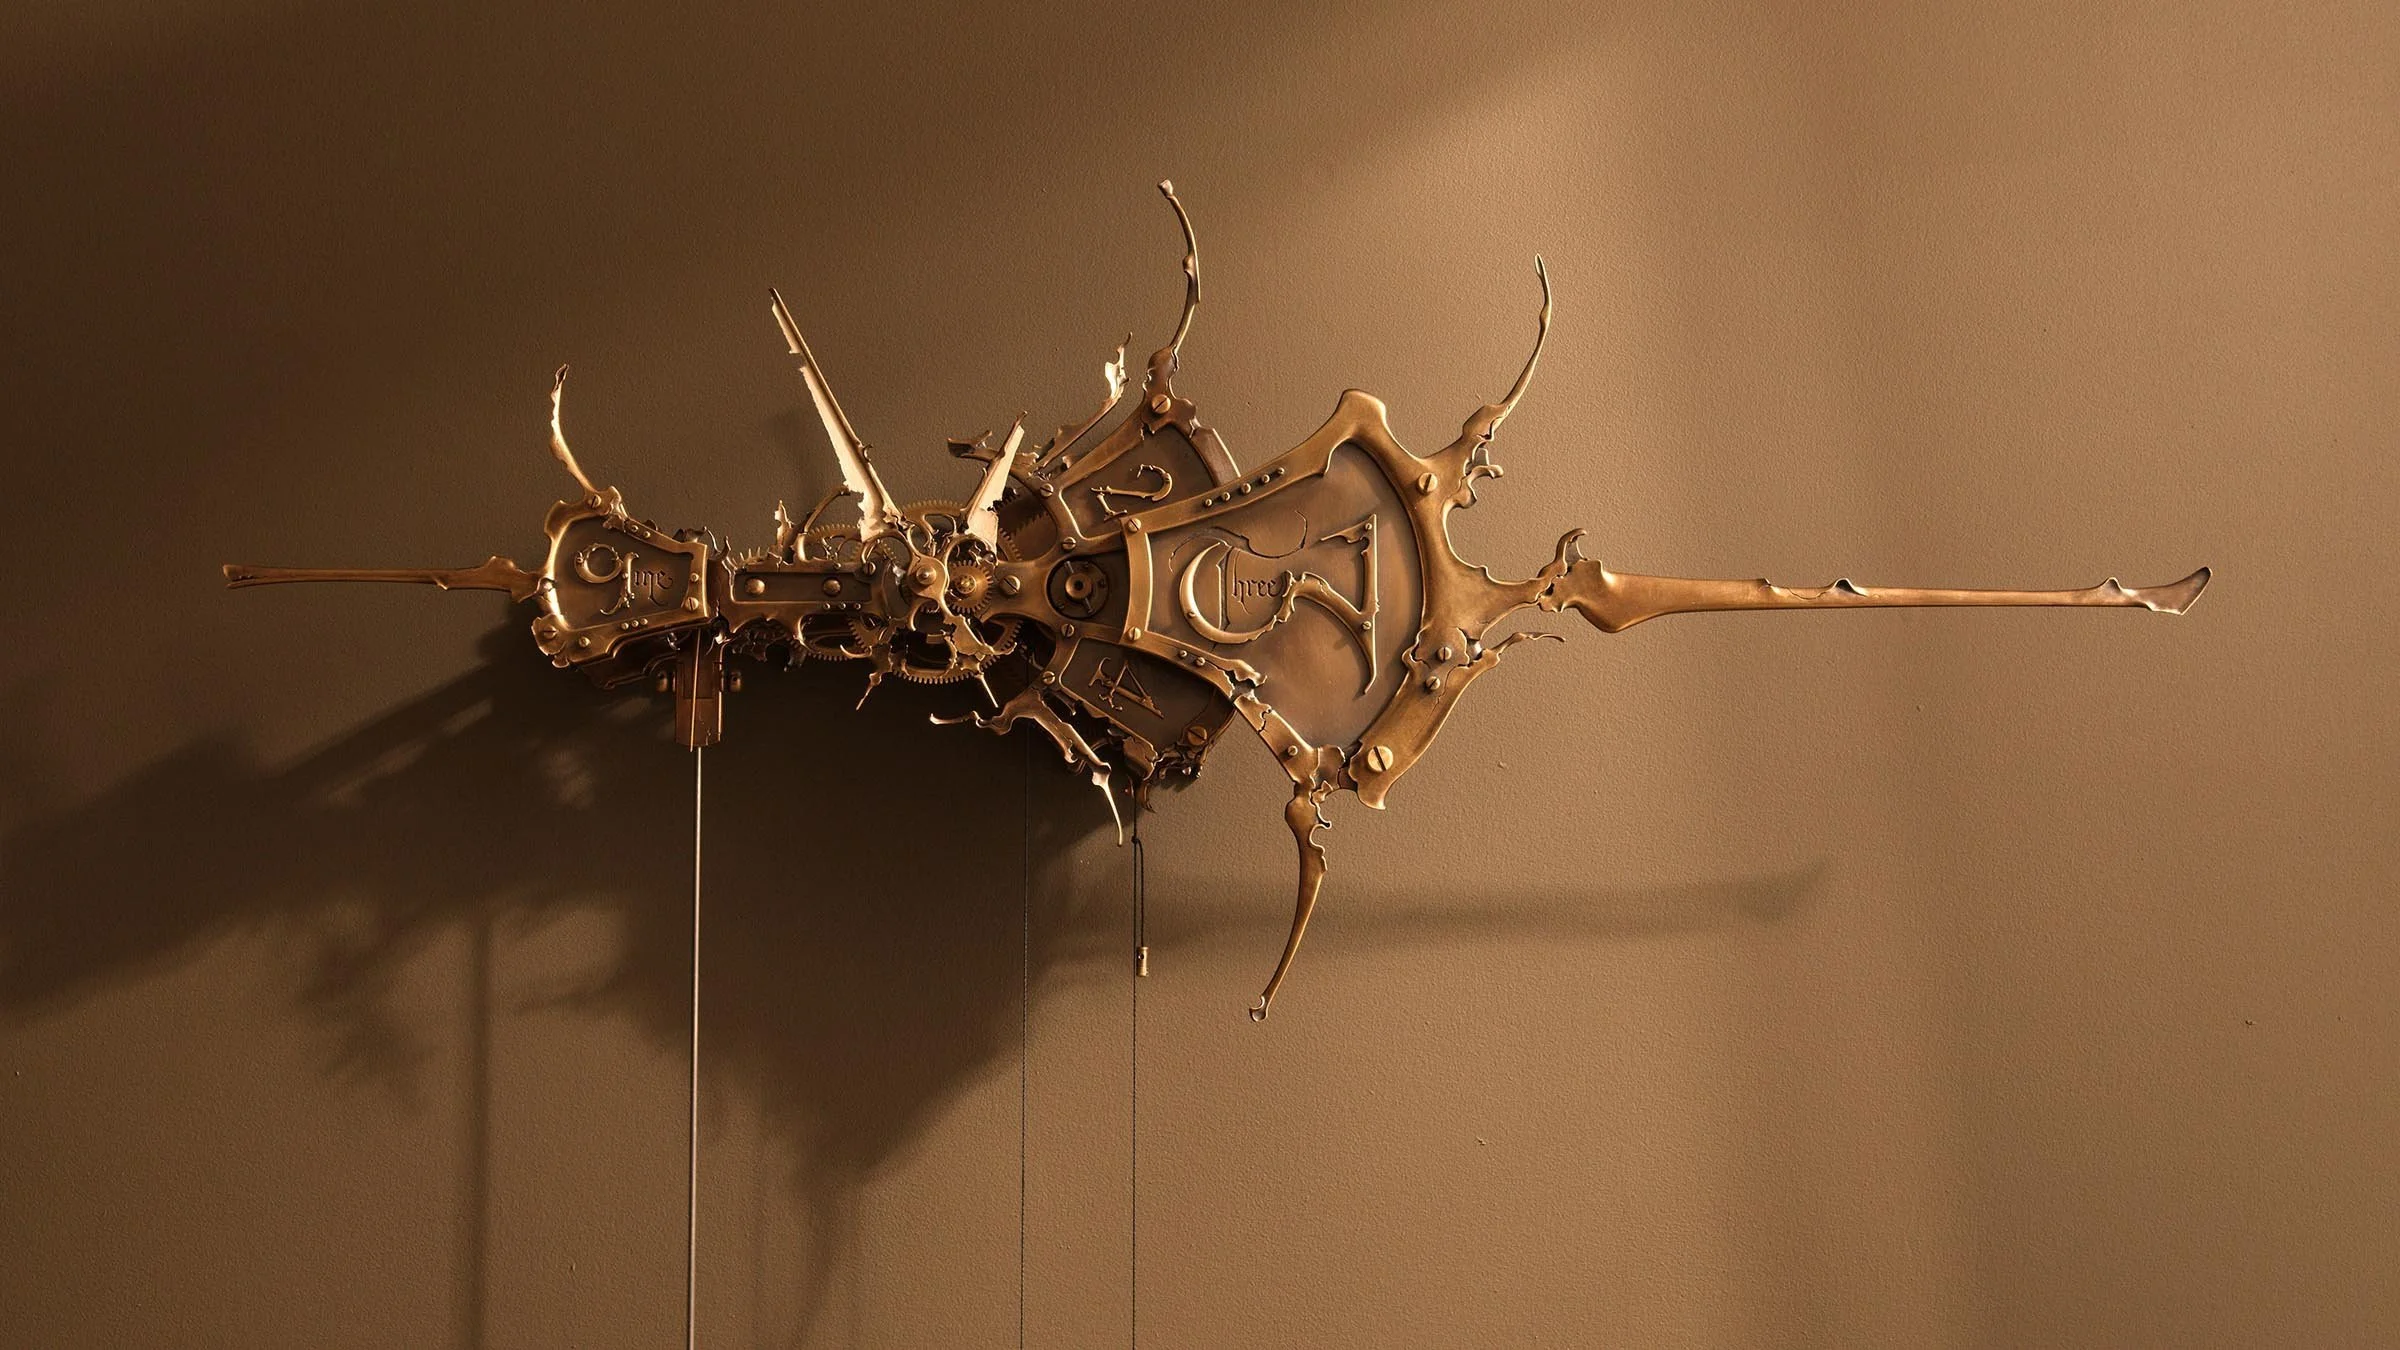
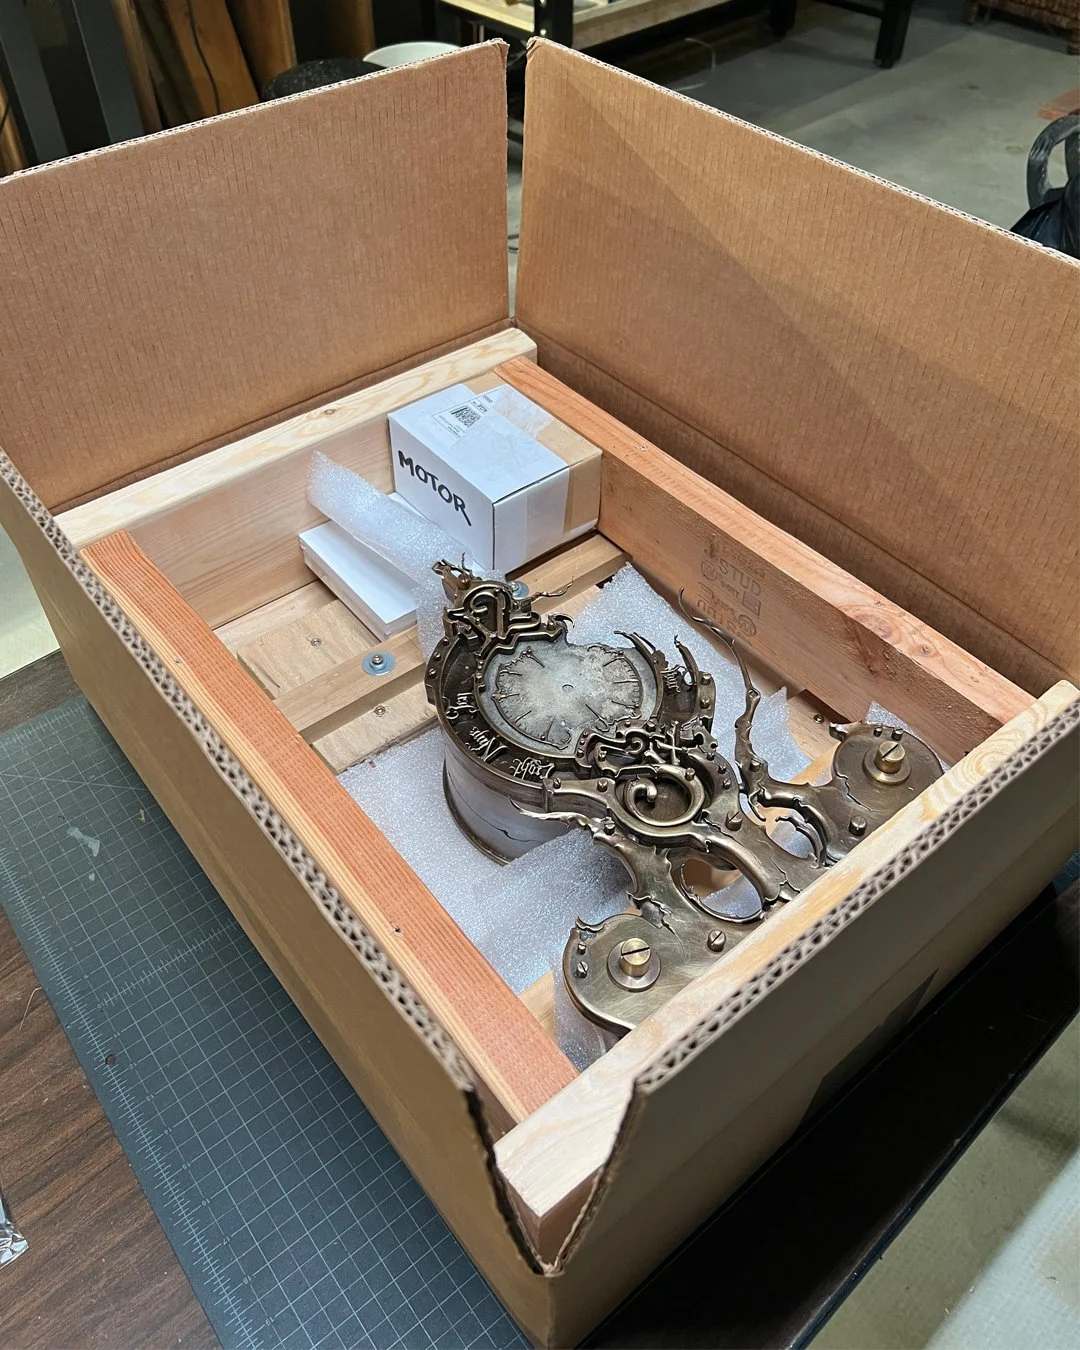
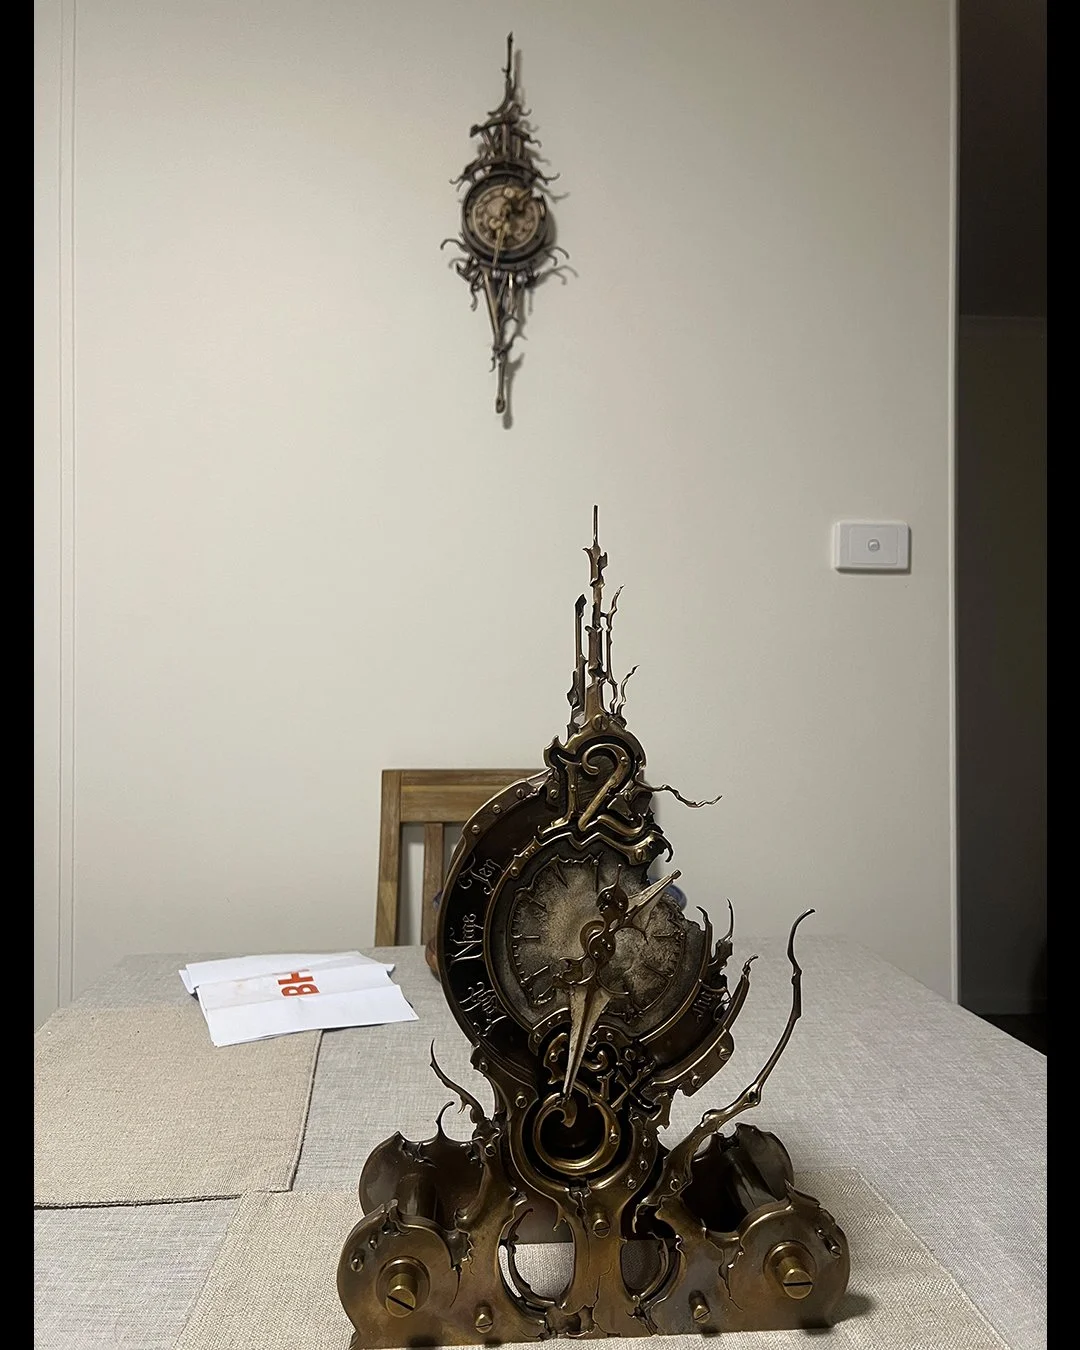
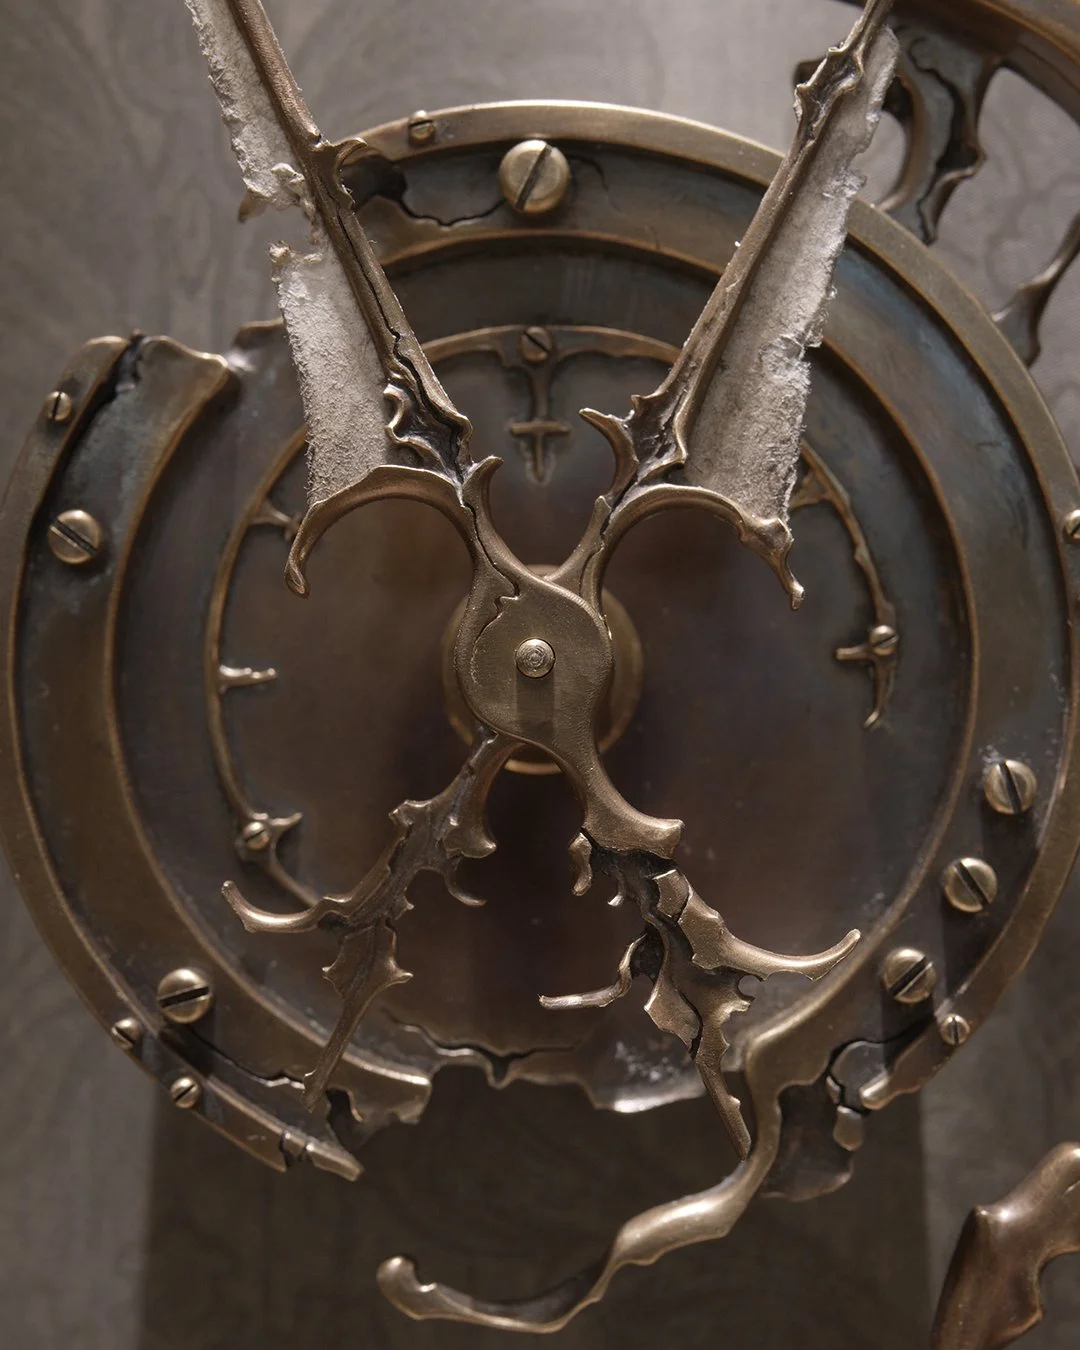
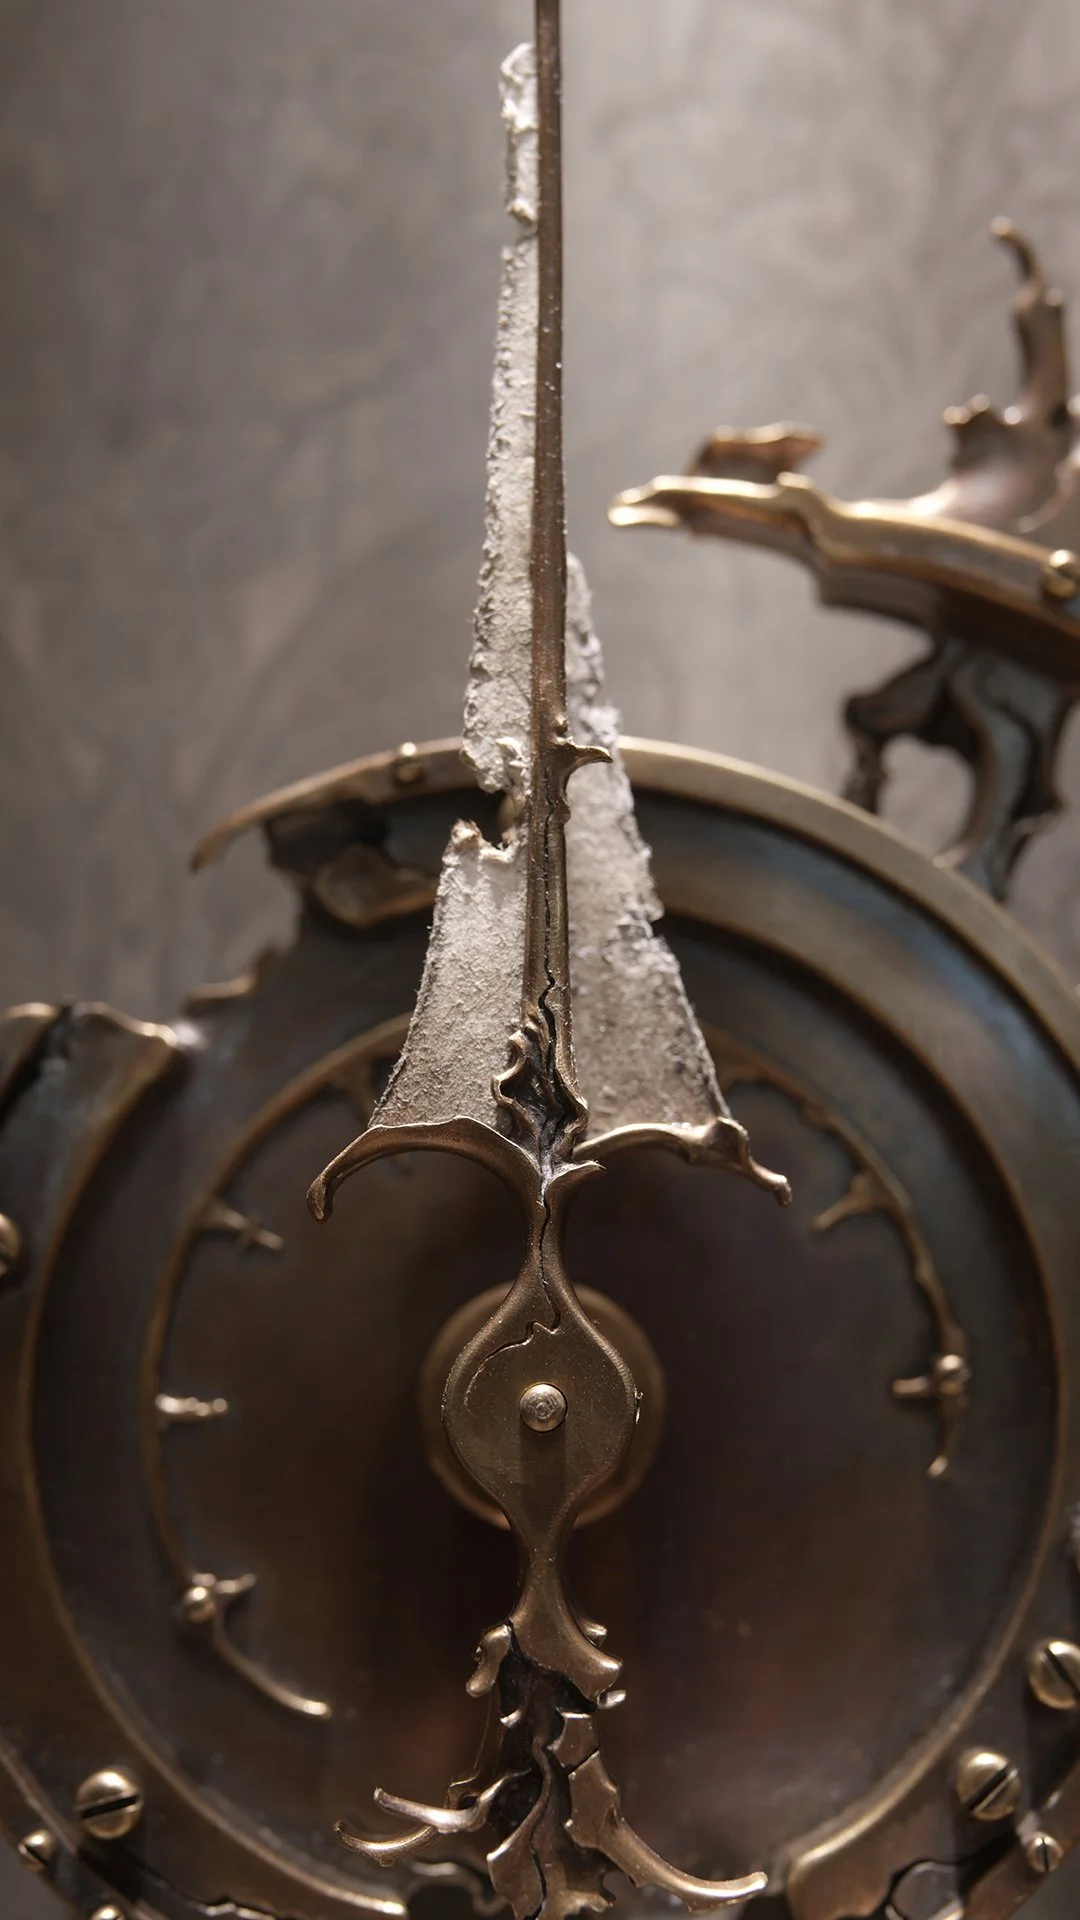
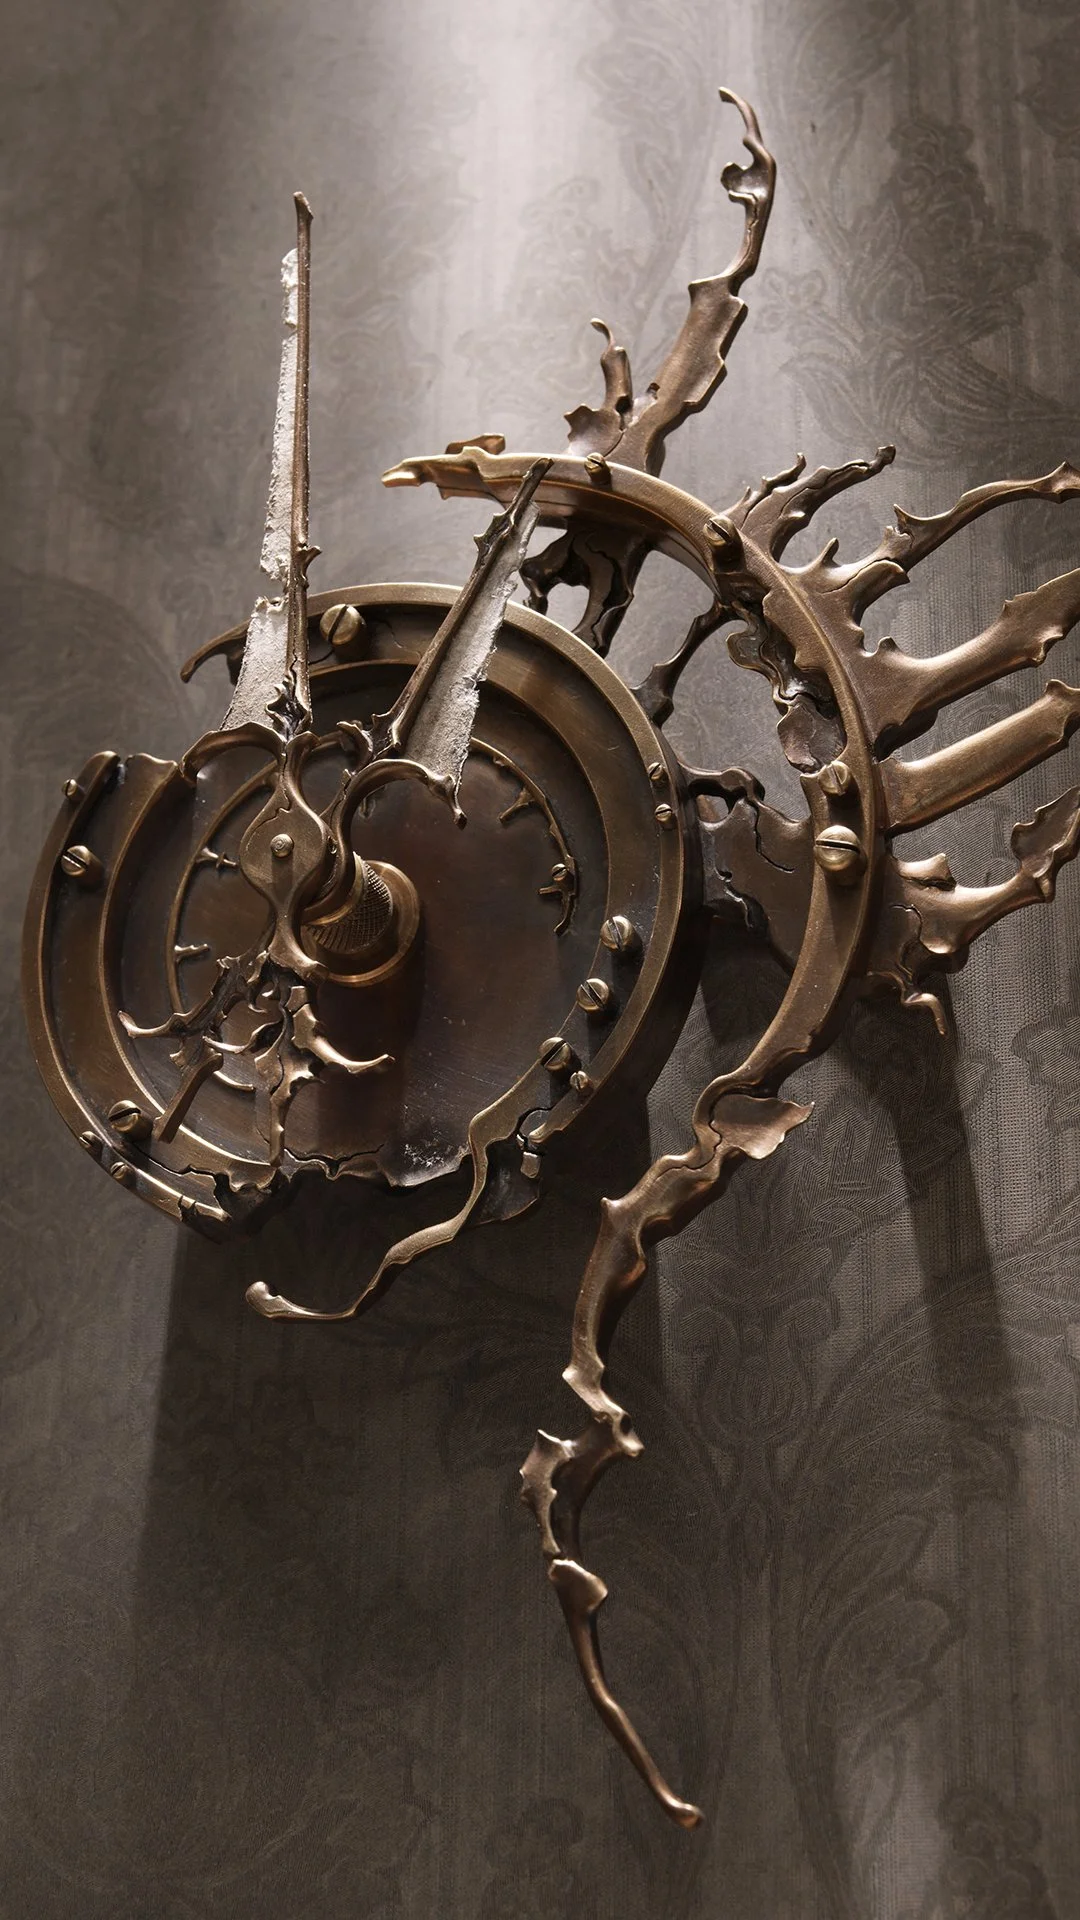
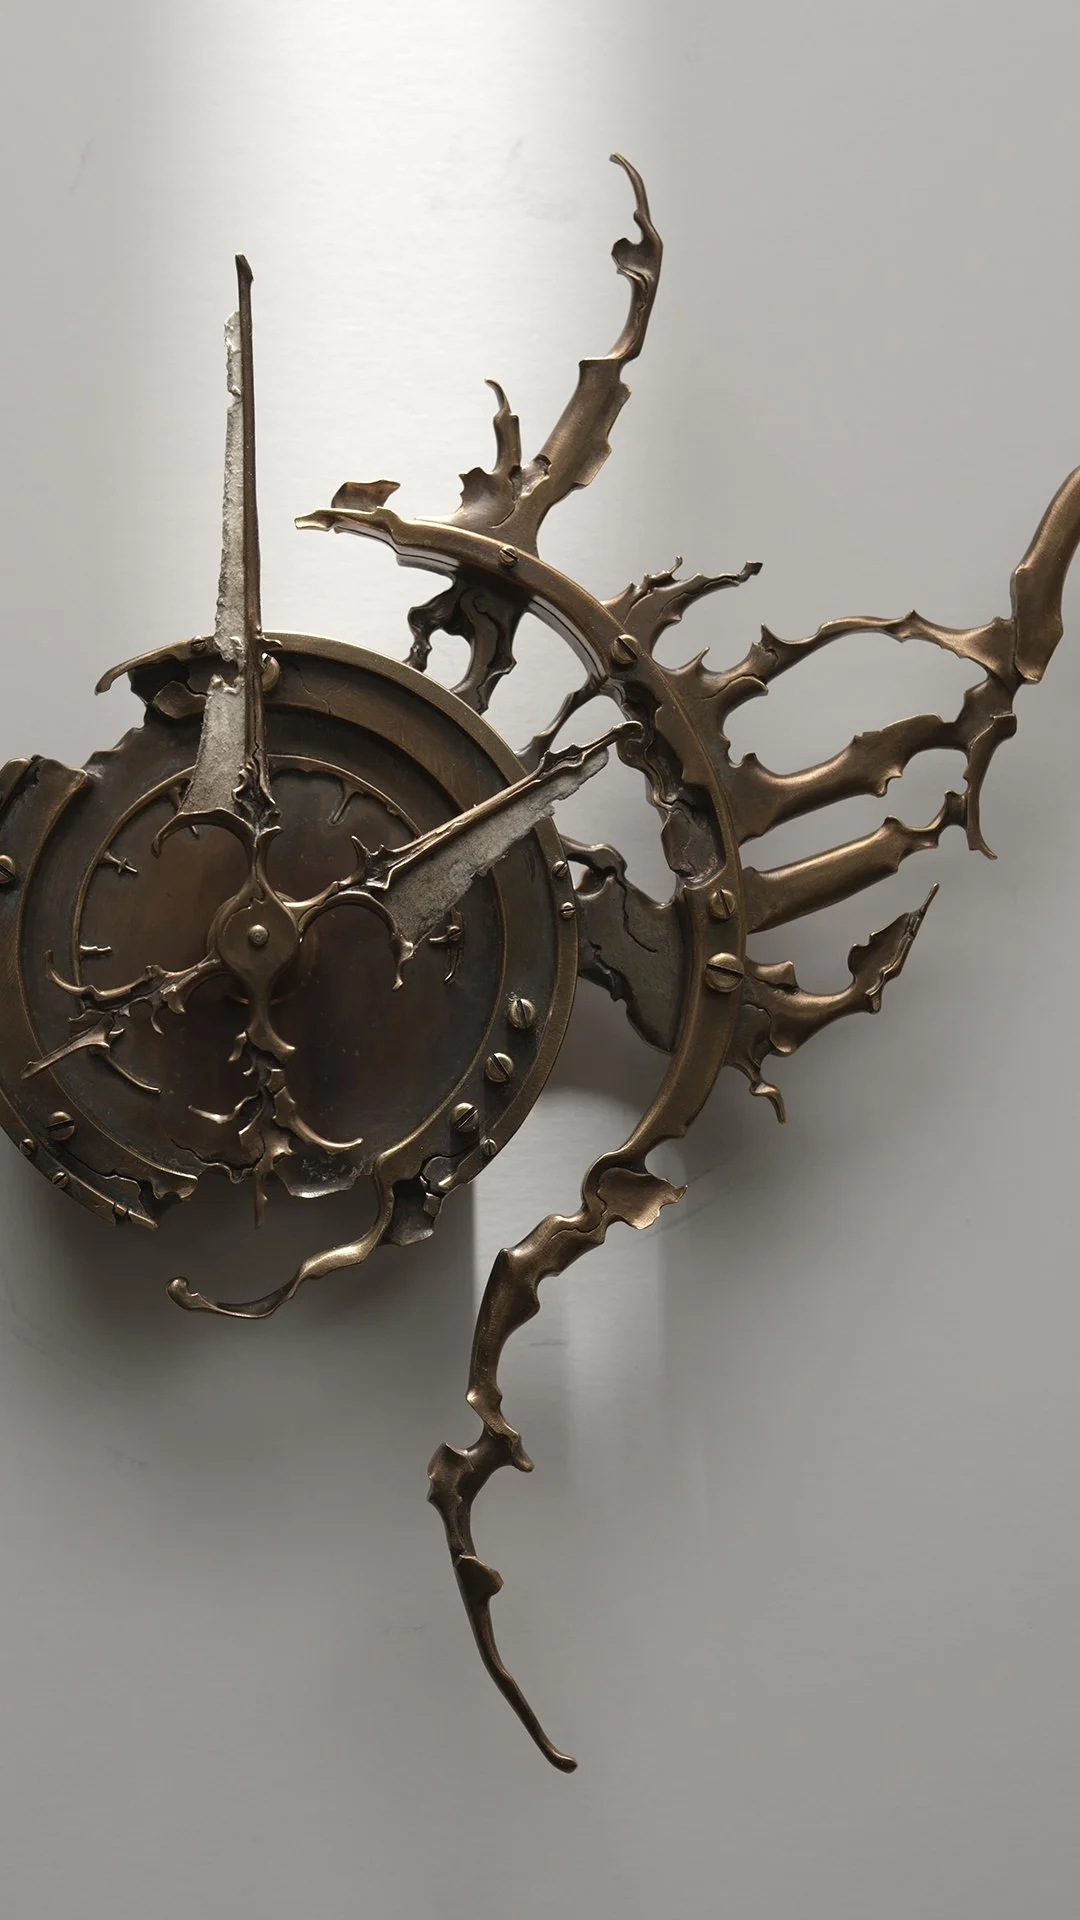
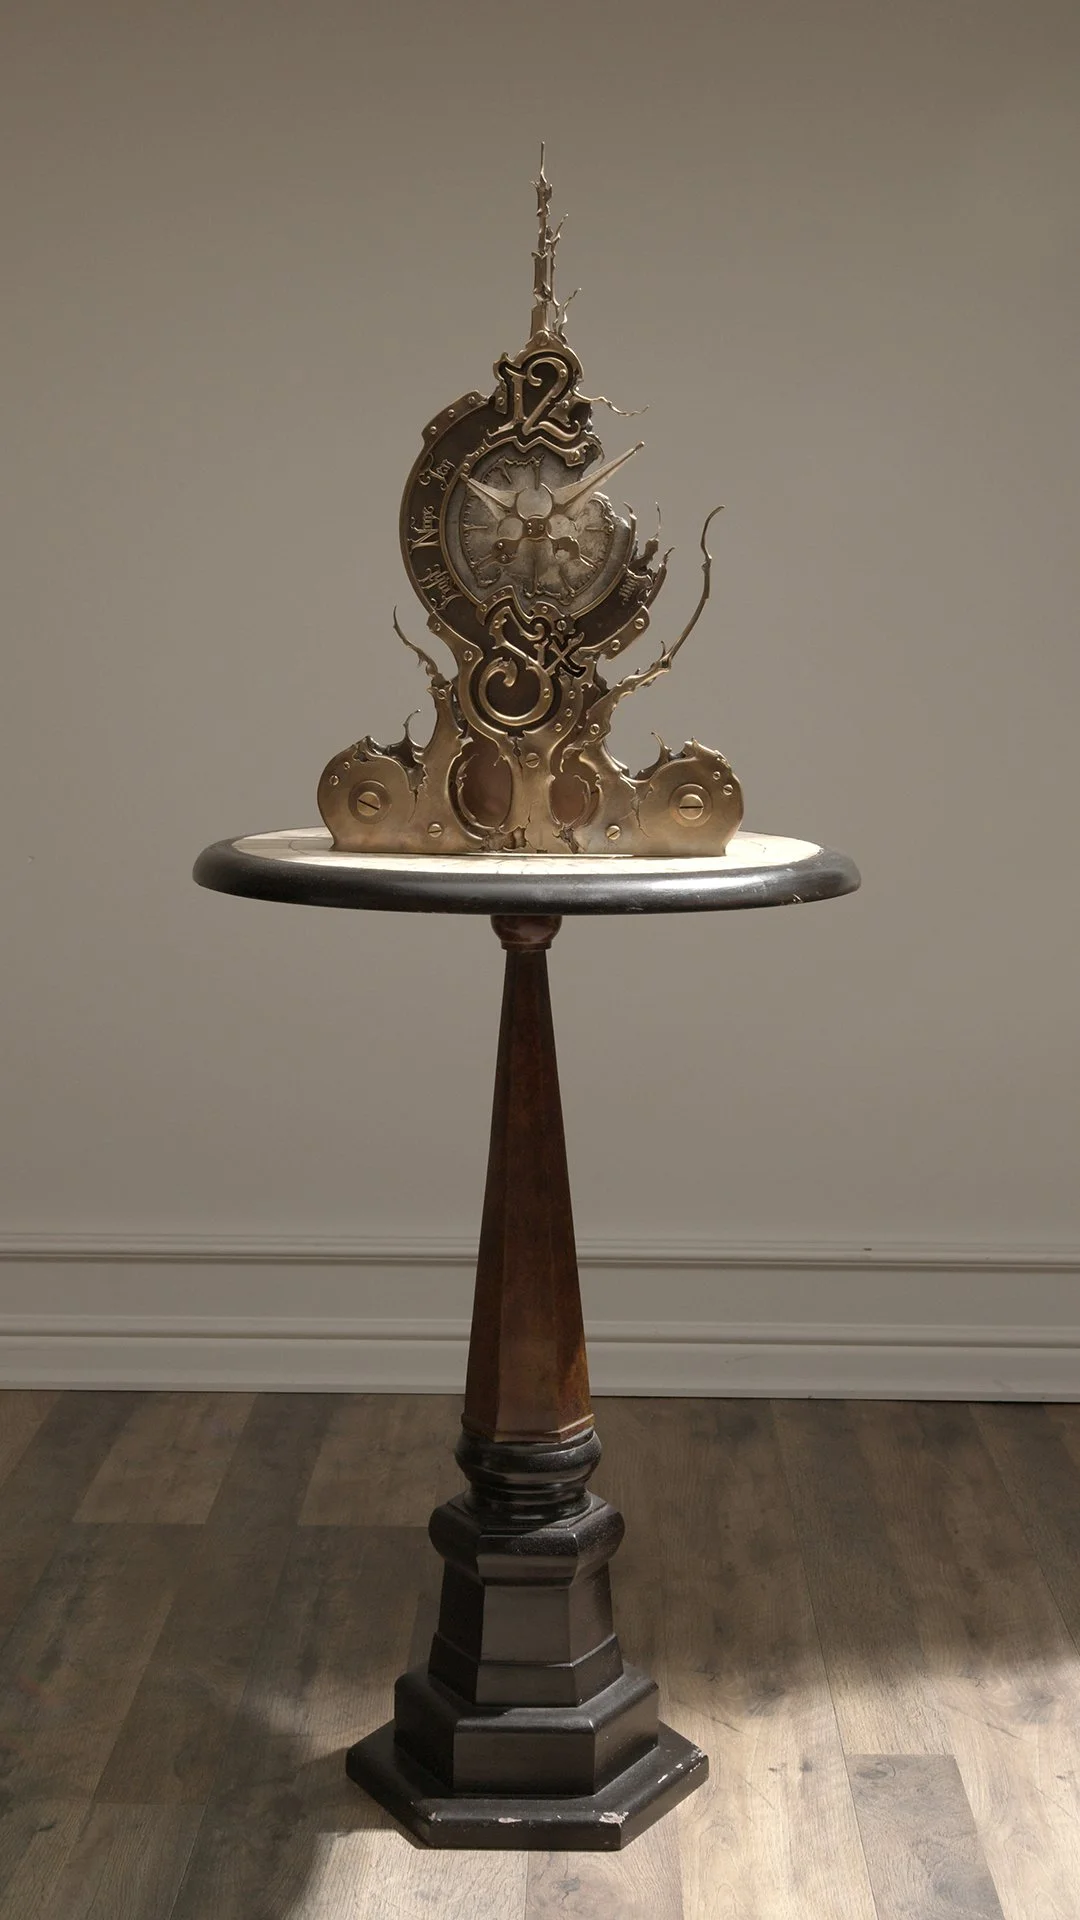
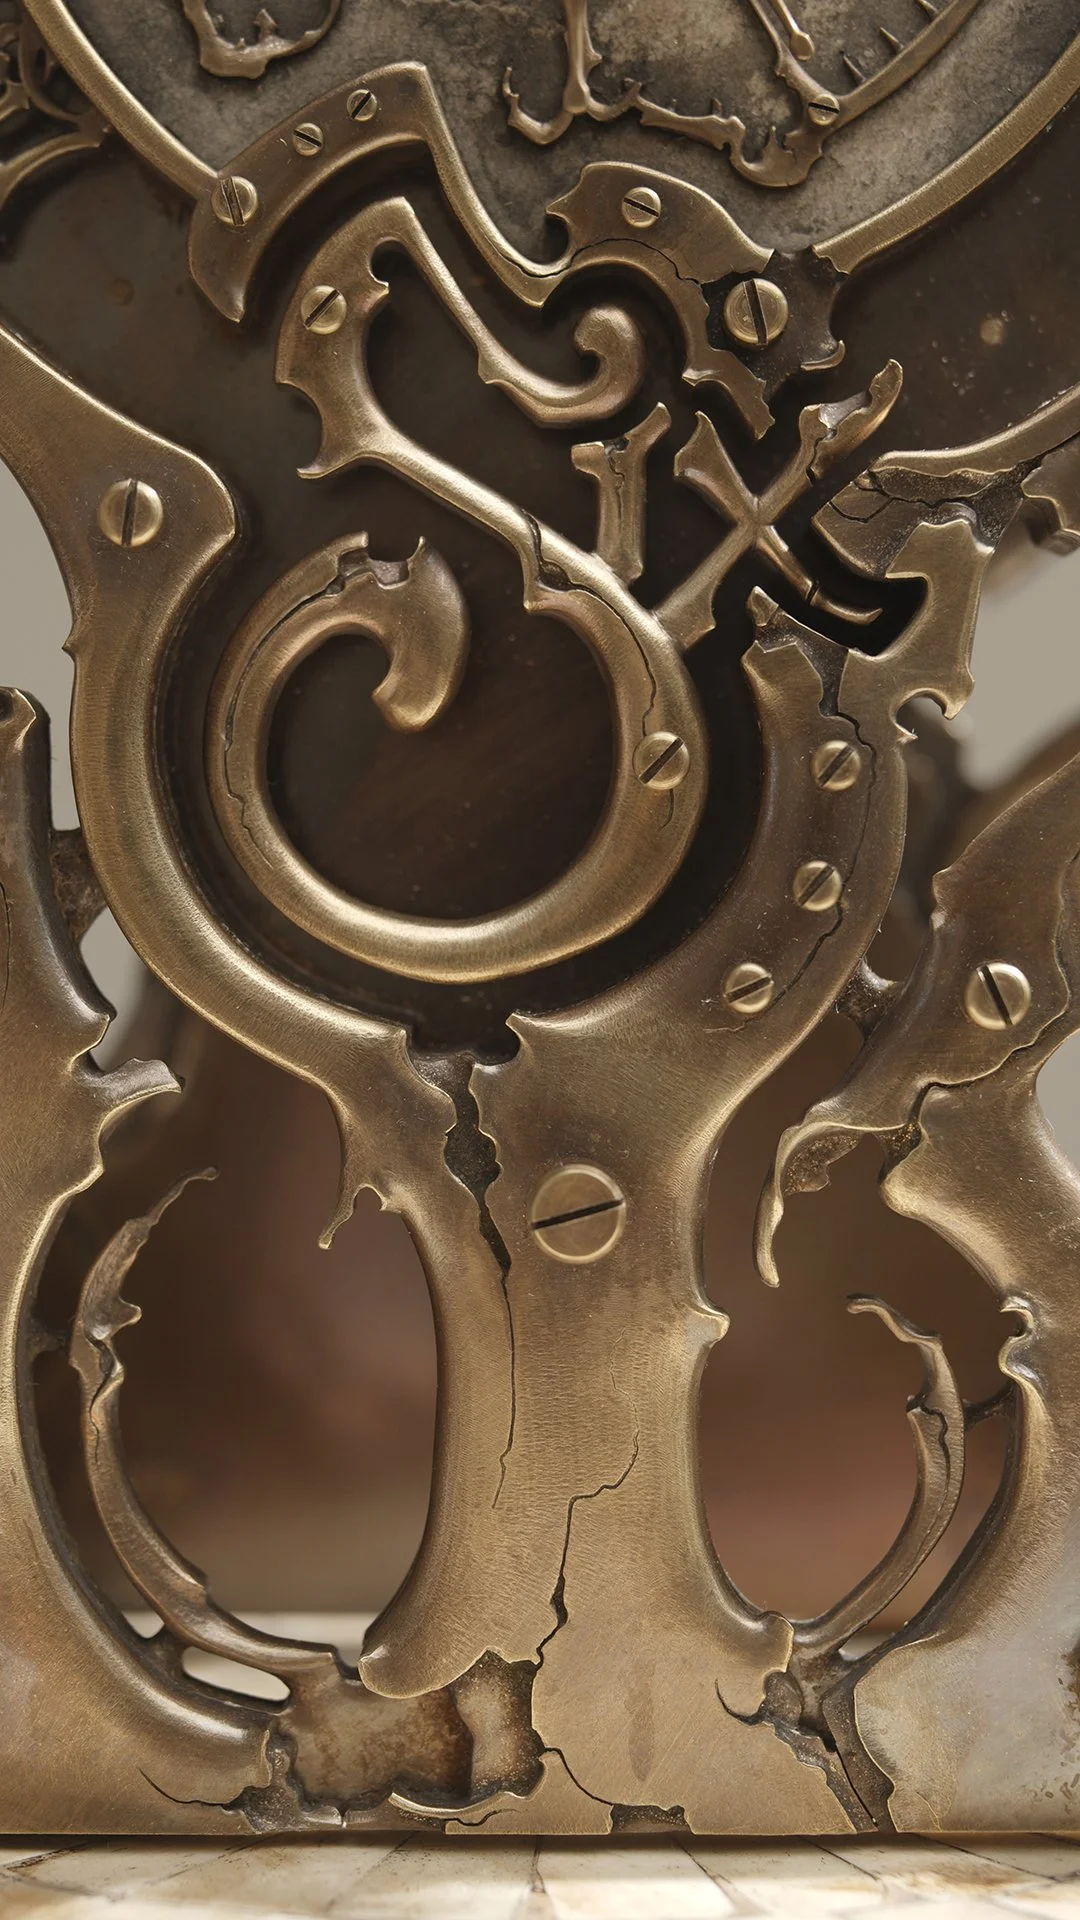
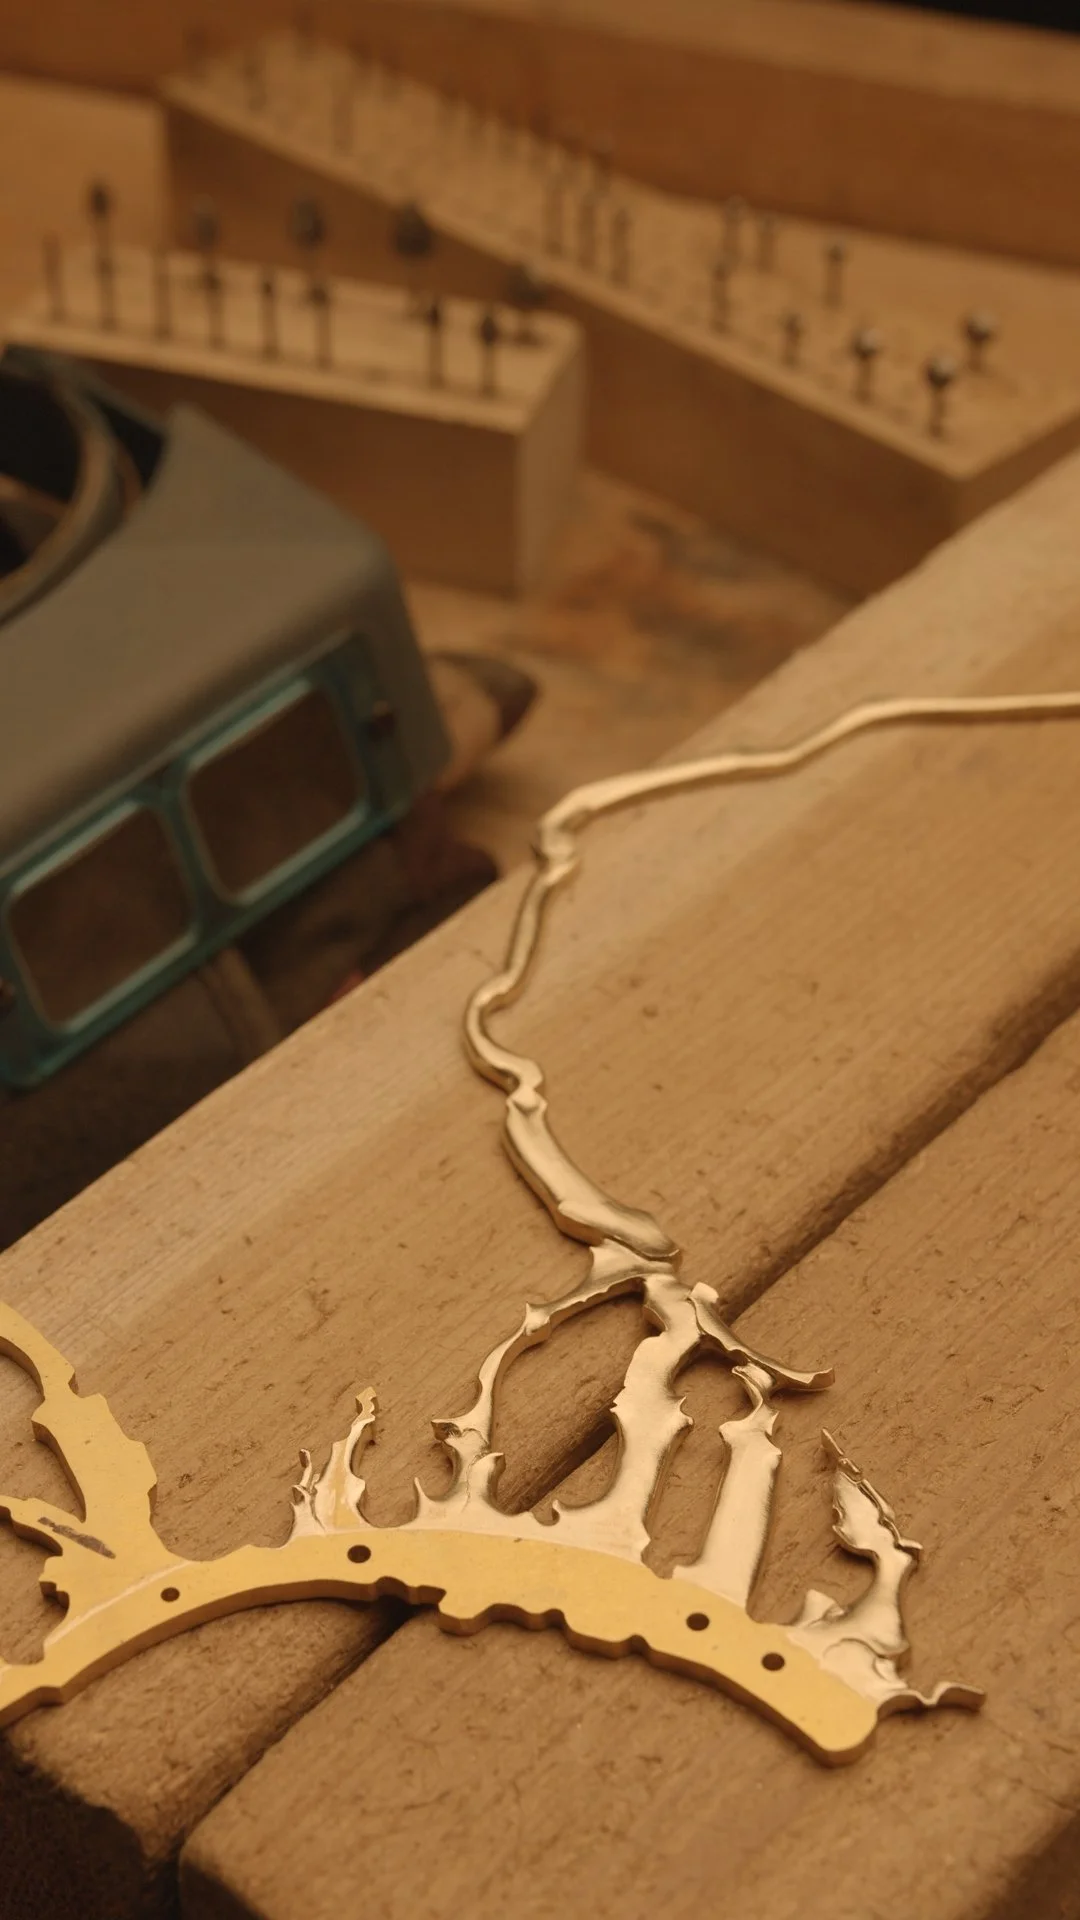
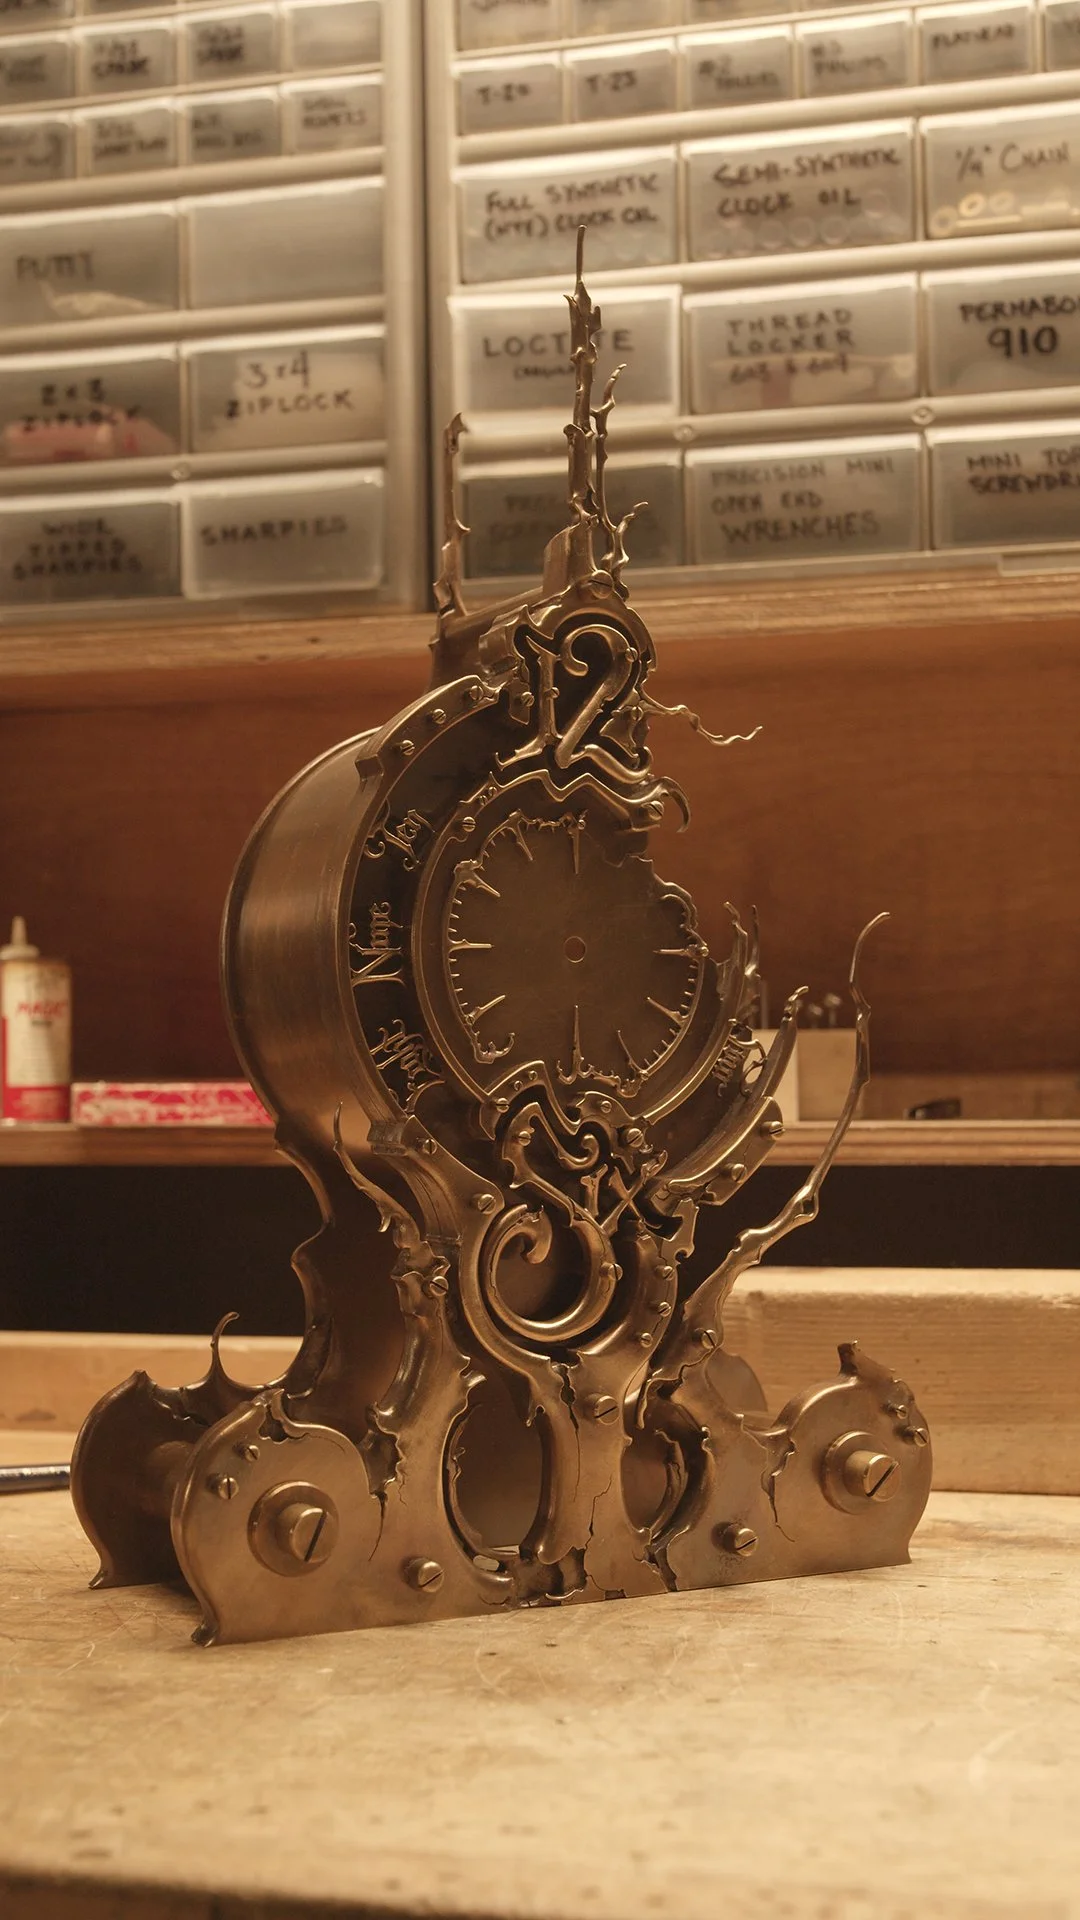
For months, the various pieces of this clock have been sitting on a table in my workshop unassembled and collecting dust. I’ve badly wanted to work on it, but right now I can’t spare the hundreds (possibly over 1000) hours needed to finish it. But once in a while I find some time. The last few days of progress were pretty satisfying. I finished the frame, made the mounting bracket, and now have an idea of what it’ll look like on the wall. The size is perfect!
Some notes about this clock:
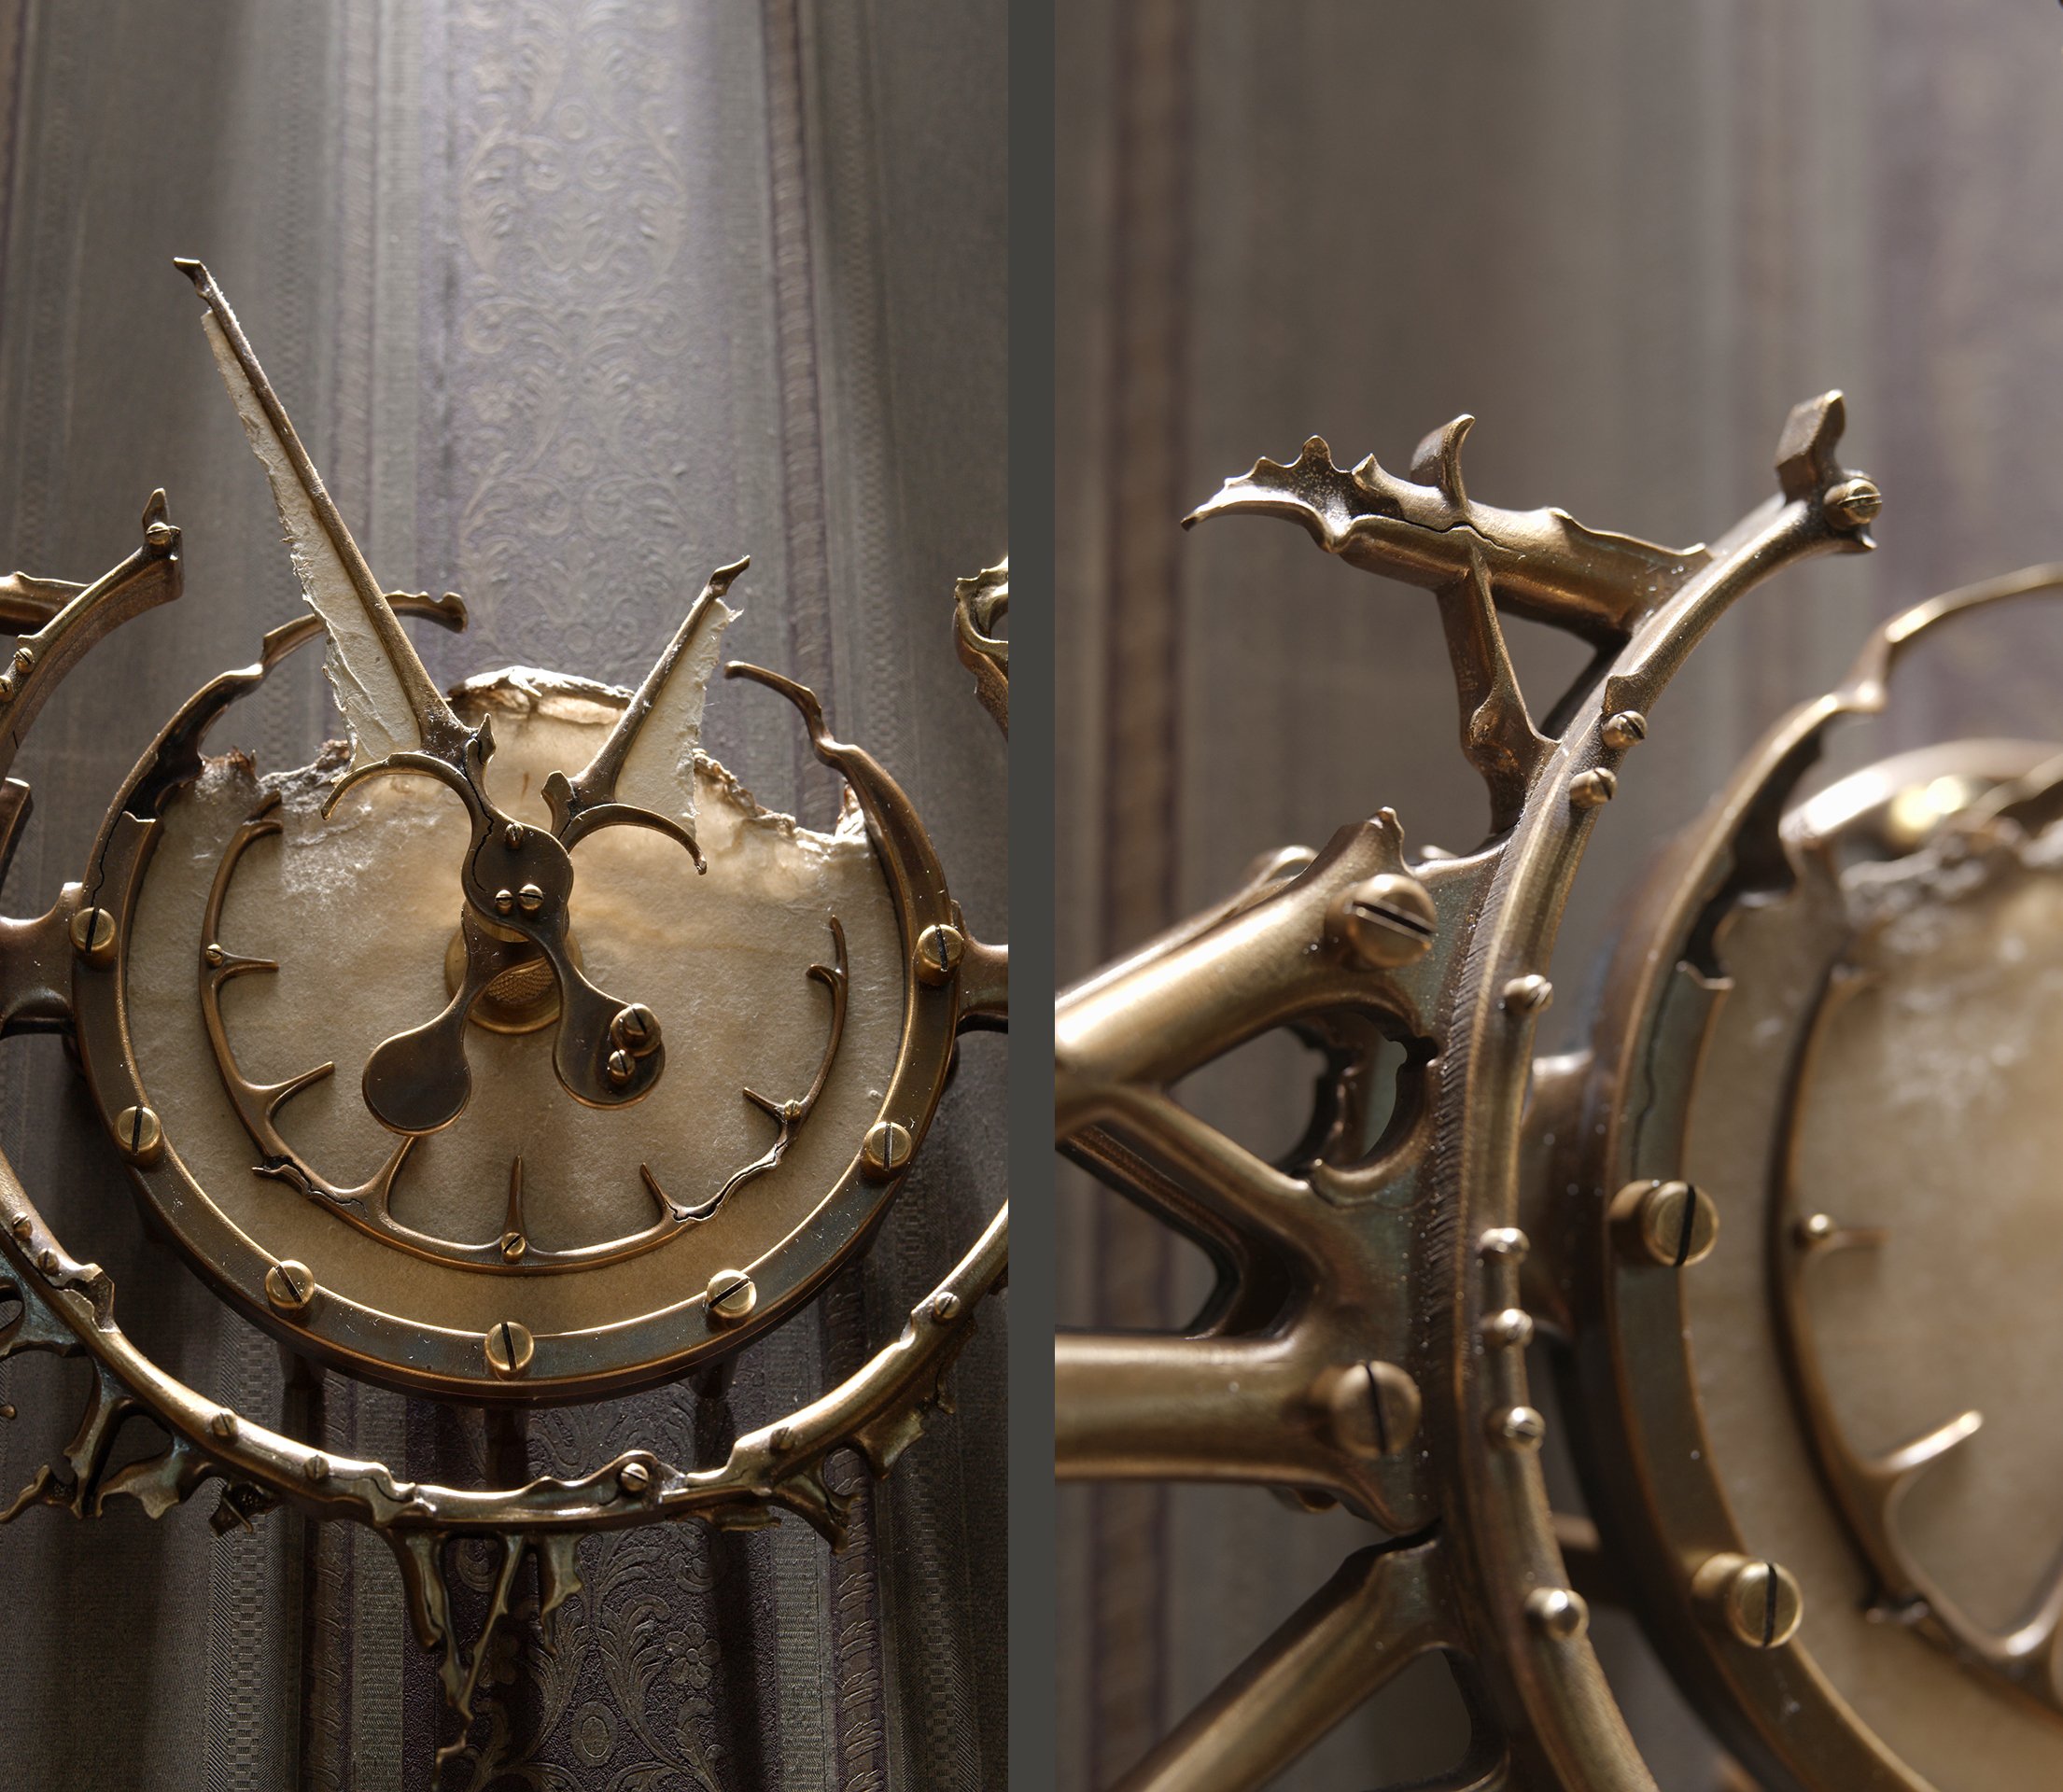
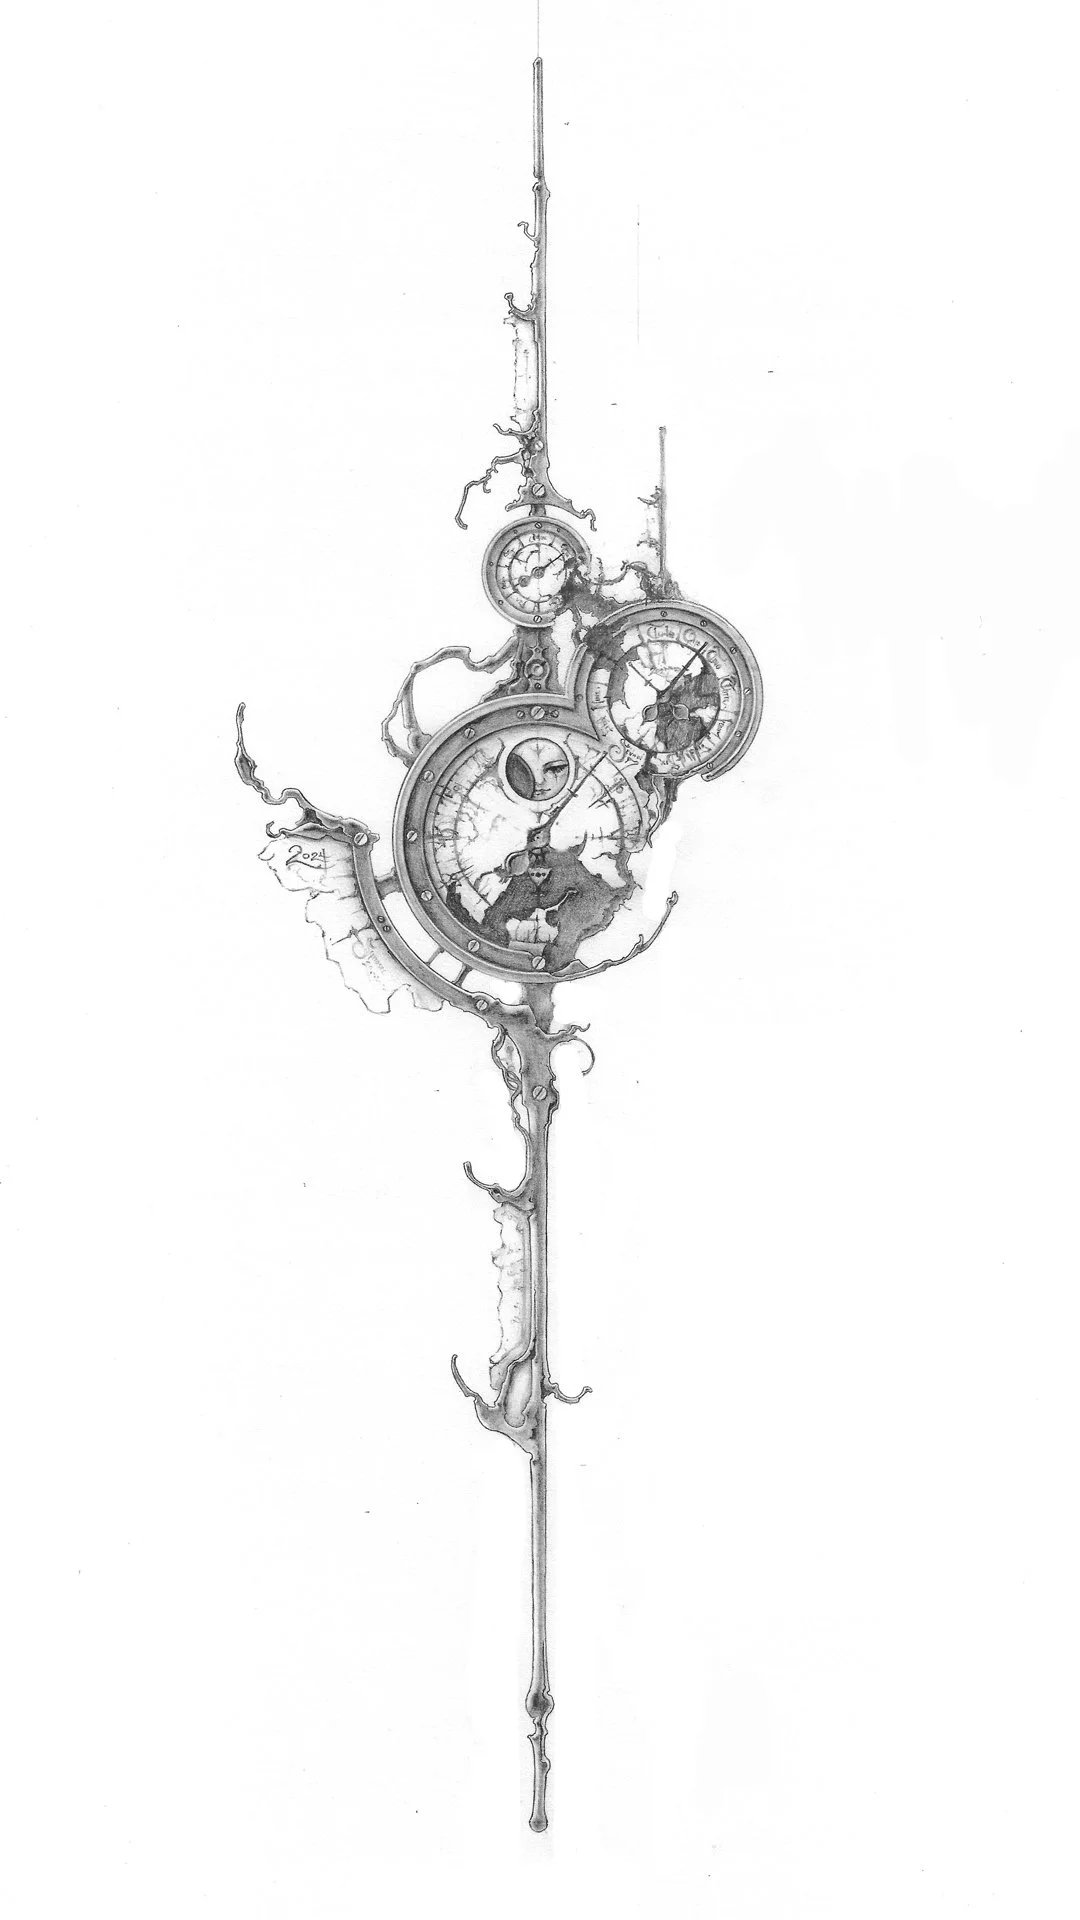
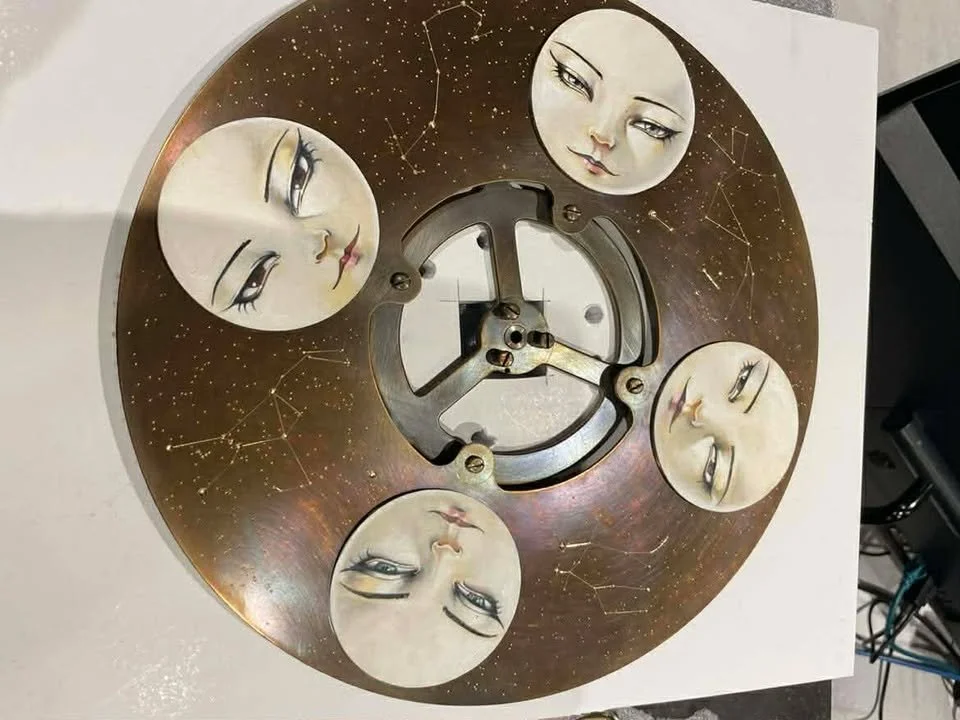
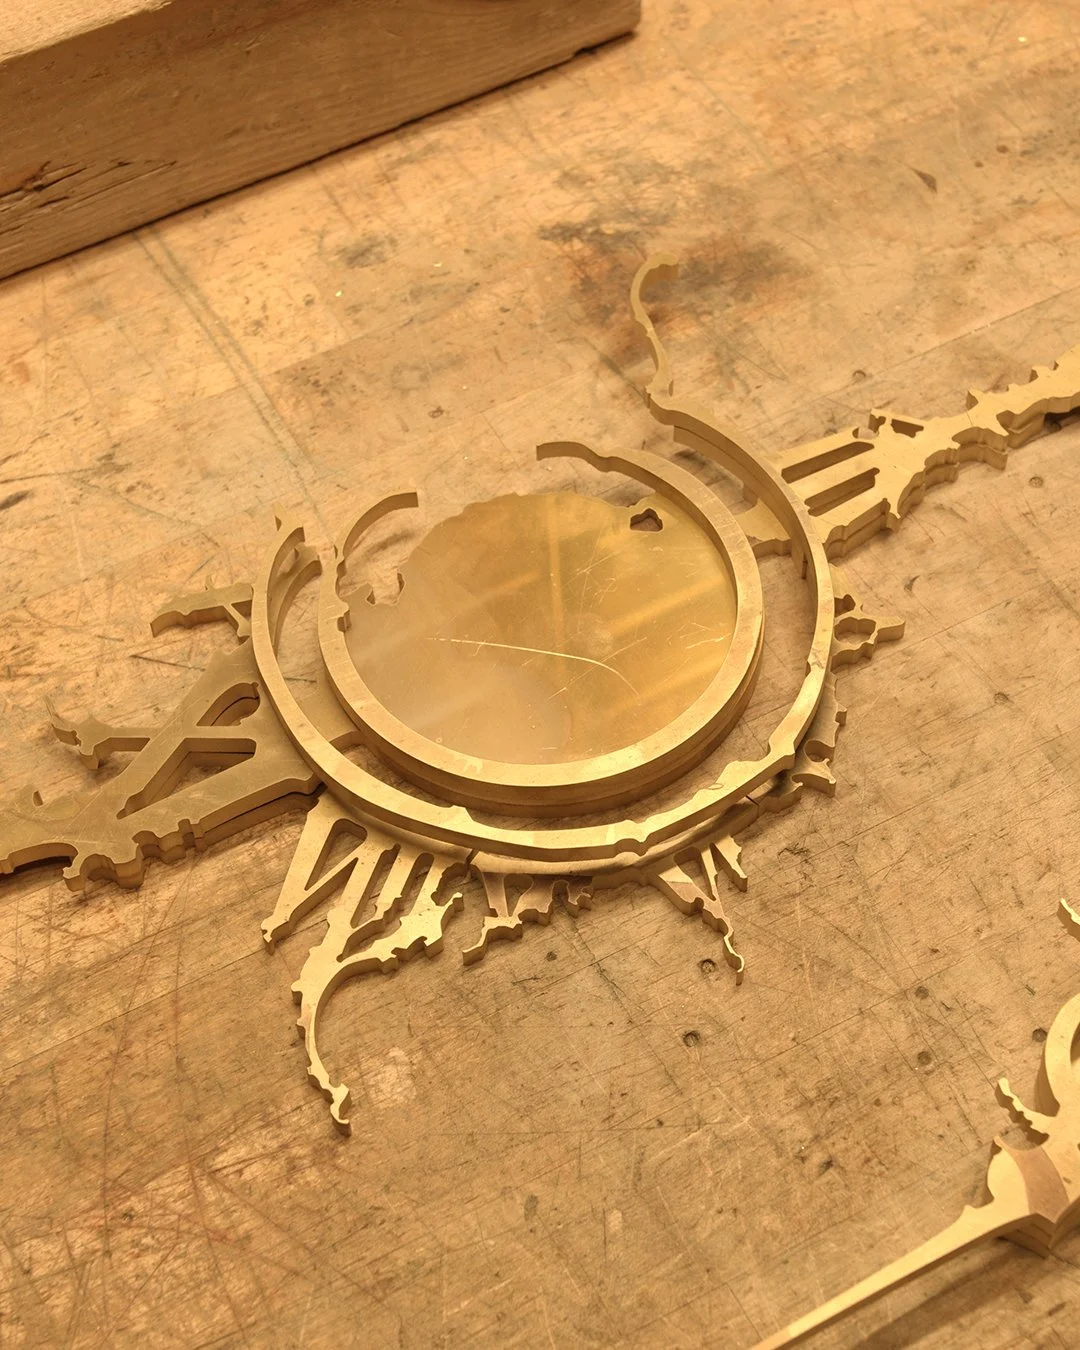
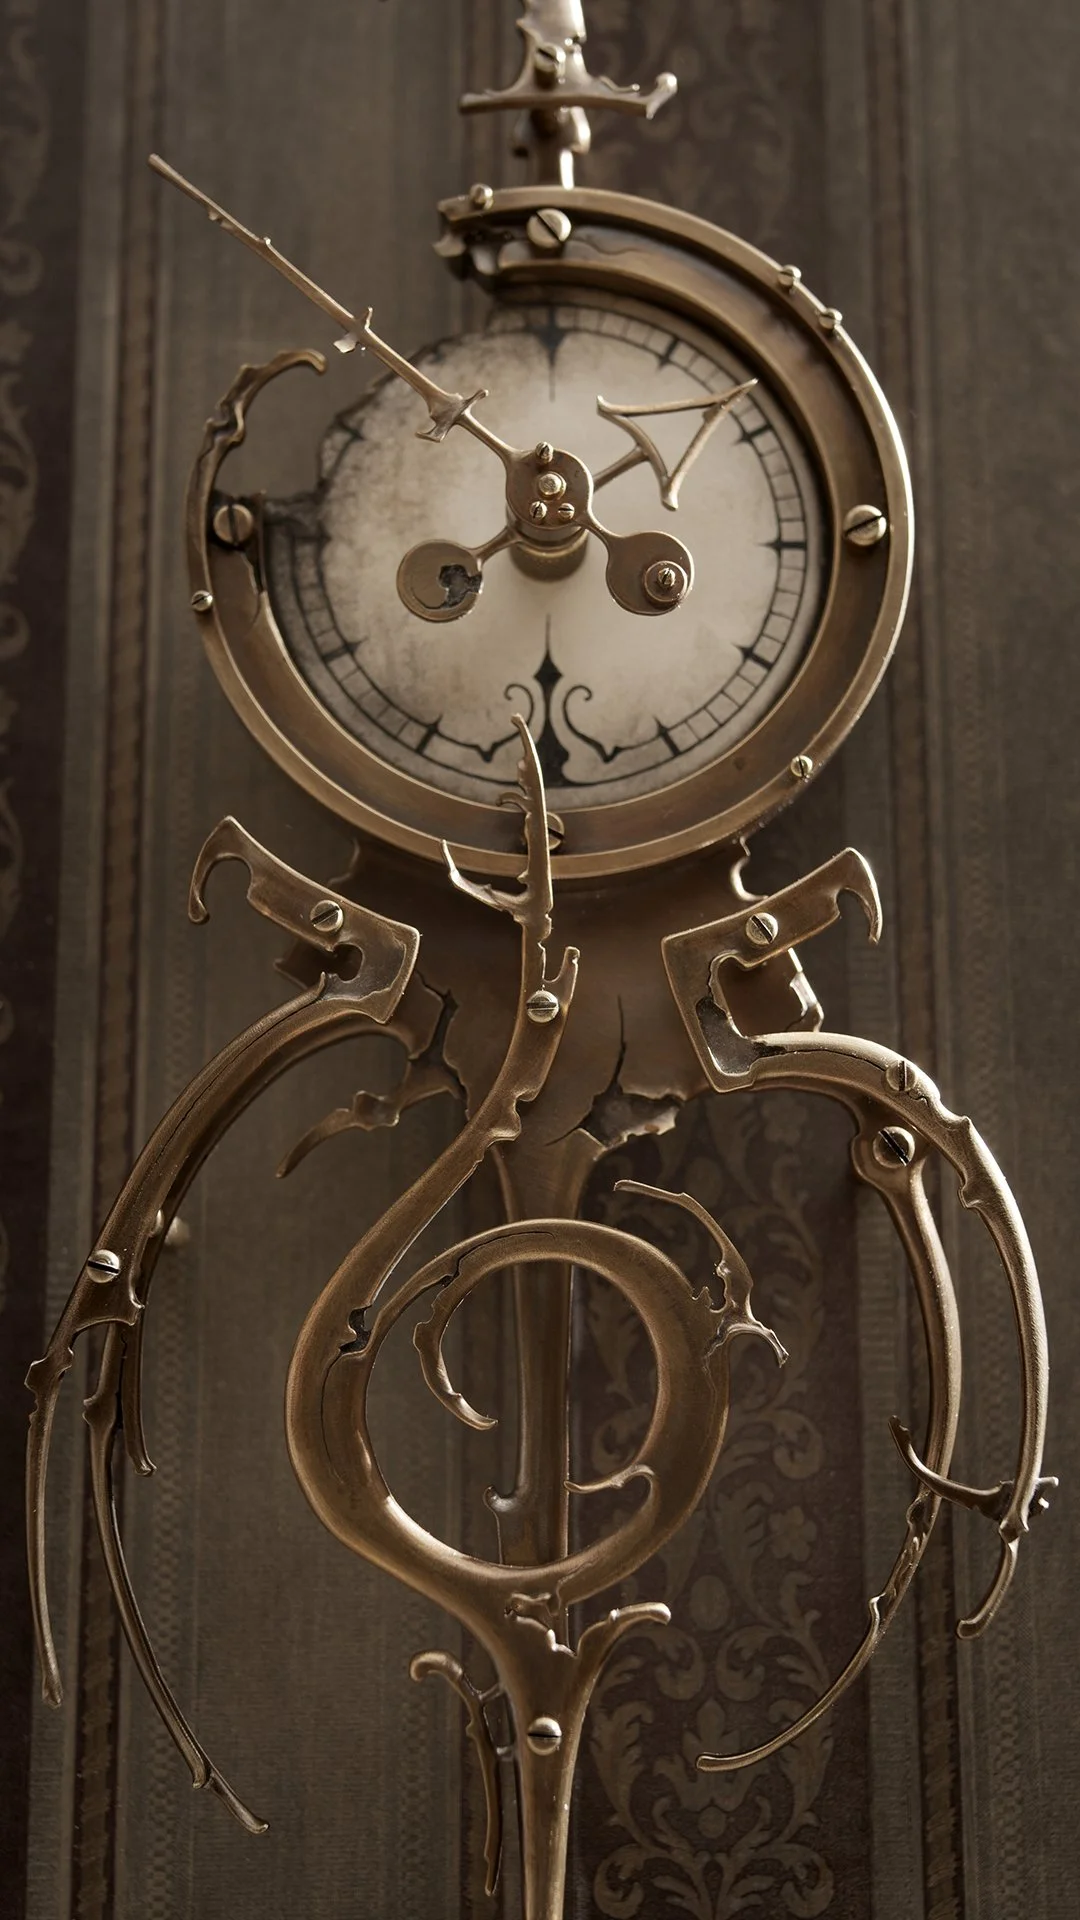
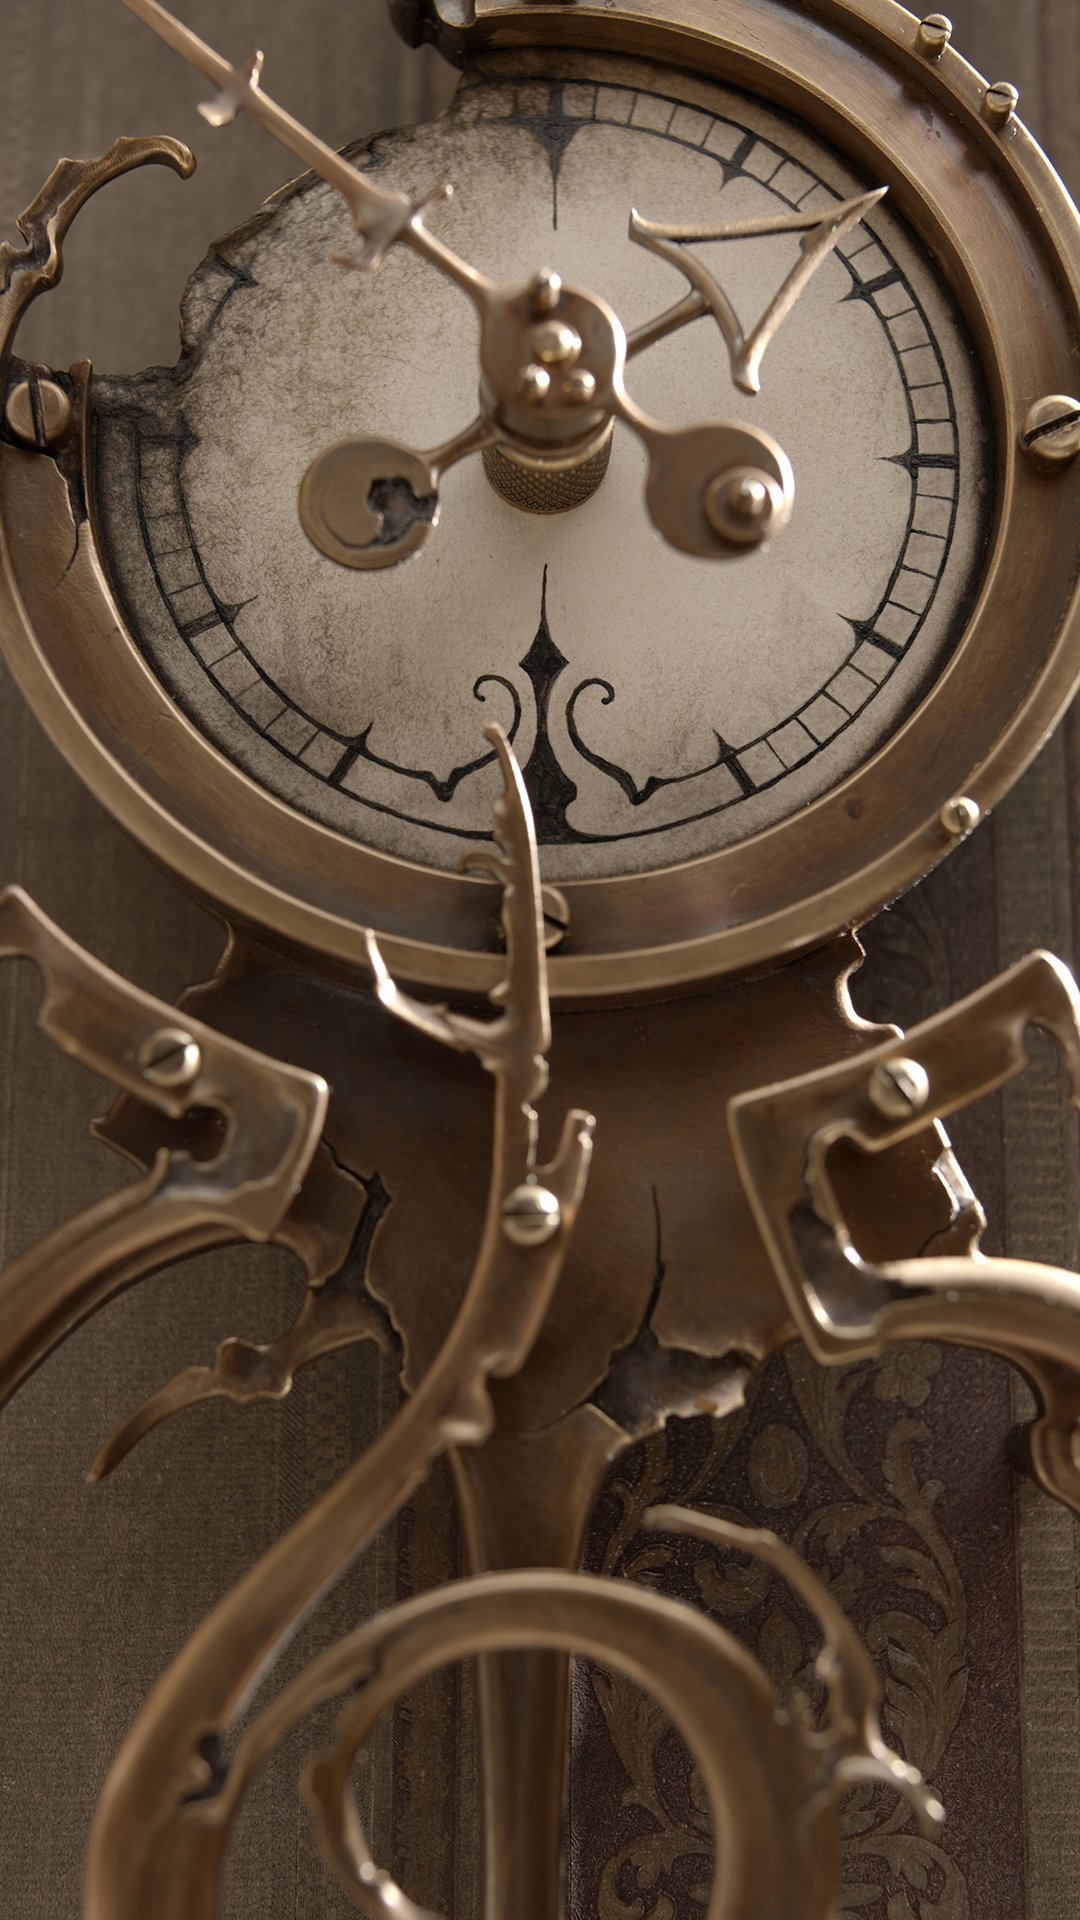
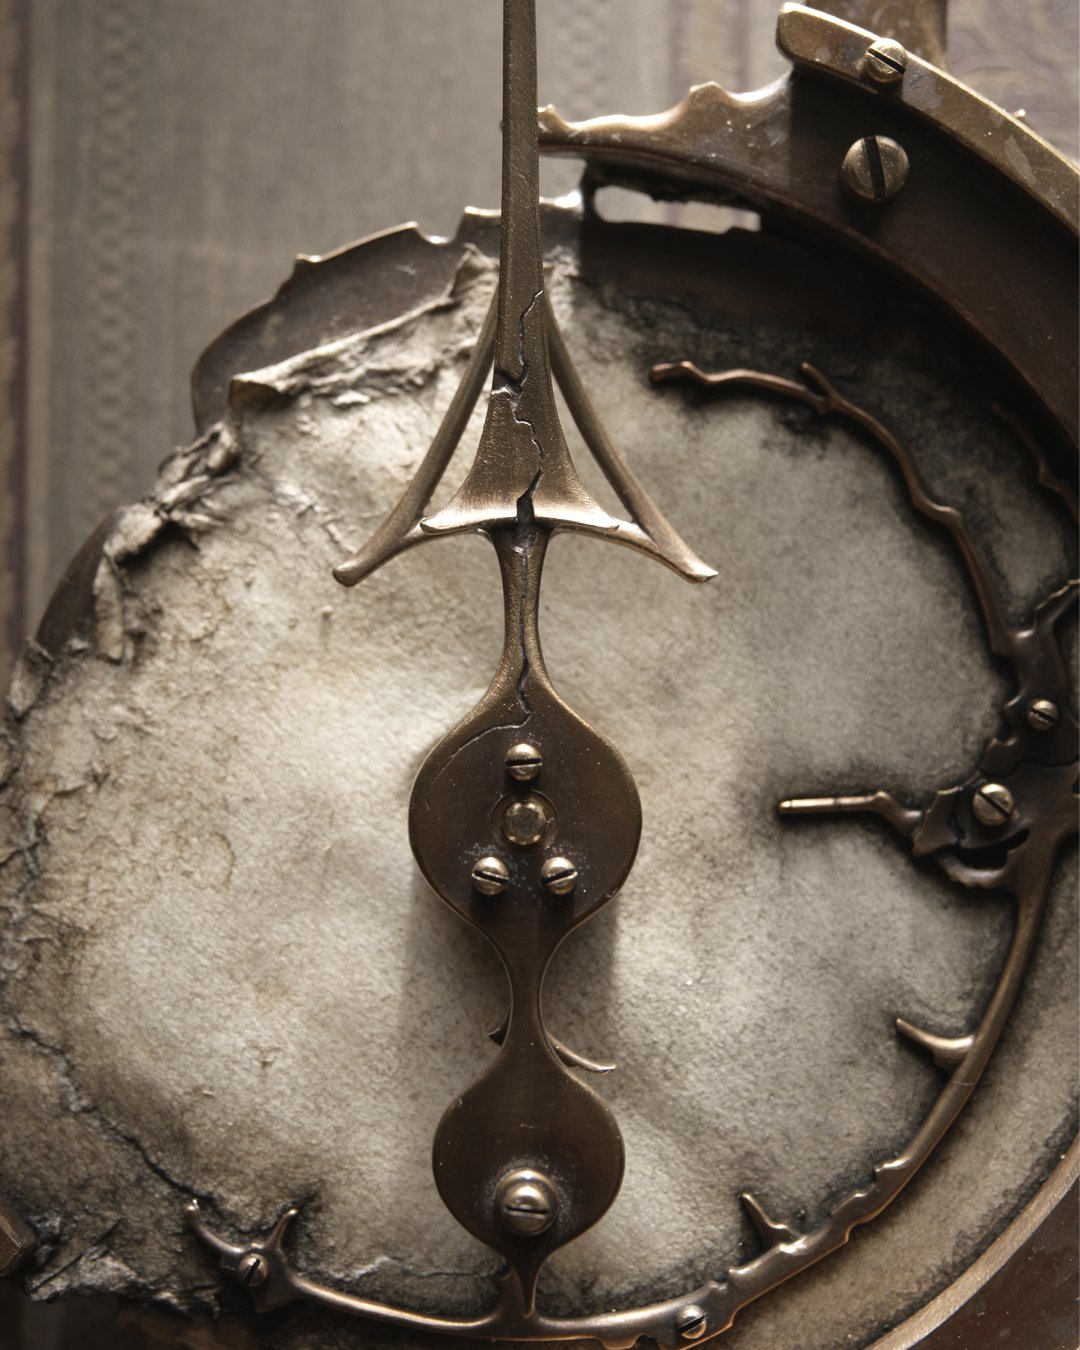
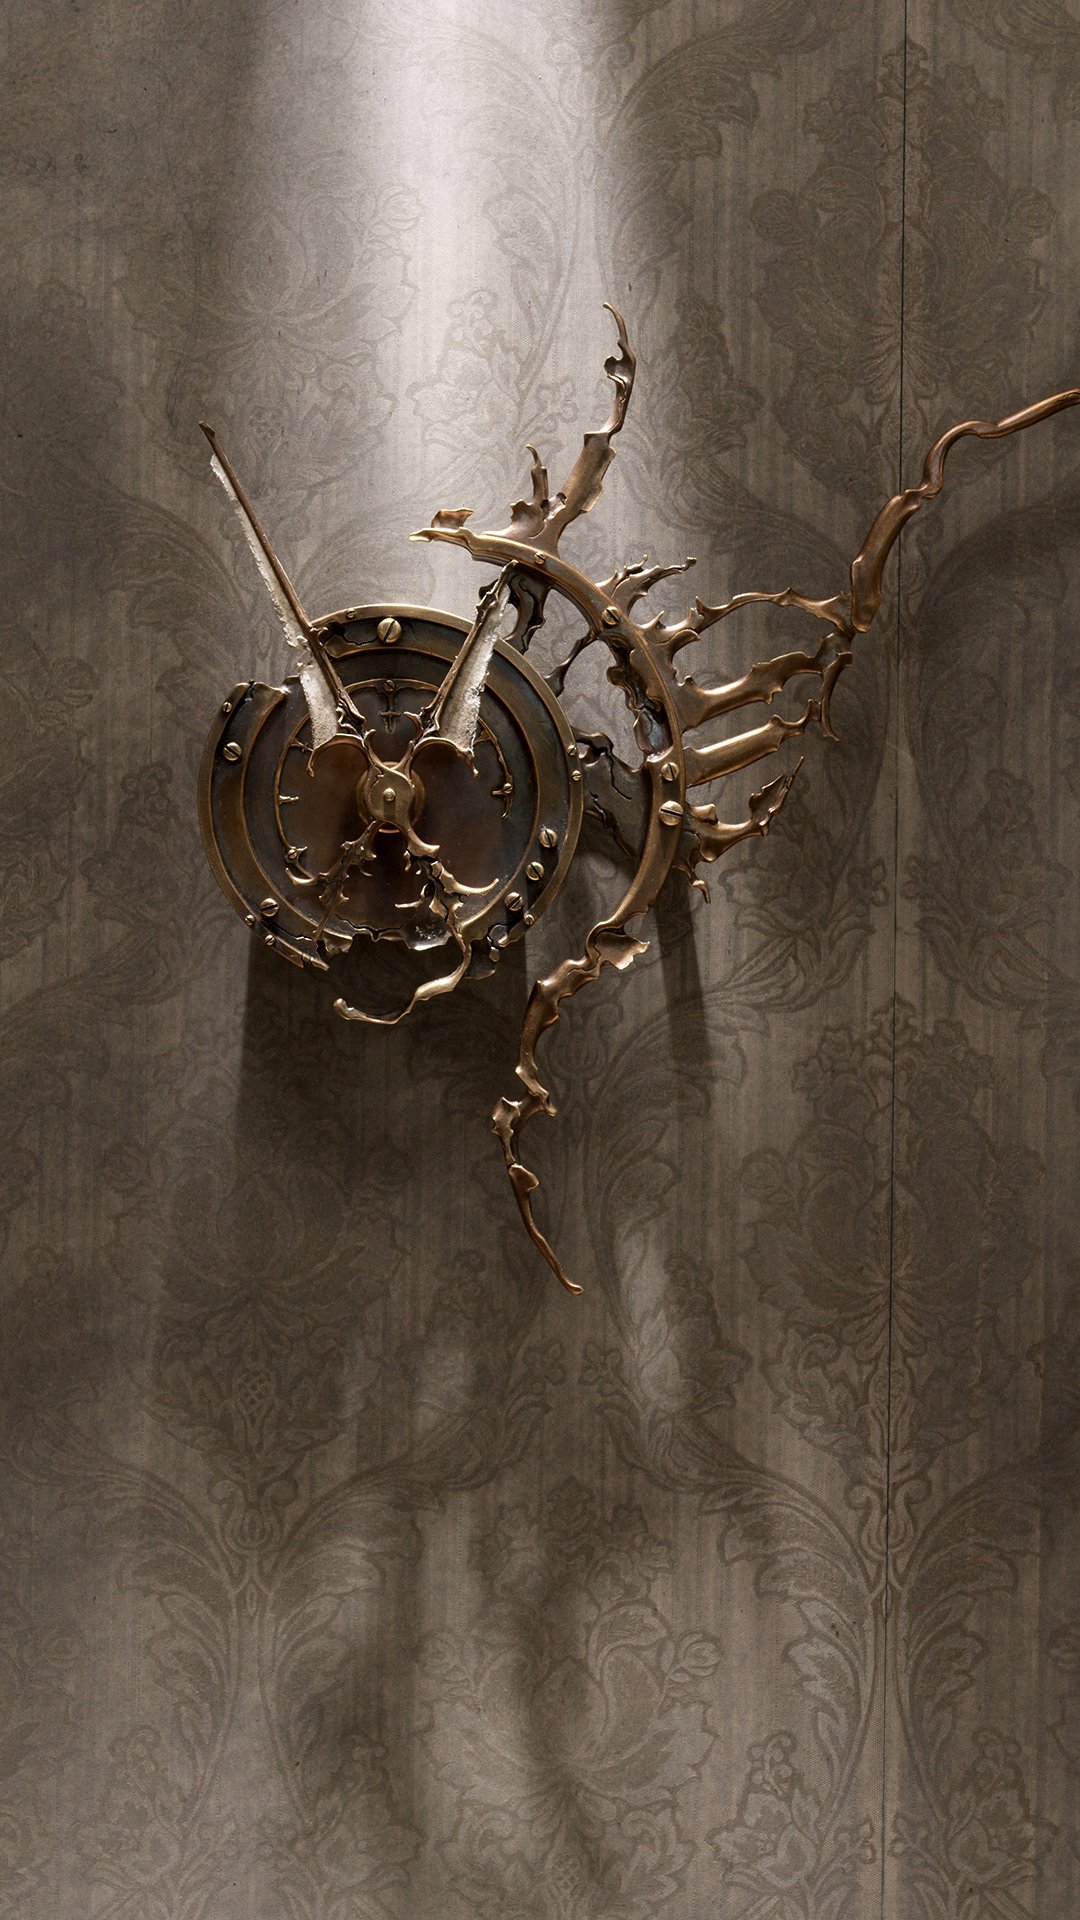
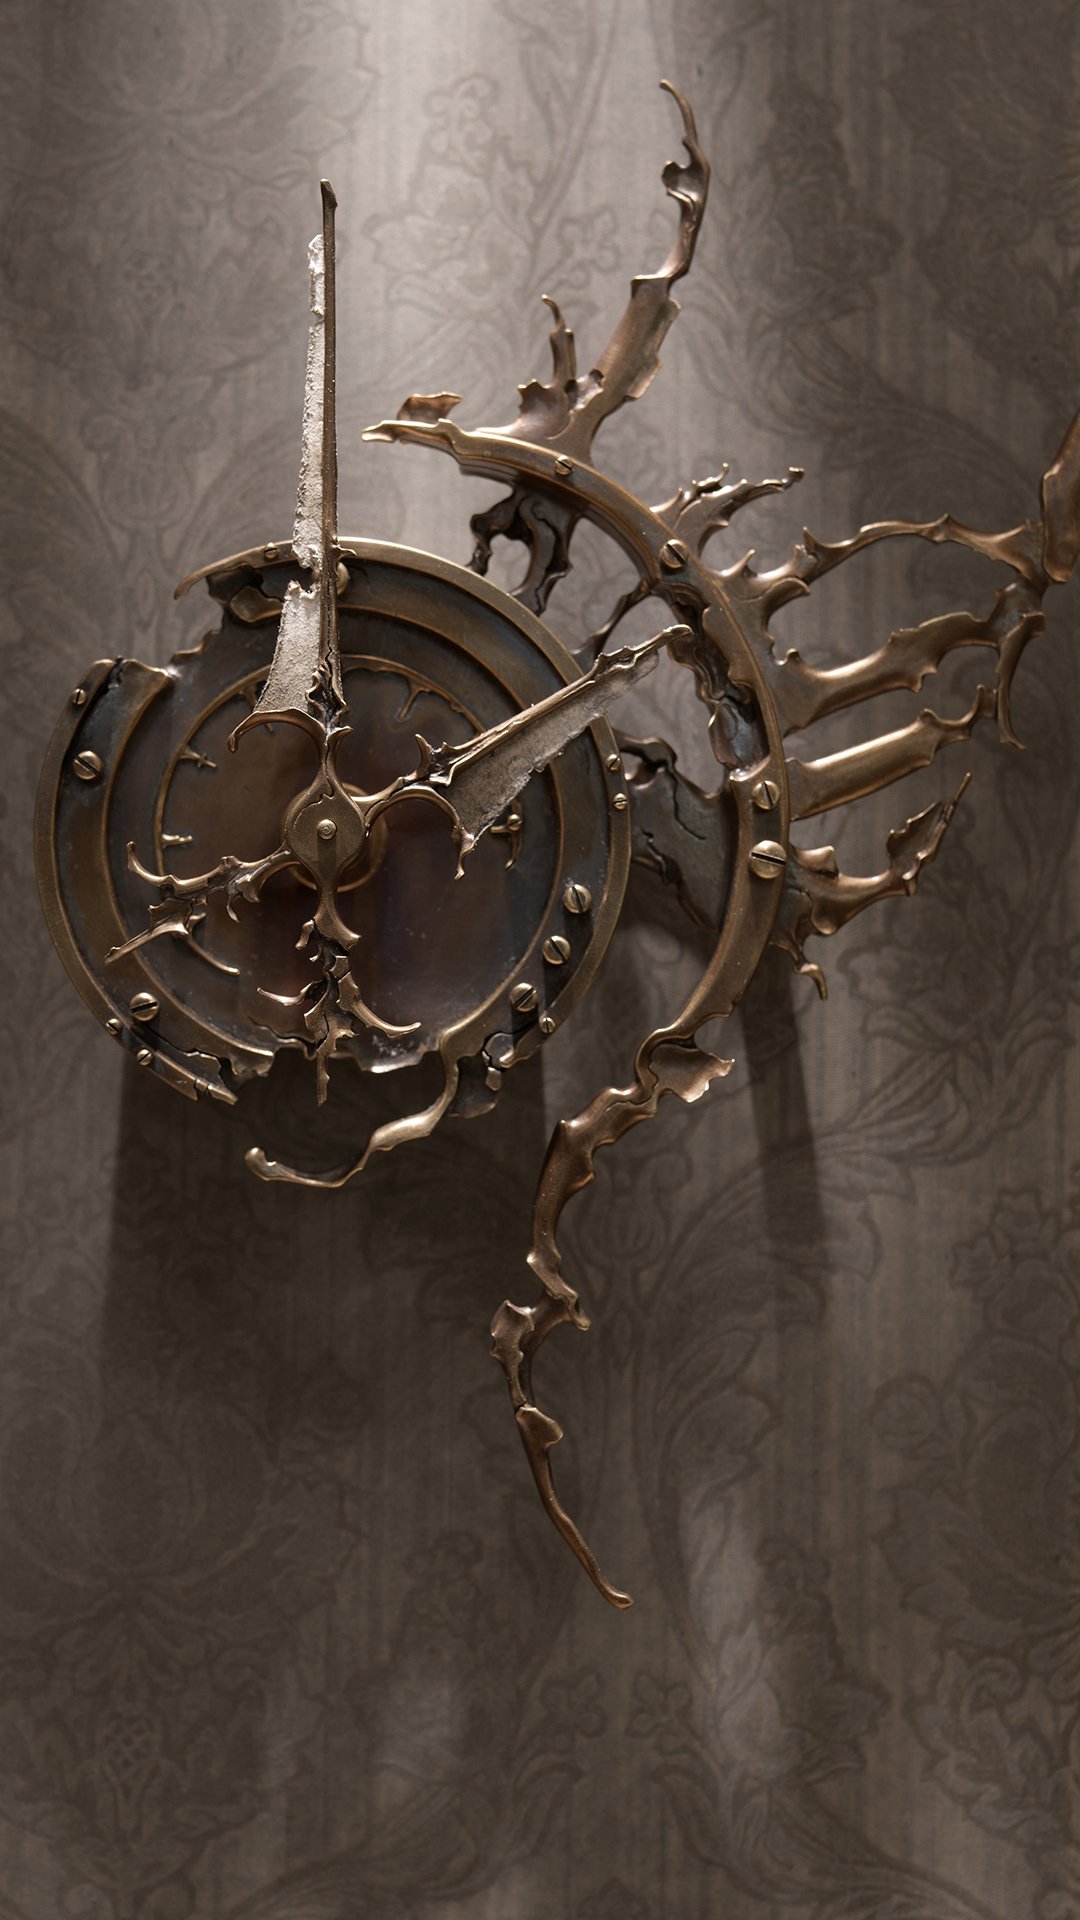
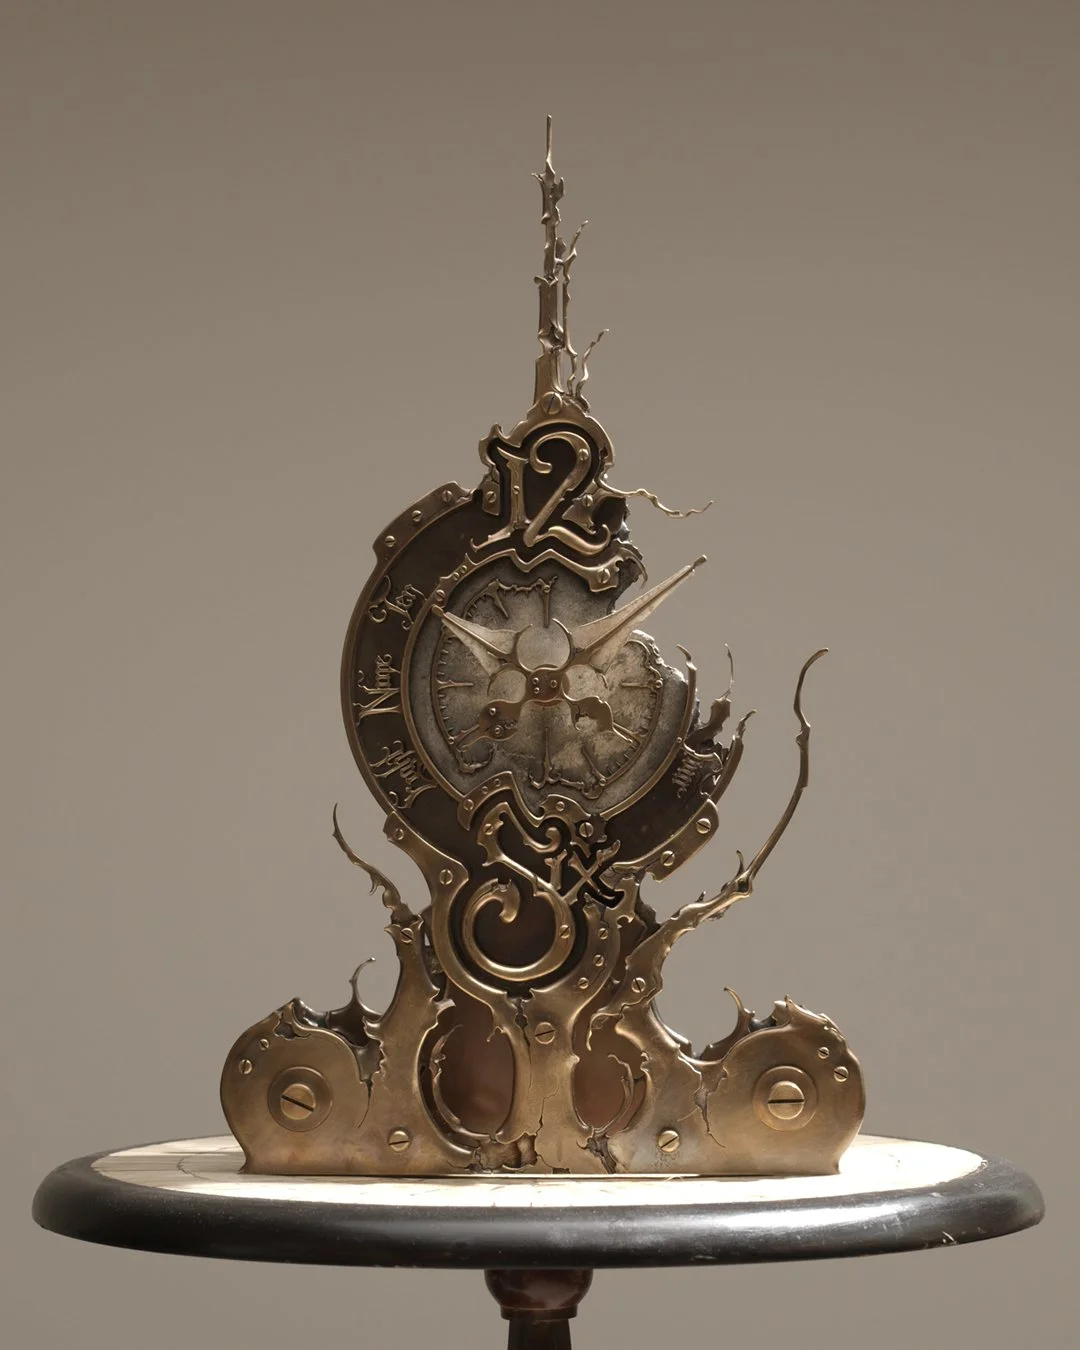
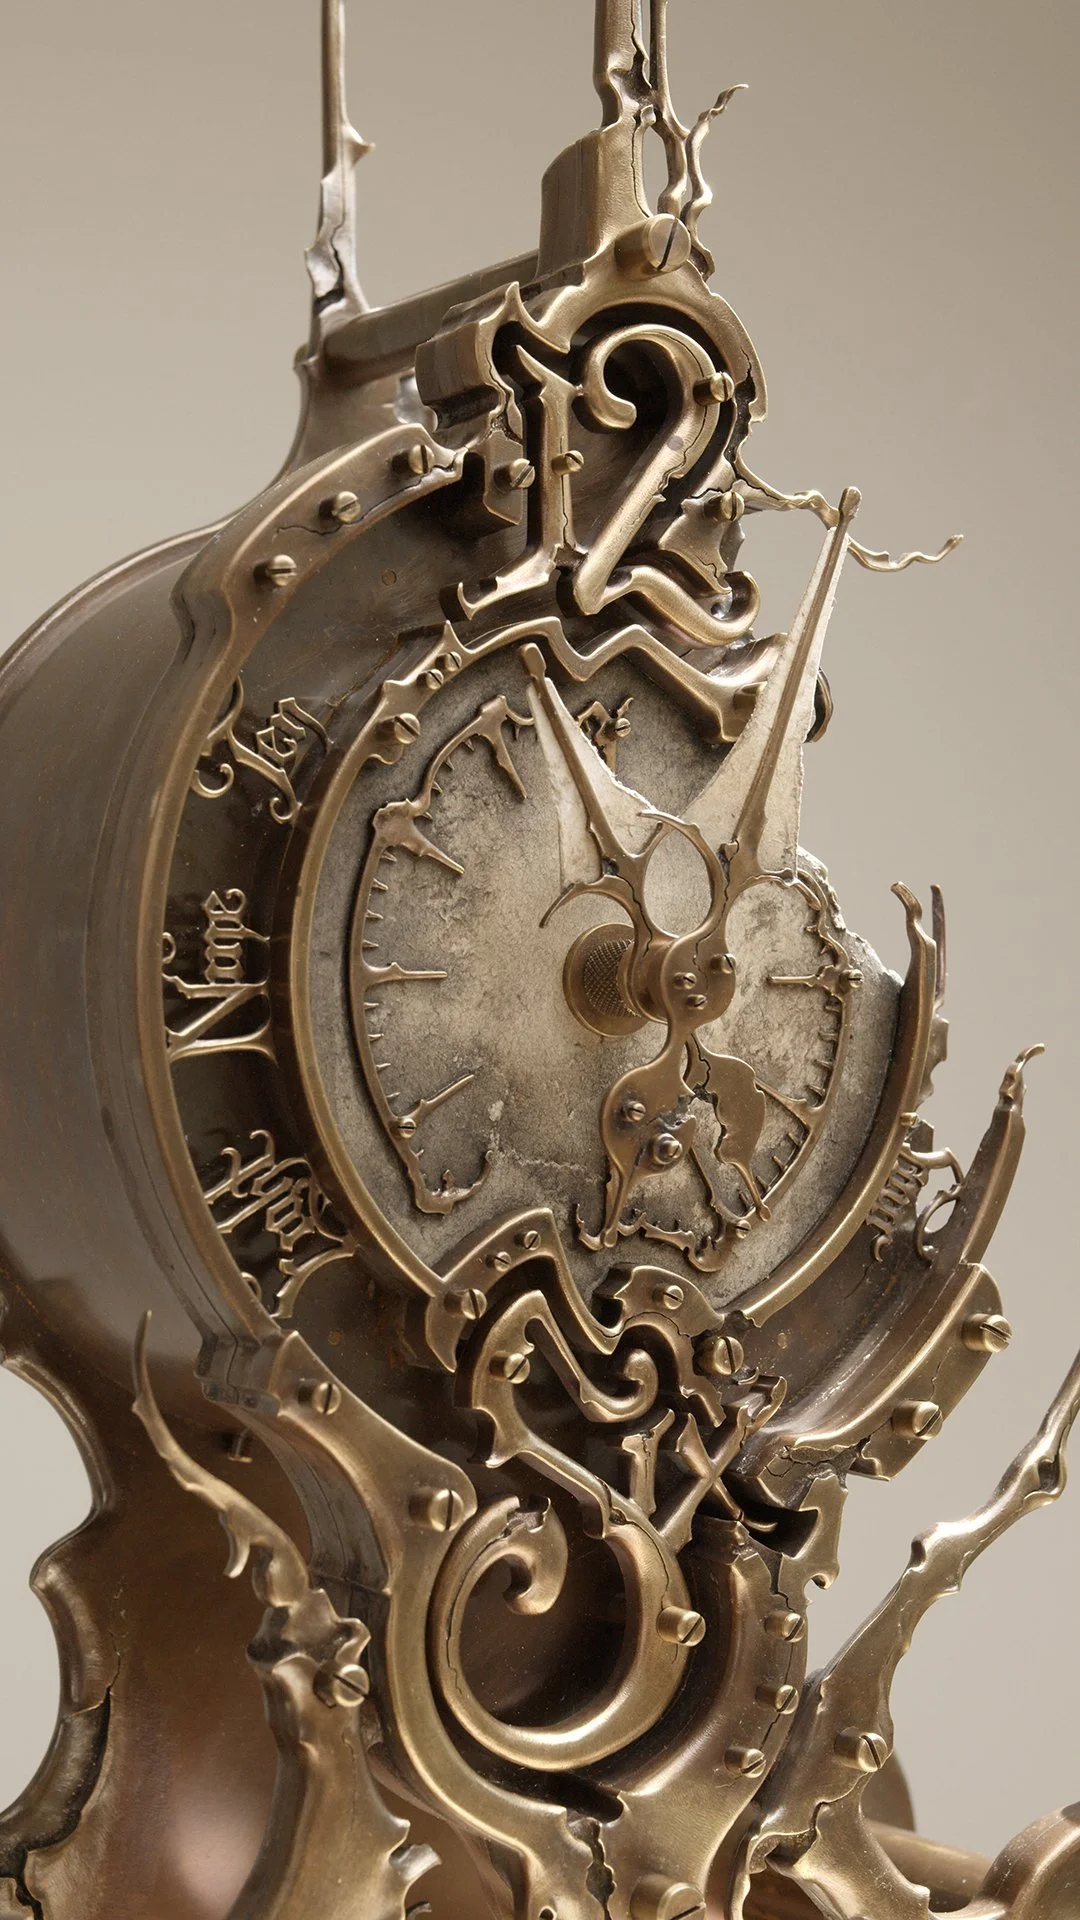
-The large dial will have a shadow-style moon phase display. It will also have a seconds hand spanning the whole dial, ticking solidly, and deliberately with the escapement. I made a clock with a second hand once before, and the movement was really nice. Since then I’ve wanted to make a clock with a large seconds dial, and this clock was a good candidate.
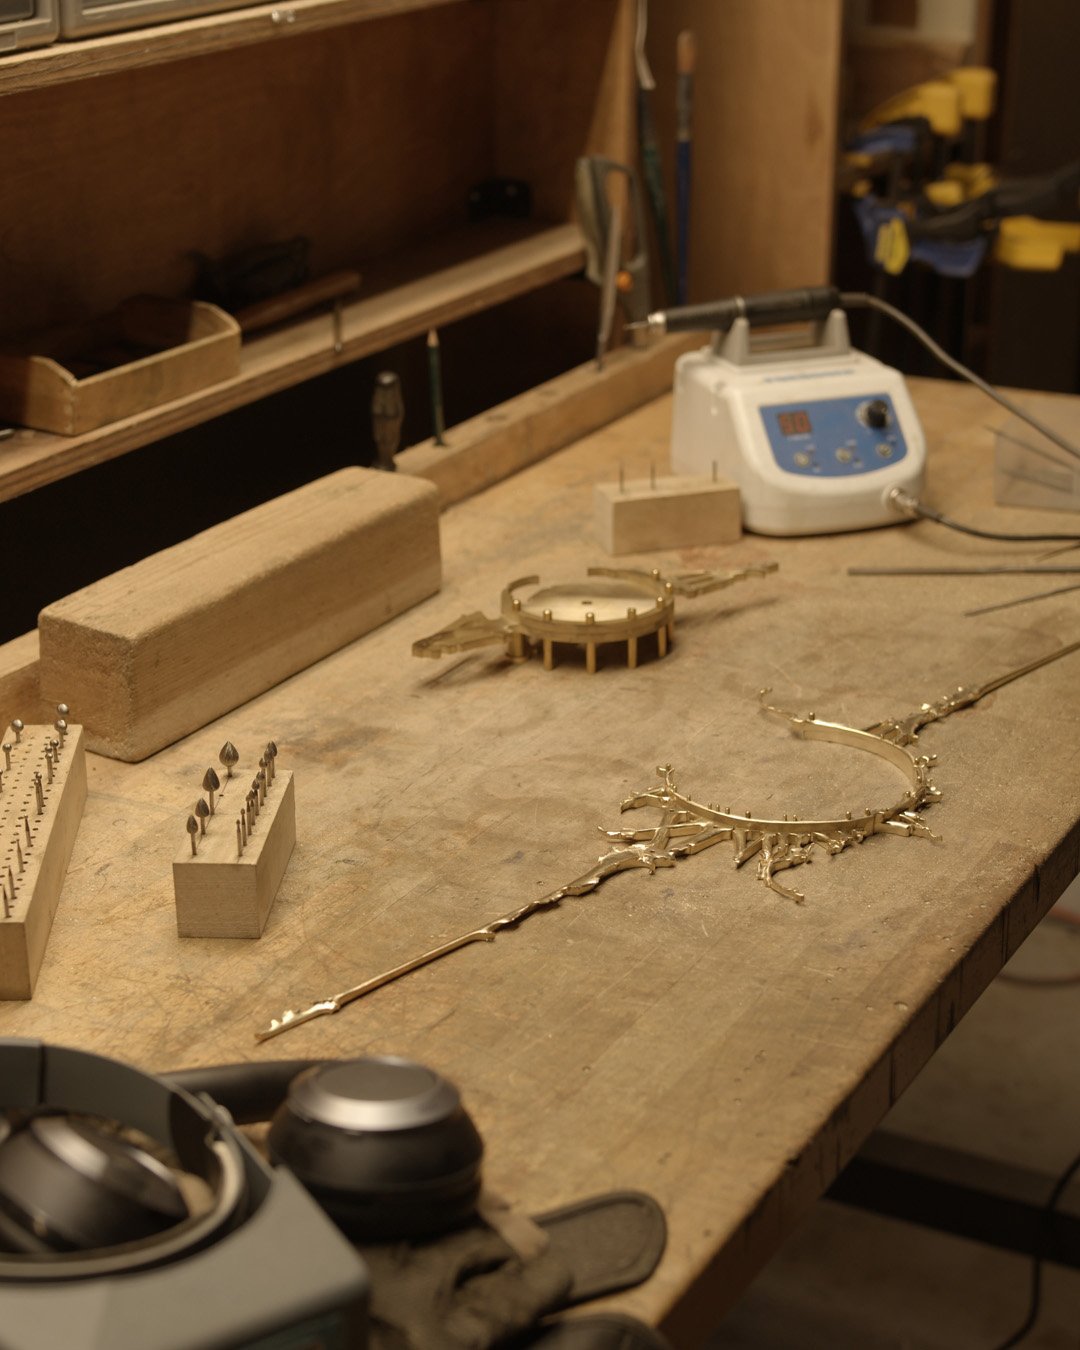
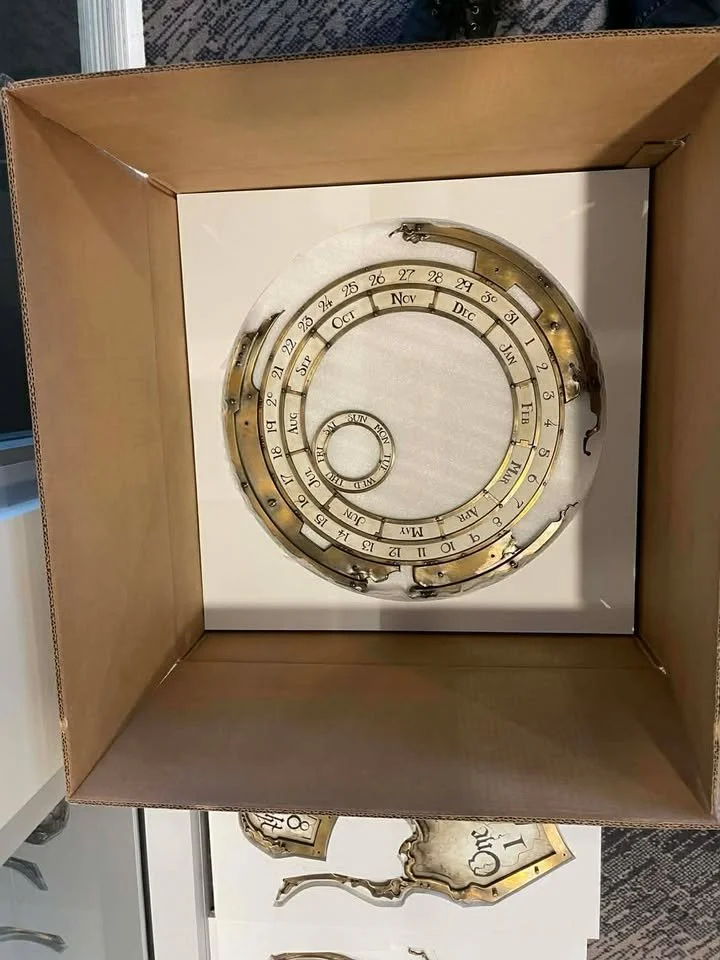
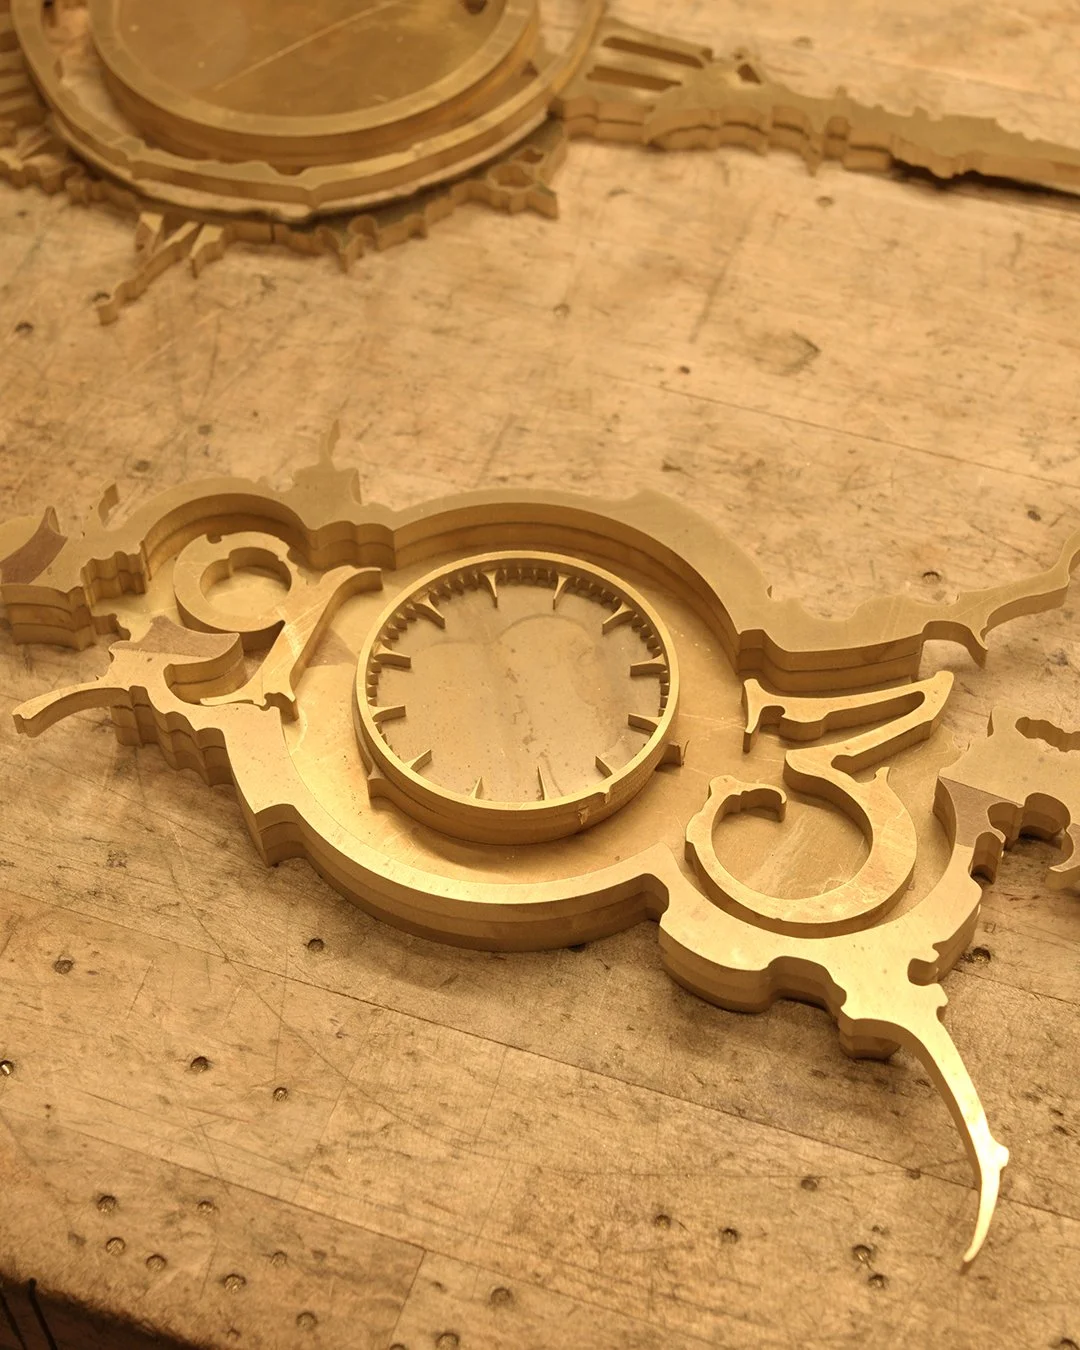
-The middle dial will have the time.
-The small dial will have the days of the week (I have’n’t attached that one yet)
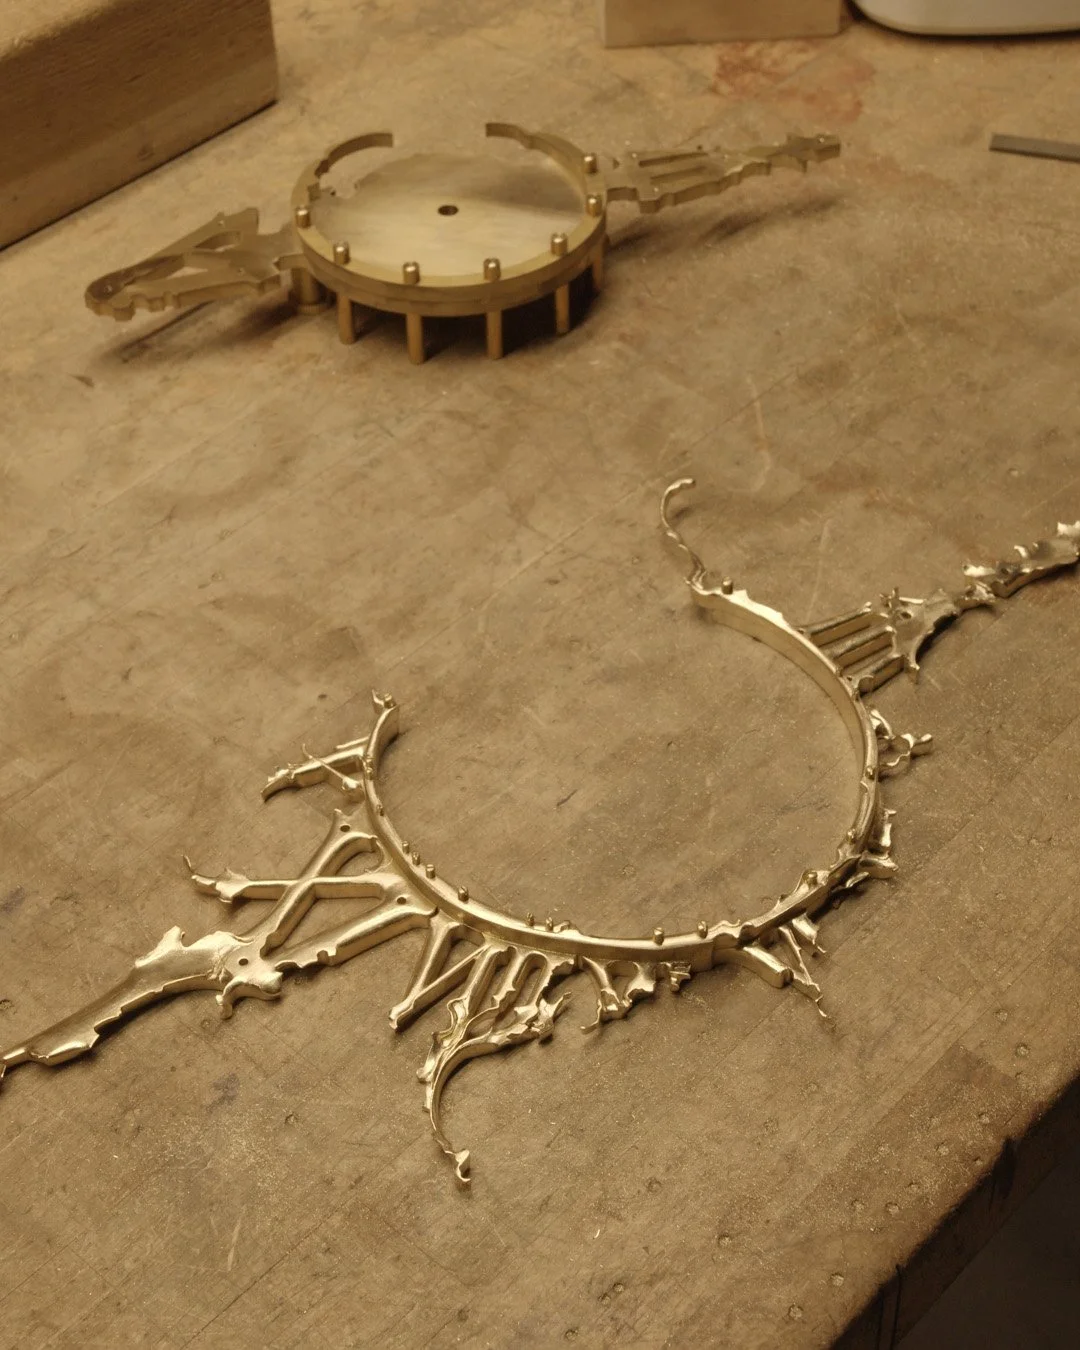
-The title “Synodic 17” refers to the moon phase display. Synodic is a term describing the moons cycle as we view it from earth. The number 17 refers to the accuracy, because it will take 17 million years for it to be off by a day. That’s using the number for the average cycle of 29.530587981. In truth, this is a little silly. Obviously we won’t be around that long, and the cycle can shift over a long enough timeline anyway. It might be more practical to think of it as taking 200 years to be off by a second. But even then, the point of my work has never been to chase absurd amounts of accuracy. My pursuits are more aesthetic. But there was room for the gears, so I figured why not.
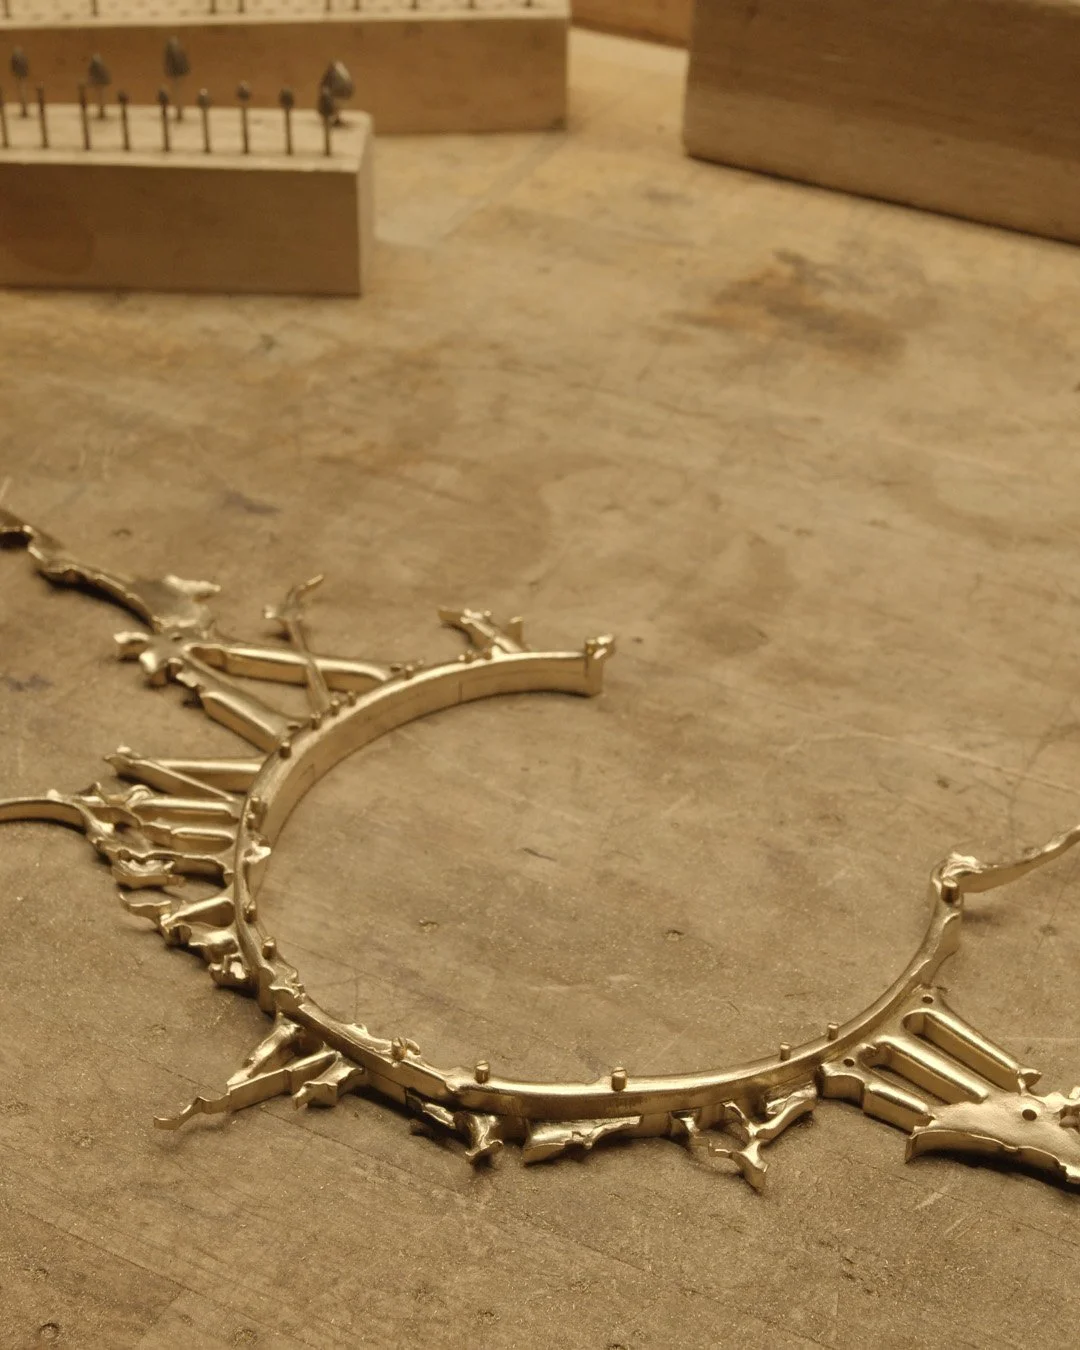
I’ll have to set this one aside again, because you know…bills. But hopefully I’ll find time here and there, and eventually have a finished moon clock on my wall. I haven’t made a multi-dial moon-clock since 2018!