My mechanical clocks are 100% made from scratch. There’s a feel and quality that can only be achieved by making all the components by hand. In addition, I can create very specific dimensions and shapes, accommodating the needs of customized clockwork. Click on the collections below to get a glimpse of the processes involved in bringing these pieces to life.
One of my favorite parts of the clockmaking process is making the gears. This video shows some of the techniques I like to use.
The gear I'm making in this video is for "The Grasmere Commission".
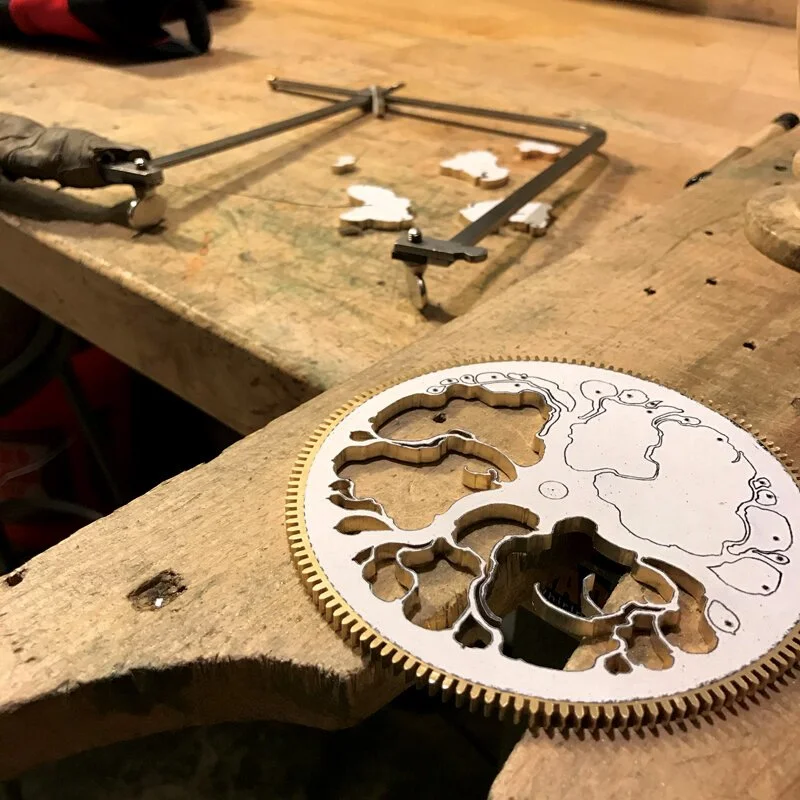
To cut the teeth for the gear, I use a setup created by W.R. Smith in which the brass gear is actually super-glued onto an aluminum cylinder, which has been faced and grooved. This method ensures accurate concentricity between the center hole and the O.D. of the gear, since they’re both machined during the same setup.
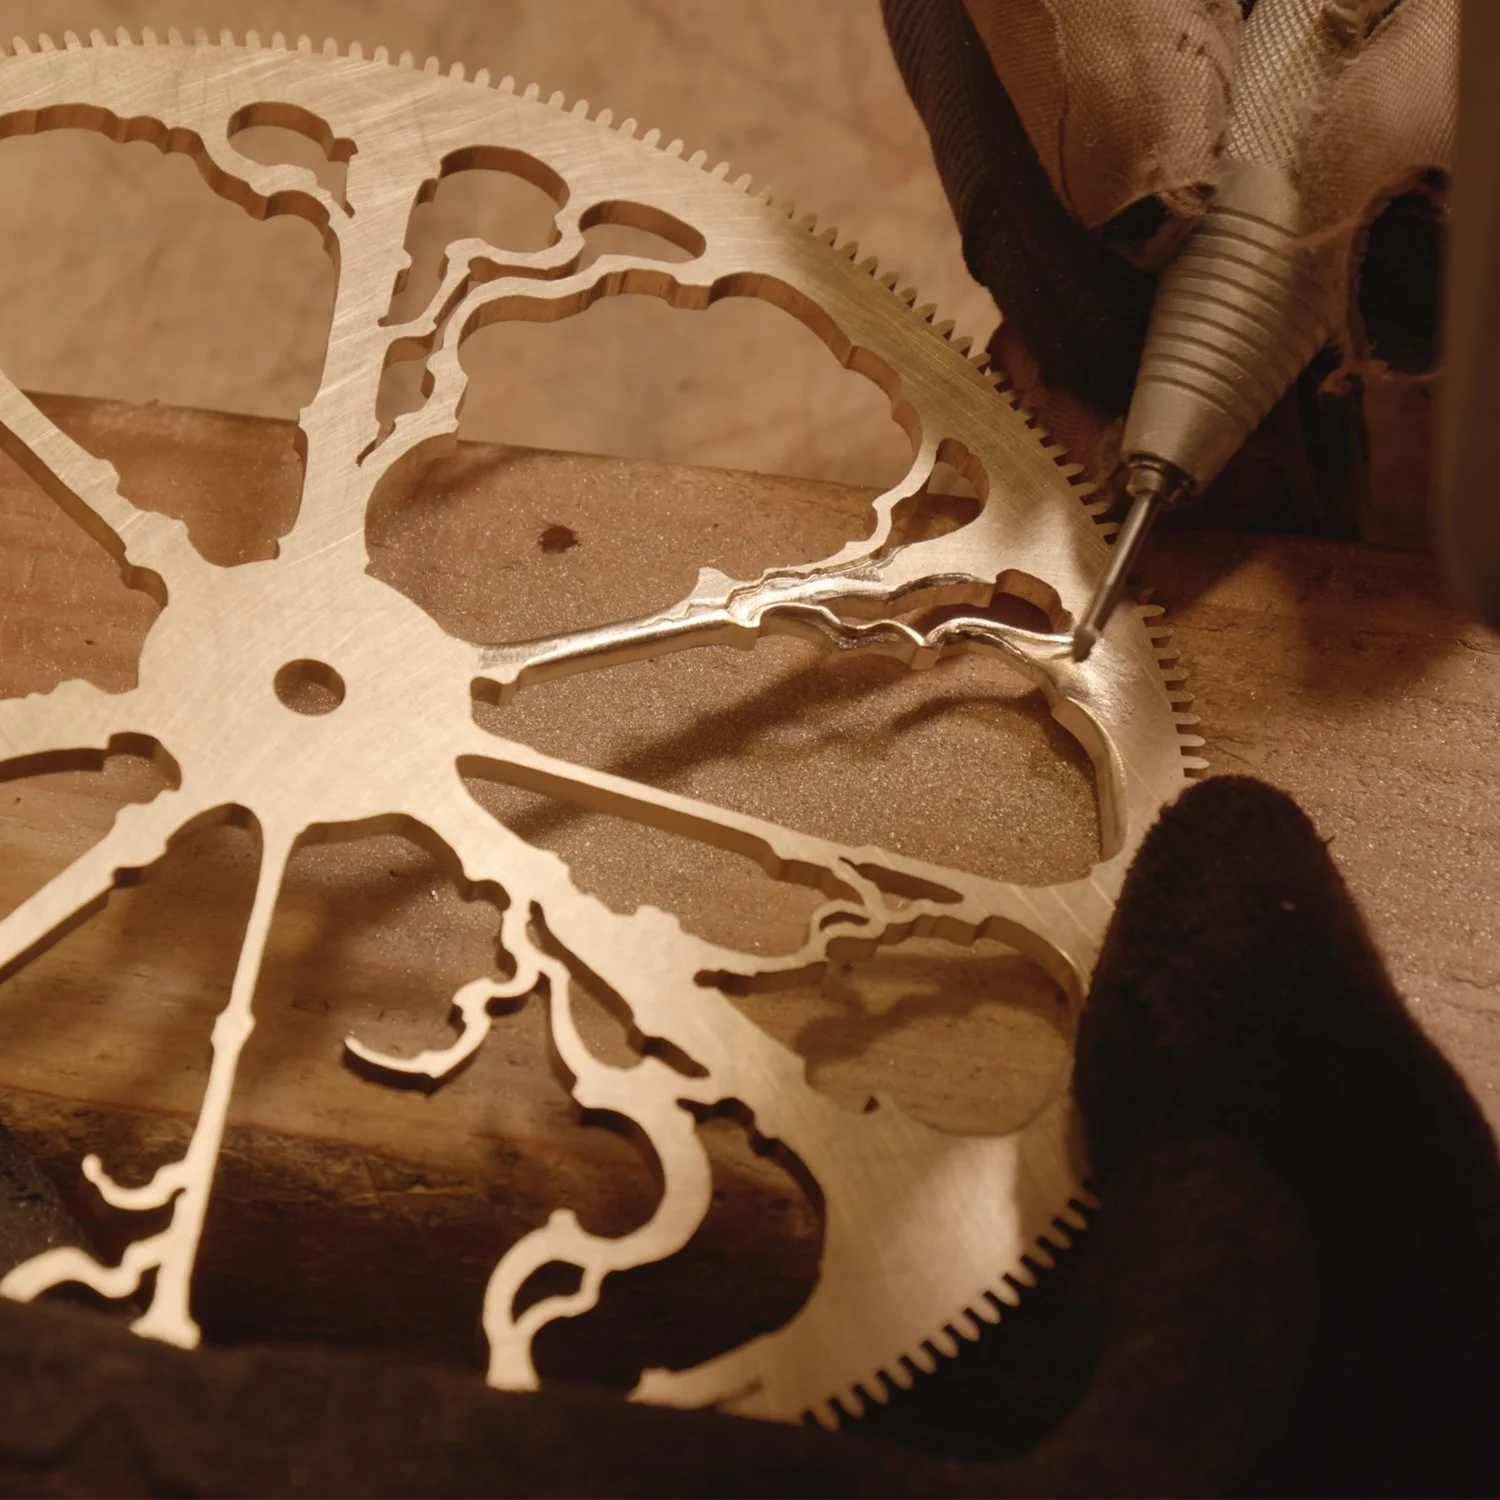
I use a jeweler’s saw…a lot! If there’s an interesting shape to be cut out, that’s my tool. The thinnest saw blades I use are only .0086 inches thick, so an incredible amount of detail can be achieved with this humble, accessible tool.
After the jeweler’s saw is used to cut out two-dimensional shapes, I use a grinding tool to carve the metal into a three-dimensional sculpture. This decorative metal-carving requires more time than any other part of the process. It’s also one of the most artistic parts since it’s all done freehand, by feel.
Some steel parts in a clock require very specific heat treating and hardening techniques, followed by many hours of precise polishing. The geometry is often crucial, which calls for a slow and steady approach with a variety of small, very fine grit stones, and polishing with soft sticks and micro-grit (.5 micron) polishing paste.
The first photo and video show what I use to harden steel. It’s a kiln that holds salt at a molten 1500 degrees. When steel is immersed in this salt-bath, the metal is heated very evenly, and precisely. Just 10-15 minutes of immersion brings the part to 1500 degrees. Even better, since it’s immersed, the air can’t get to it, which avoids carbon scaling on the surface.
Immediately after removing the parts from the kiln, they’re quenched in oil. For parts like the clock escapement, the metal is left in this fully hard state. For springs, I have a second, smaller kiln that I use to temper the steel.

In a clock, there is a need for a wide variety of very specific screw sizes. In addition, there’s a visual benefit to varying the shapes and sizes of the screws. To ensure that I have just the right threaded hardware, I make all of my screws by hand on the lathe.
In 2004, I acquired a clockmaking book written by W.R. Smith titled, “How to Make an 8 Day Skeleton Wall Clock.” It consisted of xeroxed 8 1/2 x 11 pages, held together with a plastic binding spine. To me, it was more valuable than gold. It was with this step-by-step book that I cut my first gear and finished my first clock. While I was learning, I also frequently referenced, “How to make a Weight Driven 8 Day Wall Clock” by John Wilding, and “Clockmaking for the Home Shop Machinist” by C.J. Thorne. If you’re interested in learning how to make clocks, I would recommend those books. I’ve acquired many more texts over the years, some more specialized or advanced, but I still reference those three to this day.
If you’re interested in learning how to make clocks, I would also highly recommend the YouTube channel Clickspring. There you’ll find a series of videos titled, “How To Make A Clock In The Home Machine Shop” and you’ll be walked through the process of making a very high-quality single train timepiece.